Stunning Velvet Vanilla Rose Dream Domes Gold Glaze
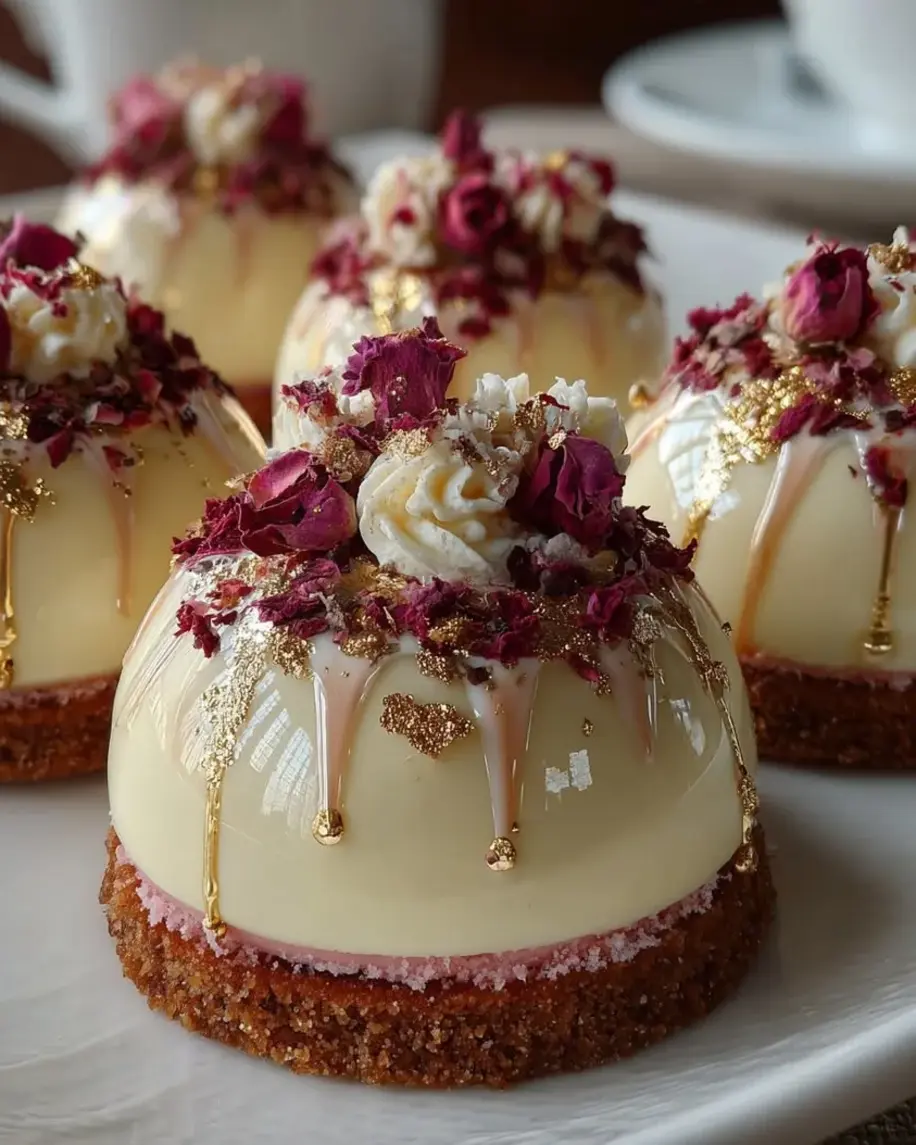
Table of Contents
Velvet Vanilla Rose Dream Domes with Gold Glaze – A Floral Dessert with Gold Finish
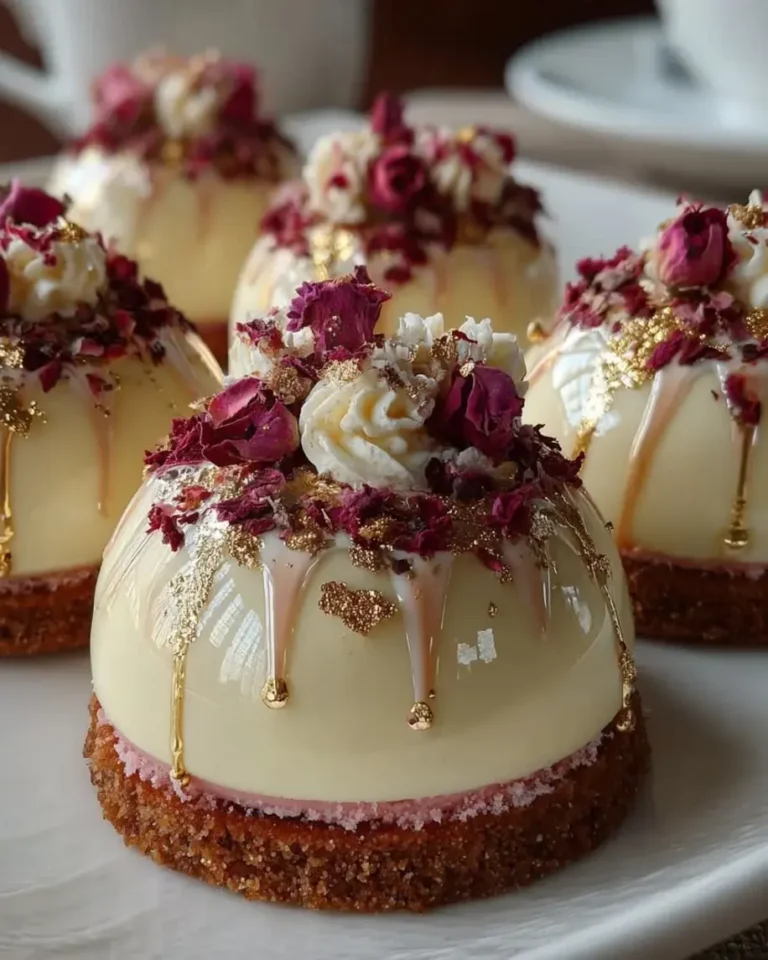
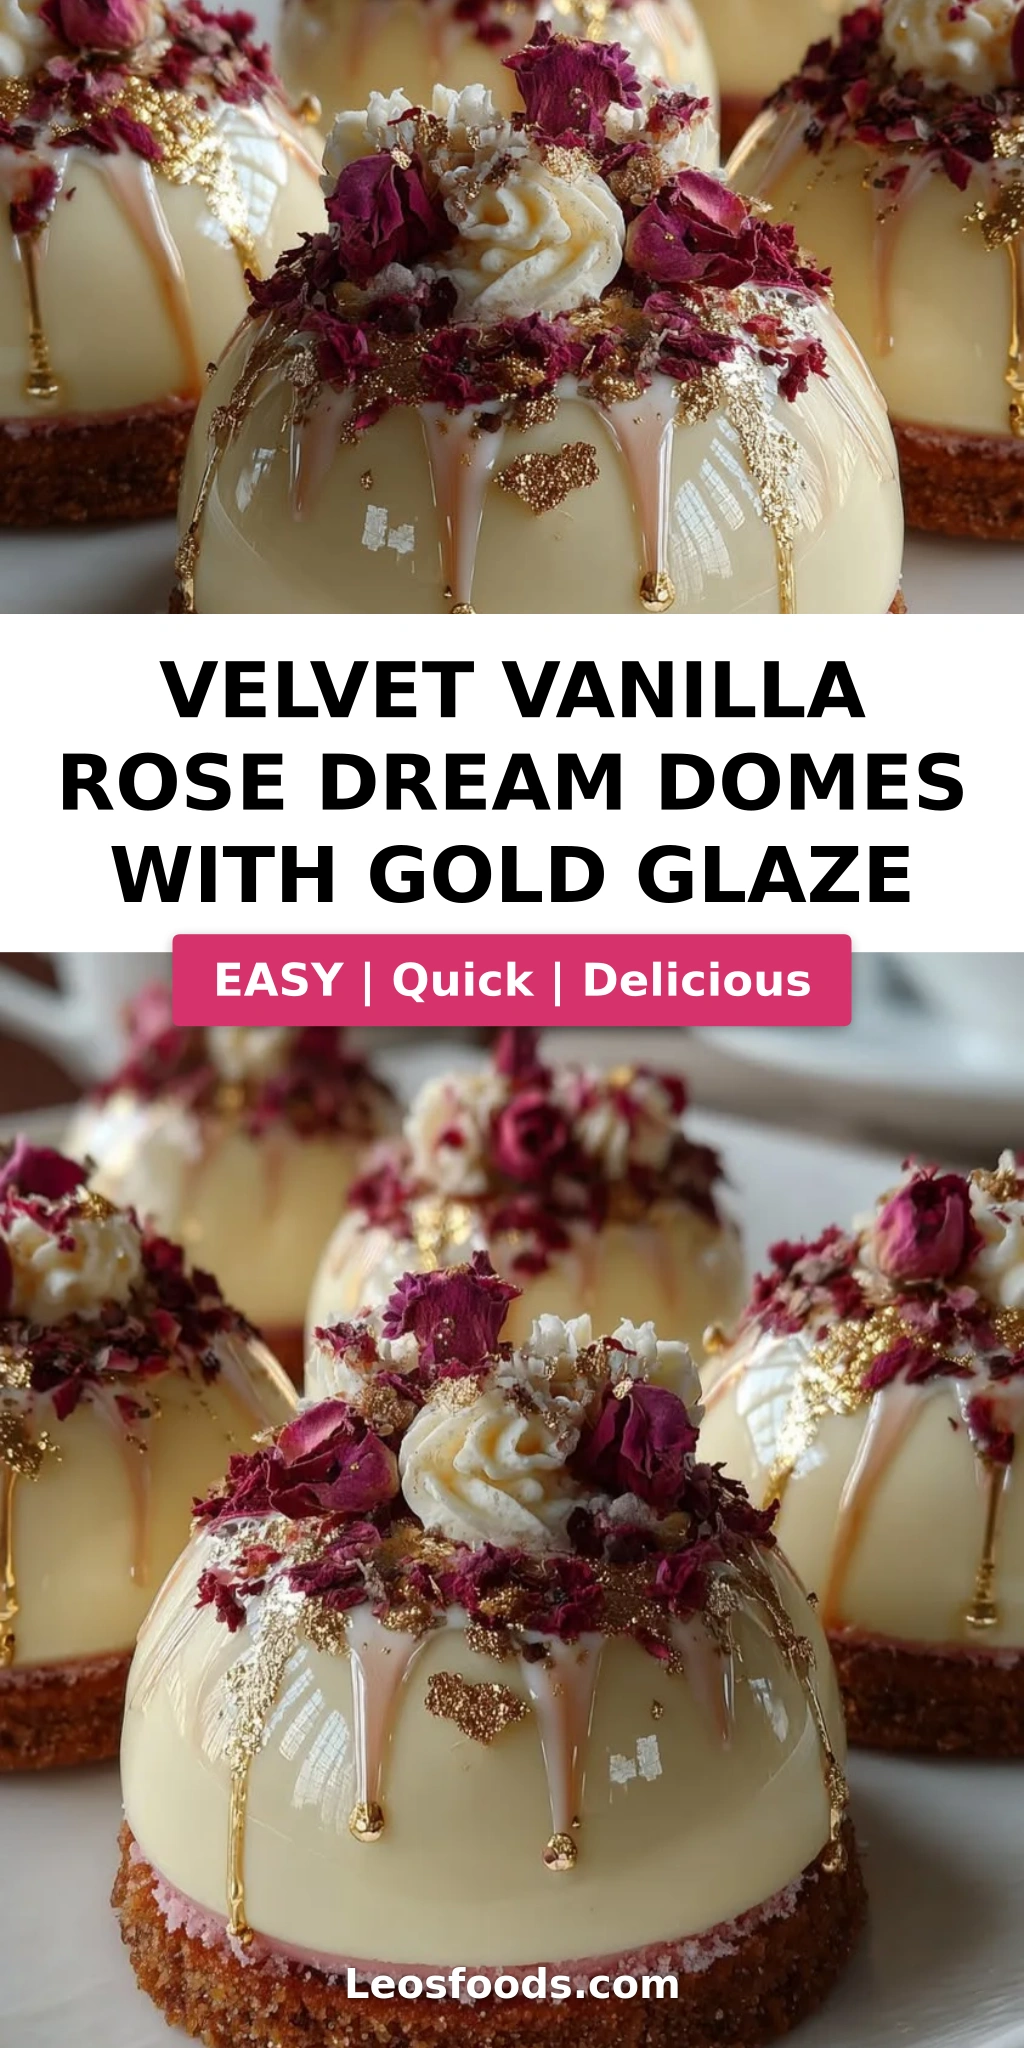
There are some desserts that feel like they were dreamed up in a palace — and these Velvet Vanilla Rose Dream Domes with Gold Glaze are exactly that. A luscious, cloud-like vanilla velvet mousse meets the delicate perfume of Moroccan rose, all resting on a buttery vanilla biscuit base, and finished with a shimmering coat of edible gold. This gold glaze dome dessert recipe is more than just a treat; it’s a show-stopping centerpiece for your most special celebrations. I developed this recipe thinking about the rose-scented pastries my mother would make in our kitchen in Marrakech, and the mirror-like glazes I learned to perfect in Paris. The result is a floral dessert with gold finish that feels both luxuriously indulgent and surprisingly achievable.
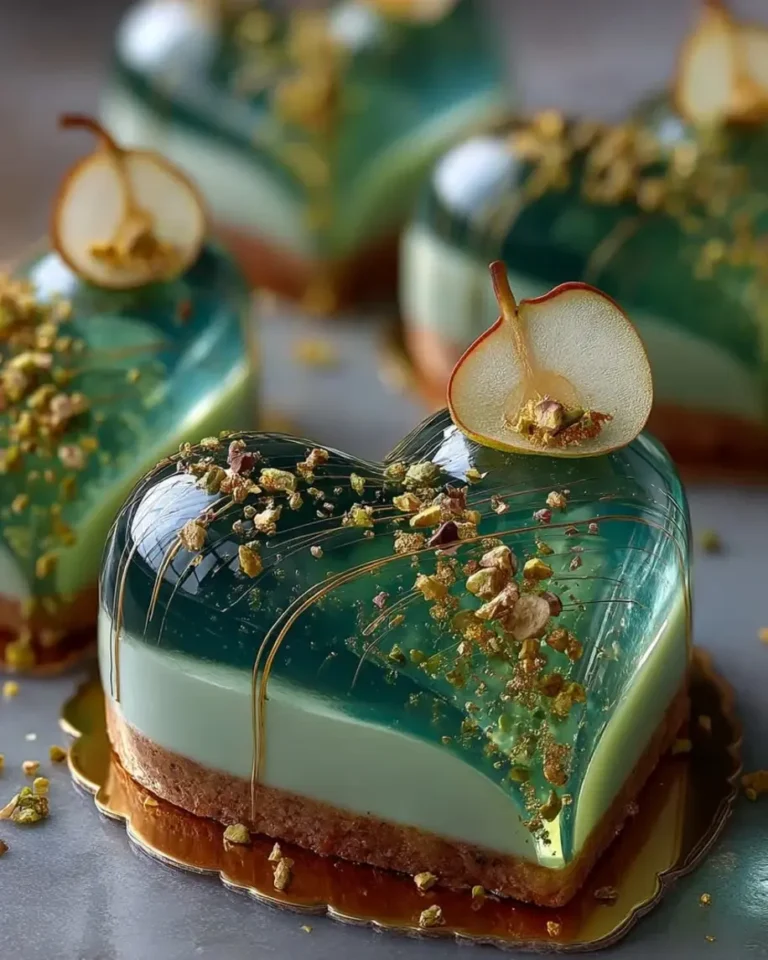
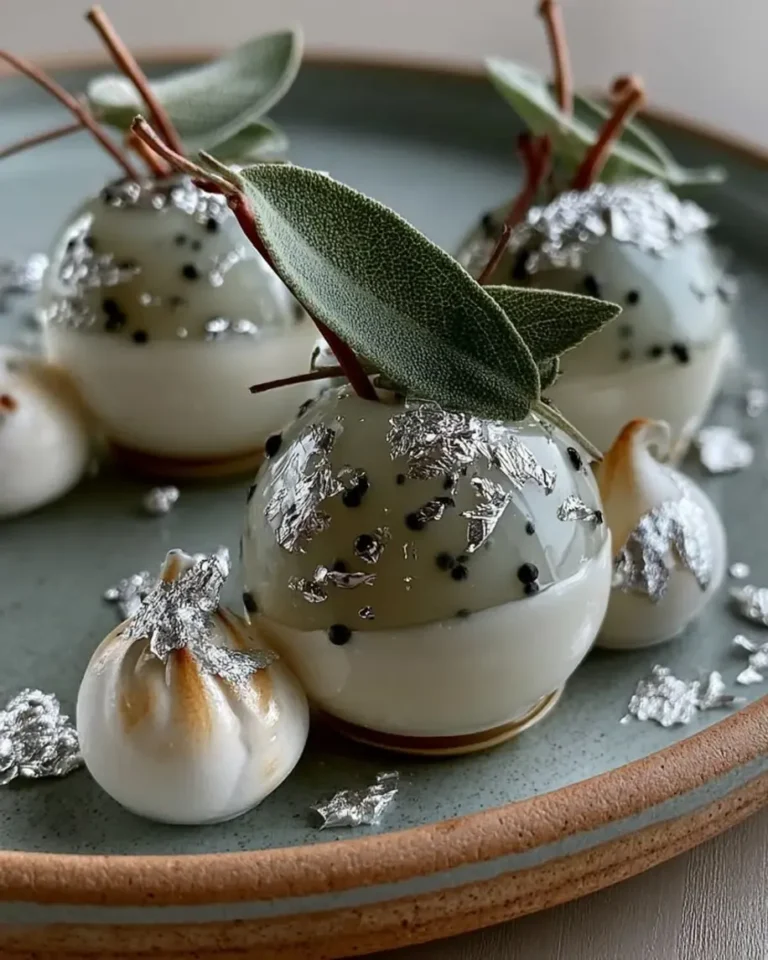
Imagine slicing into a perfectly smooth, golden dome. The spoon glides through the glossy shell, revealing a pale pink, airy mousse that smells faintly of rose petals and rich vanilla. The contrast of textures is pure bliss — the silky mousse against the crunchy, buttery biscuit base. Each bite is cool, creamy, and fragrant, with the subtle sweetness of white chocolate and the faintest tang of cream cheese rounding out the flavor. This isn’t just a dessert; it’s an experience. It’s the dessert you serve when you want to leave your guests speechless, wondering how you managed to create something so beautiful and delicious in your own kitchen.
As a trained French pastry chef and a New Yorker who loves efficiency, I’ve designed this recipe to maximize flavor while minimizing stress. I’ve tested every step to ensure that even if you’ve never worked with gelatin or made a mirror glaze before, you’ll get incredible results. The secret lies in the quality of your vanilla and the technique for folding the mousse to keep it airy. 💡 Stella’s Pro Tip: Don’t rush the folding! A gentle hand is the difference between a dense, heavy mousse and a light, velvety one that melts in your mouth. Let me show you how to nail this extraordinary dessert.
Why This Velvet Vanilla Rose Dream Domes Recipe Is the Best
The Flavor Secret: This isn’t just another chocolate mousse dome. By combining the floral elegance of real rose water (a staple in my Moroccan culinary heritage) with the comforting depth of vanilla bean paste, I’ve created a completely unique and sophisticated flavor profile. The addition of a tiny bit of strawberry purée does more than just tint the mousse a lovely pale pink — it adds a whisper of bright fruit that lifts the floral notes and keeps each bite balanced and fresh.
Perfected Texture: So many mousses feel heavy or sticky. Over the years, I’ve honed my technique to guarantee a light-as-air texture. The key is folding freshly whipped cream into a smooth cream cheese and vanilla base with a slow, steady motion. The combination of cream cheese and heavy cream creates a “velvet” texture that is stable enough to hold its beautiful dome shape, yet soft enough to dissolve on your tongue. No gelatin, no fuss — just pure, luxurious mouthfeel.
Foolproof & Fast (for a Showstopper): I know that when you’re planning a special meal, the last thing you need is a complicated, stressful dessert. This recipe is designed to be broken into simple, make-ahead steps. The base and mousse can be prepared in 30 minutes, and then the freezer does all the hard work! Freezing the domes makes them incredibly easy to unmold and glaze without any mess. It’s the perfect project for a home cook who wants professional results without the pastry-school anxiety.
Gold Glaze Dome Dessert Recipe Ingredients
When I walk through the Union Square Greenmarket, I always pick up the best of what’s in season. For this recipe, the quality of your ingredients directly impacts the final result. I source my vanilla bean paste from a wonderful spice shop in Chelsea, and I always look for a high-quality, gluten-free vanilla wafer cookie for the base. The ingredients are simple, so let’s make sure each one shines.
Ingredients List
- For the Vanilla Velvet Mousse:
- 8 oz (225 g) cream cheese, softened
- 1 cup heavy whipping cream, chilled
- 1/3 cup powdered sugar
- 1 1/2 tsp vanilla bean paste
- For the Rose Infusion Layer:
- 2 tbsp rose water
- 2 tbsp white chocolate, melted
- 1 tbsp strawberry purée (for subtle pink hue)
- For the Biscuit Base:
- 1 cup crushed vanilla biscuits (or vanilla wafers)
- 3 tbsp unsalted butter, melted
- For the Gold Glaze:
- 1/2 cup white chocolate, melted
- 1 tbsp coconut oil
- 1 tsp edible gold luster dust
- For Garnish (optional):
- Dried rose petals
- White chocolate curls
Ingredient Spotlight
Rose Water: This is the heart of our floral rose vanilla mousse domes. Be sure to use culinary-grade rose water. In my kitchen, I prefer a brand sourced from Morocco, which has a more delicate, natural fragrance than some overly perfumed synthetic versions. A little goes a long way!
Vanilla Bean Paste: I highly recommend vanilla bean paste over extract for this dessert. The paste is infused with real vanilla seeds, which gives your mousse those beautiful little specks of vanilla. It also has a richer, more rounded flavor that stands up beautifully to the rose. If you only have extract, use 2 teaspoons.
White Chocolate: Since this is used in both the rose infusion and the gold glaze, quality is key. Avoid “white morsels” or chips that contain stabilizers; they don’t melt as smoothly. Use a good-quality white chocolate bar (like Valrhona or Ghirardelli) for a glossy, fluid finish that will give your edible gold dessert that professional mirror shine.
Substitutions Table
| Original Ingredient | Best Substitution | Flavor / Texture Impact |
|---|---|---|
| Cream Cheese | Mascarpone | Richer, less tangy. Still very stable. |
| Rose Water | Rose Extract (start with 1/2 tsp) | More concentrated. Add gradually to avoid a perfumey taste. |
| Vanilla Biscuits | Graham Crackers or Digestives | Slightly more hearty, less sweet base. |
| Strawberry Purée | Raspberry Purée or 1 drop red food coloring | Will change the flavor slightly. Food coloring gives no flavor. |
How to Make Velvet Vanilla Rose Dream Domes — Step-by-Step
Don’t let the elegant result intimidate you! I’ll walk you through each stage, sharing the little tricks I learned in pastry school to make the process smooth and the results spectacular.
Step 1: Prepare the Biscuit Base
In a medium bowl, combine 1 cup of finely crushed vanilla biscuits with 3 tablespoons of melted unsalted butter. Stir with a fork until the mixture looks like wet sand and holds together when you squeeze it.
💡 Stella’s Pro Tip: For extra crunch, toast the crushed biscuits in a 350°F oven for 5 minutes before adding the butter. Let them cool completely first.
Step 2: Chill the Base
Divide the biscuit mixture evenly among 8 silicone dome molds. Press it down firmly using your fingers or the flat bottom of a small shot glass. Place the molds in the refrigerator for 15 minutes to allow the base to harden.
⚠️ Common Mistake to Avoid: Not pressing the base firmly enough. A loose base will crumble when you unmold the domes. Make sure it’s a solid, compact layer.
Step 3: Make the Velvet Mousse
In a large mixing bowl, beat 8 oz of softened cream cheese, 1/3 cup of powdered sugar, and 1 1/2 tsp of vanilla bean paste together until the mixture is completely smooth and there are no lumps. Use a rubber spatula to scrape down the sides of the bowl.
Step 4: Whip and Fold the Cream
In a separate chilled bowl, whip 1 cup of heavy whipping cream until soft peaks form (the peaks will gently fall over when you lift the whisk). Gently fold the whipped cream into the cream cheese mixture in two additions. Use a light hand to keep the mixture airy.
💡 Stella’s Pro Tip: Switch to a spatula and use a “cut and fold” motion — cut through the center of the mixture and fold it over the side. Rotate the bowl as you go. Stop folding as soon as the white streaks disappear.
Step 5: Create the Rose Infusion
To the mousse, add 2 tbsp of rose water, 2 tbsp of melted (and slightly cooled) white chocolate, and 1 tbsp of strawberry purée. Gently stir until the mixture is a uniform, soft pink color and smells wonderfully floral.
Step 6: Assemble the Molds
Spoon the rose vanilla mousse into the chilled silicone molds, completely covering the biscuit base. Smooth the tops of the domes with an offset spatula so they are flat. This will help them sit perfectly on the plate later.
Step 7: Freeze the Domes
Place the filled molds on a baking sheet and transfer them to the freezer. Freeze for at least 2 hours, or until the domes are completely solid to the touch. This is crucial for a clean unmolding and glazing process.
Step 8: Unmold the Domes
Once frozen solid, remove the molds from the freezer. Gently flex the silicone molds to release the domes. Place the frozen domes, flat side down, on a wire rack set over a baking sheet.
⚠️ Common Mistake to Avoid: If they don’t pop out easily, let them sit at room temperature for 1 minute to soften the edges slightly. Never use a knife, or you’ll damage the dome.
Step 9: Apply the Gold Glaze
In a small microwave-safe bowl, combine 1/2 cup of melted white chocolate and 1 tbsp of coconut oil. Stir until smooth. Working quickly, use a pastry brush to paint a thin, even layer of the glaze over each frozen dome. The cold mousse will cause the glaze to set instantly.
Step 10: Dust with Gold Luster
Immediately after brushing on the glaze, use a small, soft brush (like a makeup brush) to gently dust the domes with edible gold luster dust. The glaze acts as a sticky base, allowing the gold to adhere beautifully for a brilliant, mirror-like finish.
💡 Stella’s Pro Tip: For the most intense gold shine, apply a second layer of glaze and gold dust after the first layer has set for 2 minutes. This builds up the opulence!
Step 11: Garnish and Serve
Before the glaze sets completely, carefully place a few dried rose petals and a white chocolate curl on top of each dome. The glaze will help the garnishes stick.
Step 12: Final Chill
Return the decorated domes to the refrigerator for at least 30 minutes to thaw the mousse gently before serving. They should be cold, creamy, and tender, not frozen solid.
Quick Cooking Reference Table
| Step | Action | Duration | Key Visual Cue |
|---|---|---|---|
| 1 | Mix Base | 5 mins | Wet sand texture |
| 2 | Chill Base | 15 mins | Firm to the touch |
| 3-5 | Make Mousse | 10 mins | Smooth, pale pink |
| 6-7 | Freeze Domes | 2 hours | Solid to the touch |
| 9-10 | Glaze & Dust | 5 mins | Shimmering gold |
Serving & Presentation
These edible gold dessert domes are meant to wow, so let’s plate them right! Because the base is flat, they sit beautifully on a plate. For a truly elegant presentation, serve them on a chilled glass or ceramic plate. I love to place a dome slightly off-center and add a few artistic touches around it.
A delicate swipe of strawberry coulis or a dollop of lightly sweetened crème fraîche on the plate provides a beautiful color contrast to the gold. The tanginess of the crème fraîche also balances the sweetness of the mousse. For a final, stunning touch, scatter a few crushed pistachios and more dried rose petals on the plate. It reminds me of the fragrant rose gardens in Marrakech, right here in my NYC apartment.
Pairing Guide Table
| Pairing Type | Suggestions | Why It Works |
|---|---|---|
| Side Dish | Fresh raspberries, honeycomb | Adds brightness and textural crunch. |
| Sauce / Dip | Strawberry coulis, caramel sauce | Enhances the fruit and sweet notes. |
| Beverage | Moroccan mint tea, Champagne, Espresso | Cuts richness and complements floral notes. |
| Garnish | Dried rose petals, gold leaf, white chocolate curls | Elevates visual appeal and luxury factor. |
Make-Ahead, Storage & Reheating
As a busy NYC food blogger, I live by make-ahead recipes! These domes are the perfect party dessert because almost all the work is done in advance. The undomed mousse can be stored, or you can fully assemble and freeze them.
Storage Table
| Method | Container | Duration | Reheating Tip |
|---|---|---|---|
| Refrigerator | Airtight container | Up to 2 days | Serve directly from fridge; no reheating needed. |
| Freezer | Wrapped tightly in plastic wrap | Up to 1 month | Thaw in fridge for 4-6 hours before serving. |
| Make-Ahead | Silicone molds | Unbaked: 2 days in fridge | Bake directly from frozen; add 2-3 minutes. |
To achieve the perfect thawed texture, always move the domes from the freezer to the refrigerator at least 4 hours before you plan to serve. This ensures the mousse softens to its signature velvety consistency without becoming watery. If you’re short on time, you can let them sit at room temperature for 20-25 minutes, but keep a close eye on them!
Variations & Easy Swaps
One of the best things about this recipe is how easily it adapts to different tastes and dietary needs. Here are a few of my favorite variations that I’ve tested in my own kitchen.
Variations Overview Table
| Variation | Key Change | Best For | Difficulty Impact |
|---|---|---|---|
| Chocolate Rose | Add 2 oz melted dark chocolate to mousse | Chocolate and rose lovers | Easy |
| Vegan Dream | Use coconut cream, vegan cream cheese, and vegan white chocolate | Dairy-free / Vegan guests | Medium |
| Citrus Twist | Replace rose water with orange blossom water + zest | A lighter, brighter flavor | Easy |
Variation 1: Chocolate Rose Dream Domes
If you’re a chocolate fan, this one is for you. Simply fold 2 ounces of melted and slightly cooled dark chocolate (60-70% cacao) into the finished mousse along with the rose water. The bitterness of the dark chocolate provides a stunning counterpoint to the sweet vanilla and floral rose, creating a more complex, sophisticated velvet cake dome recipe.
Variation 2: Vegan Velvet Rose Domes
I know how important it is to have options for all your guests. Substitute the cream cheese with a high-quality dairy-free cream cheese, use full-fat coconut cream (chilled and whipped) instead of heavy cream, and ensure your white chocolate and biscuits are vegan. The texture will be slightly more decadent and coconut-forward, but absolutely divine.
Variation 3: Orange Blossom & Pistachio
Inspired by the flavors of the Mediterranean, swap the rose water for orange blossom water and add the zest of one orange to the mousse. Replace the strawberry purée with a little orange juice for color. Top the gold domes with crushed pistachios. This floral dessert with gold finish is wonderfully aromatic and refreshing — a favorite of mine during the spring holidays.
What is the best way to achieve a smooth velvet texture for vanilla rose domes without air bubbles?
The key to a perfectly smooth, air-bubble-free velvet texture lies in the folding technique and the temperature of your ingredients. First, ensure your cream cheese is truly softened to room temperature so it blends into a perfectly smooth paste without lumps. Second, when you whip your heavy cream, stop at soft peaks — over-whipping can lead to a grainy texture. Finally, when folding the cream into the cream cheese mixture, use a gentle, slow hand. Don’t stir vigorously; instead, use a rubber spatula to cut down through the center and gently fold the mixture over itself. Scrape the bottom and sides of the bowl often. If you see any small bubbles on the surface, you can pop them with a toothpick or tap the bowl on the counter gently before spooning it into the molds.
Can I substitute rose water with rose extract in the velvet vanilla rose dome recipe?
Yes, you can substitute rose water with rose extract, but you must use it carefully as it is much more concentrated. A good rule of thumb is to start with 1/4 to 1/2 teaspoon of rose extract and taste your mousse before adding more. Rose extract can sometimes have a slightly artificial or overly perfumed flavor if too much is used. If you are looking for a more natural and subtle floral note that complements the vanilla and strawberry, I recommend sticking with a high-quality culinary rose water. If you do make the swap, be aware that the extract might not provide the same level of liquid, so your mousse might be marginally thicker.
How long do you need to freeze velvet vanilla rose dream domes before applying the gold glaze?
You need to freeze the velvet vanilla rose dream domes for at least 2 hours, or until they are completely solid to the touch. This is a non-negotiable step for success. Freezing the domes solid serves two crucial purposes: First, it makes them incredibly easy to unmold from the silicone molds without damaging their beautiful curved shape. Second, the frozen surface acts as a cold canvas for the gold glaze. When you brush the warm (not hot) white chocolate glaze over the frozen dome, it sets almost instantly, creating a thin, smooth, and flawless shell. If the domes aren’t frozen solid, the glaze will mix with the soft mousse and create a messy, dull finish.
What type of gold glaze works best for a mirror-like finish on frozen domes?
For a stunning mirror-like finish, the best glaze is a simple combination of high-quality white chocolate and a neutral oil like coconut oil. The coconut oil is the secret to that beautiful sheen. It helps the white chocolate flow smoothly over the frozen surface and dries to a glossy, polished shine. While you can buy pre-made gold glazes, I prefer this homemade version because it’s quick, reliable, and you can control the thickness. The edible gold luster dust is then brushed over the still-tacky glaze, which adheres perfectly to create that brilliant, reflective gold surface. For the absolute most intense mirror effect, apply two thin coats of the glaze and dust with gold luster between coats.
Can I use a different type of mold if I don’t have silicone dome molds?
While silicone dome molds are ideal for this recipe because they are flexible and make unmolding a breeze, you do have other options. You can use a standard metal muffin pan or mini bundt pans, but you must line them thoroughly with plastic wrap or non-stick foil to ensure you can pull the domes out without breaking them. Keep in mind that unmolding from a rigid pan is trickier, and you risk damaging the mousse. If you are using a metal pan, you can spray it very lightly with non-stick spray before adding the plastic wrap for extra security. For the best, most professional results, investing in a set of silicone dome molds is definitely worth it.
How can I make the strawberry purée for this recipe?
Making your own strawberry purée is incredibly simple and yields a much fresher, more vibrant flavor than store-bought versions. Take a cup of fresh or frozen (thawed) strawberries. Hull them and add them to a blender or food processor. Blitz until completely smooth. For an even smoother purée that won’t have any seeds, press it through a fine-mesh sieve using the back of a spoon. That’s it! You only need 1 tablespoon for this recipe, but you can make a larger batch and keep it in the refrigerator for a week to use in cocktails, lemonades, or over yogurt. The natural sweetness and acidity of the strawberry purée perfectly balance the richness of the mousse.
How should I store the edible gold luster dust for future use?
Edible gold luster dust is a wonderful investment for any baker who loves making special occasion desserts. To keep it in perfect condition, store it in a cool, dark, and dry place, away from direct sunlight and heat. A pantry or a dark cupboard is ideal. Make sure the container (usually a small jar or pot) is sealed tightly after each use to prevent moisture from getting in, which can cause the powder to clump. If stored properly, edible gold luster dust can last for years without losing its shimmer. Keep it away from steam when you’re baking, and always use a completely dry brush to apply it.
Why is my white chocolate glaze not sticking to the frozen domes?
If your white chocolate glaze is sliding off the frozen domes instead of sticking, the most common cause is that the domes are too wet or the glaze is too warm. When you remove the domes from the molds, make sure they are dry and free of any condensation. If they look slightly wet, pat them dry gently with a paper towel. The second issue could be the temperature of your glaze. The white chocolate and coconut oil mixture should be just warm to the touch — body temperature (around 90-95°F). If it’s too hot, it will melt the surface of the dome and slide right off. If it’s too cool, it will be too thick to spread smoothly. Aim for a fluid, honey-like consistency.
Share Your Version!
I absolutely love seeing you bring these Velvet Vanilla Rose Dream Domes to life in your own kitchens. There’s something deeply satisfying about creating a dessert that looks like it belongs in a luxury patisserie window, right? If you try this recipe, I would be so grateful if you could leave a star rating and a comment below telling me how it went. Did you try one of the variations? Did you add your own special twist?
Tag me in your photos on Instagram or Pinterest using @leosfoods — I personally reply to as many of you as I can, and I love featuring your bakes on my stories! Your support and creativity are what make this community so special. From my NYC kitchen to yours — I hope this recipe brings as much warmth to your table as it does to mine. — Stella 🧡
Love This Recipe? Save It to Pinterest!
If you enjoyed this Velvet Vanilla Rose Dream Domes with Gold Glaze recipe, don’t let it get lost in your browser tabs! 😄 Pin it now so you can find it again anytime — and explore hundreds more tried-and-tested recipes waiting for you on my Pinterest boards.
👉 Follow Stella on Pinterest @stellarecipeblog
📌 Pin this recipe · 🔁 Re-pin your favorites · 💬 Tag me when you make it — I love seeing your creations!
Made this recipe? Let me know! ⭐⭐⭐⭐⭐
Velvet Vanilla Rose Dream Domes with Gold Glaze
A luxurious dessert featuring vanilla velvet mousse with a delicate rose infusion, a crunchy biscuit base, and a shimmering edible gold glaze. Perfect for special occasions.
- Yield: 8 1x
Ingredients
- For the Vanilla Velvet Mousse:
- 8 oz (225 g) cream cheese, softened
- 1 cup heavy whipping cream, chilled
- 1/3 cup powdered sugar
- 1 1/2 tsp vanilla bean paste
- For the Rose Infusion Layer:
- 2 tbsp rose water
- 2 tbsp white chocolate, melted
- 1 tbsp strawberry purée (for subtle pink hue)
- For the Biscuit Base:
- 1 cup crushed vanilla biscuits
- 3 tbsp unsalted butter, melted
- For the Gold Glaze:
- 1/2 cup white chocolate, melted
- 1 tbsp coconut oil
- 1 tsp edible gold luster dust
- For Garnish (optional):
- Dried rose petals
- White chocolate curls
Instructions
- 1. Mix crushed vanilla biscuits with melted butter and press into silicone dome molds as a base layer.
- 2. Chill for 15 minutes until firm.
- 3. In a bowl, beat cream cheese, powdered sugar, and vanilla bean paste until smooth.
- 4. Whip heavy cream separately until soft peaks form, then fold into the cream cheese mixture.
- 5. Stir in rose water, melted white chocolate, and strawberry purée until lightly pink and fragrant.
- 6. Spoon mousse into molds over the biscuit base and smooth the tops.
- 7. Freeze for at least 2 hours until fully set.
- 8. Remove domes from molds and place on a rack.
- 9. Mix melted white chocolate with coconut oil and brush over each dome for a smooth coating.
- 10. Dust immediately with edible gold luster for a glossy gold finish.
- 11. Garnish with dried rose petals and white chocolate curls if desired.
- 12. Chill briefly before serving.
Nutrition
- Calories: 310
- Sugar: 20 g
- Fat: 22 g
- Carbohydrates: 24 g
- Protein: 4 g
Tried This Recipe? Leave a Comment!
Did you make this recipe? I’d love to hear how it turned out! Please leave a comment and a rating below. Your feedback helps other home cooks and supports cheerychop.com!
For more delicious inspiration, follow me on Pinterest!