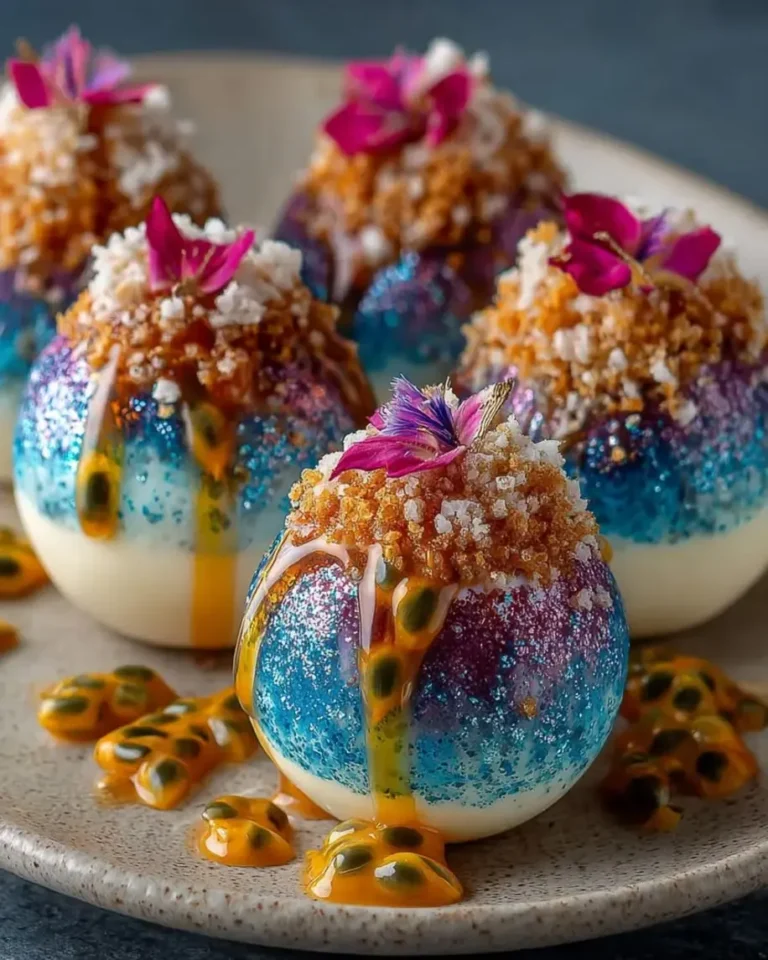
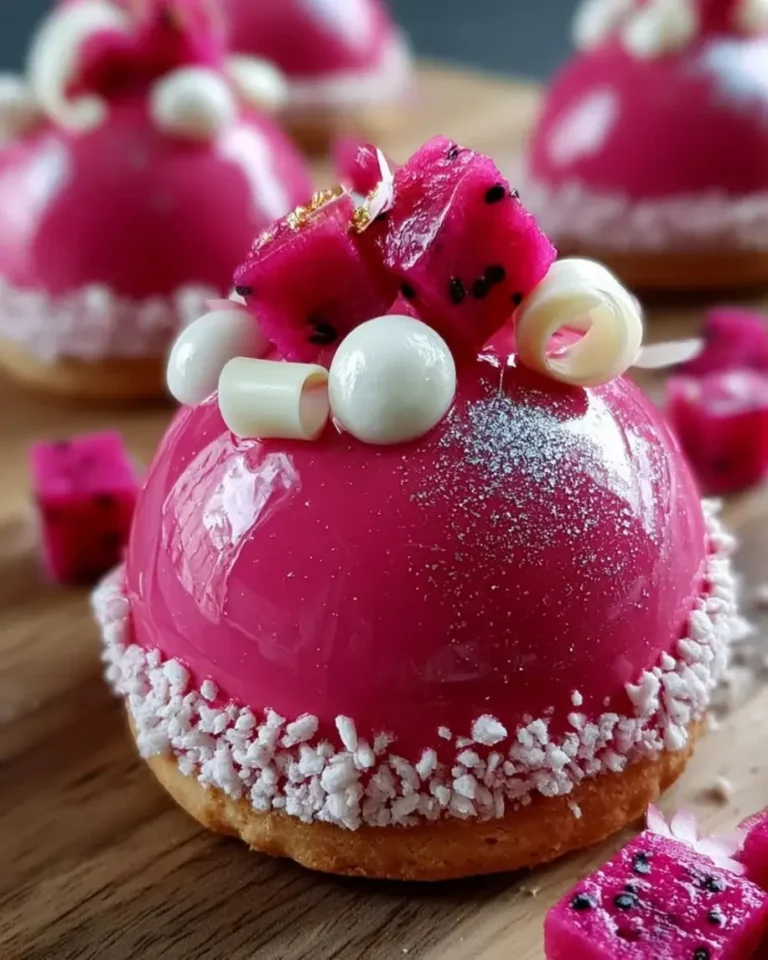
Stunning Rose Gold Strawberry Coconut Cream Bombs
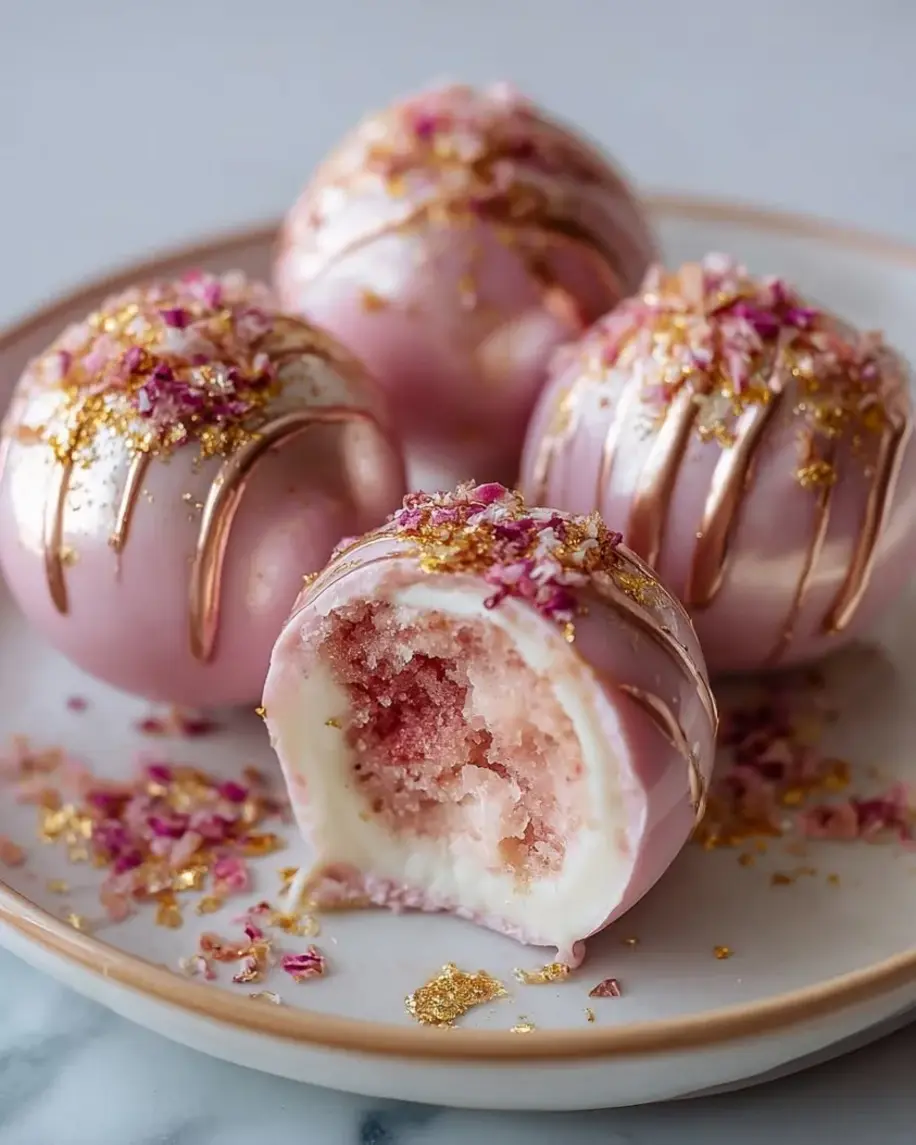
Table of Contents
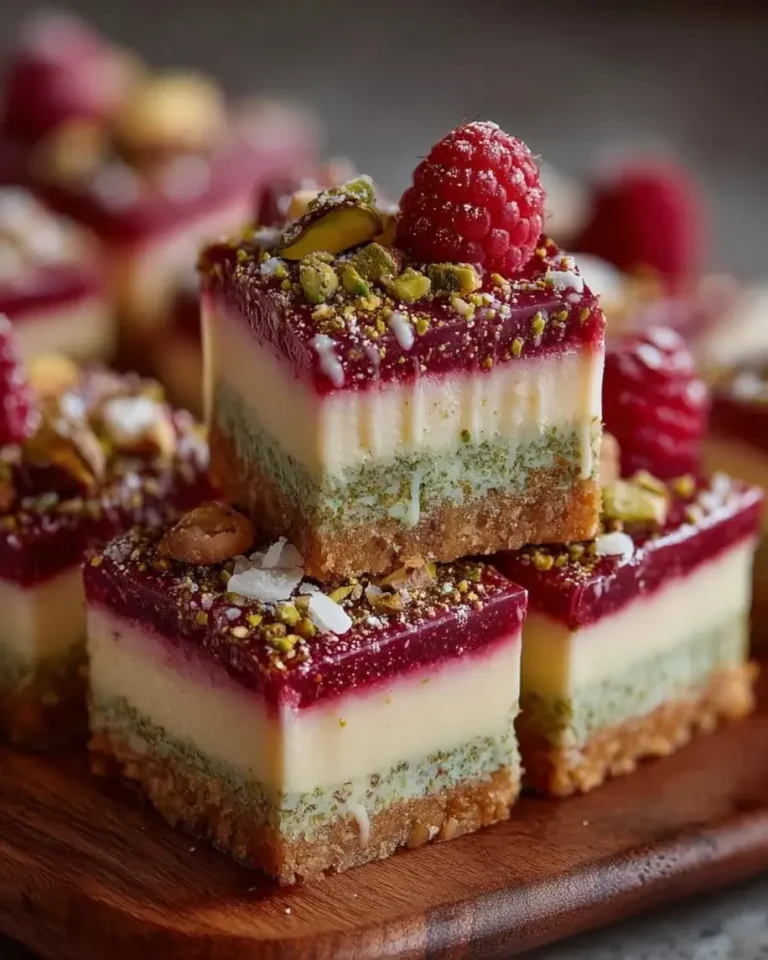
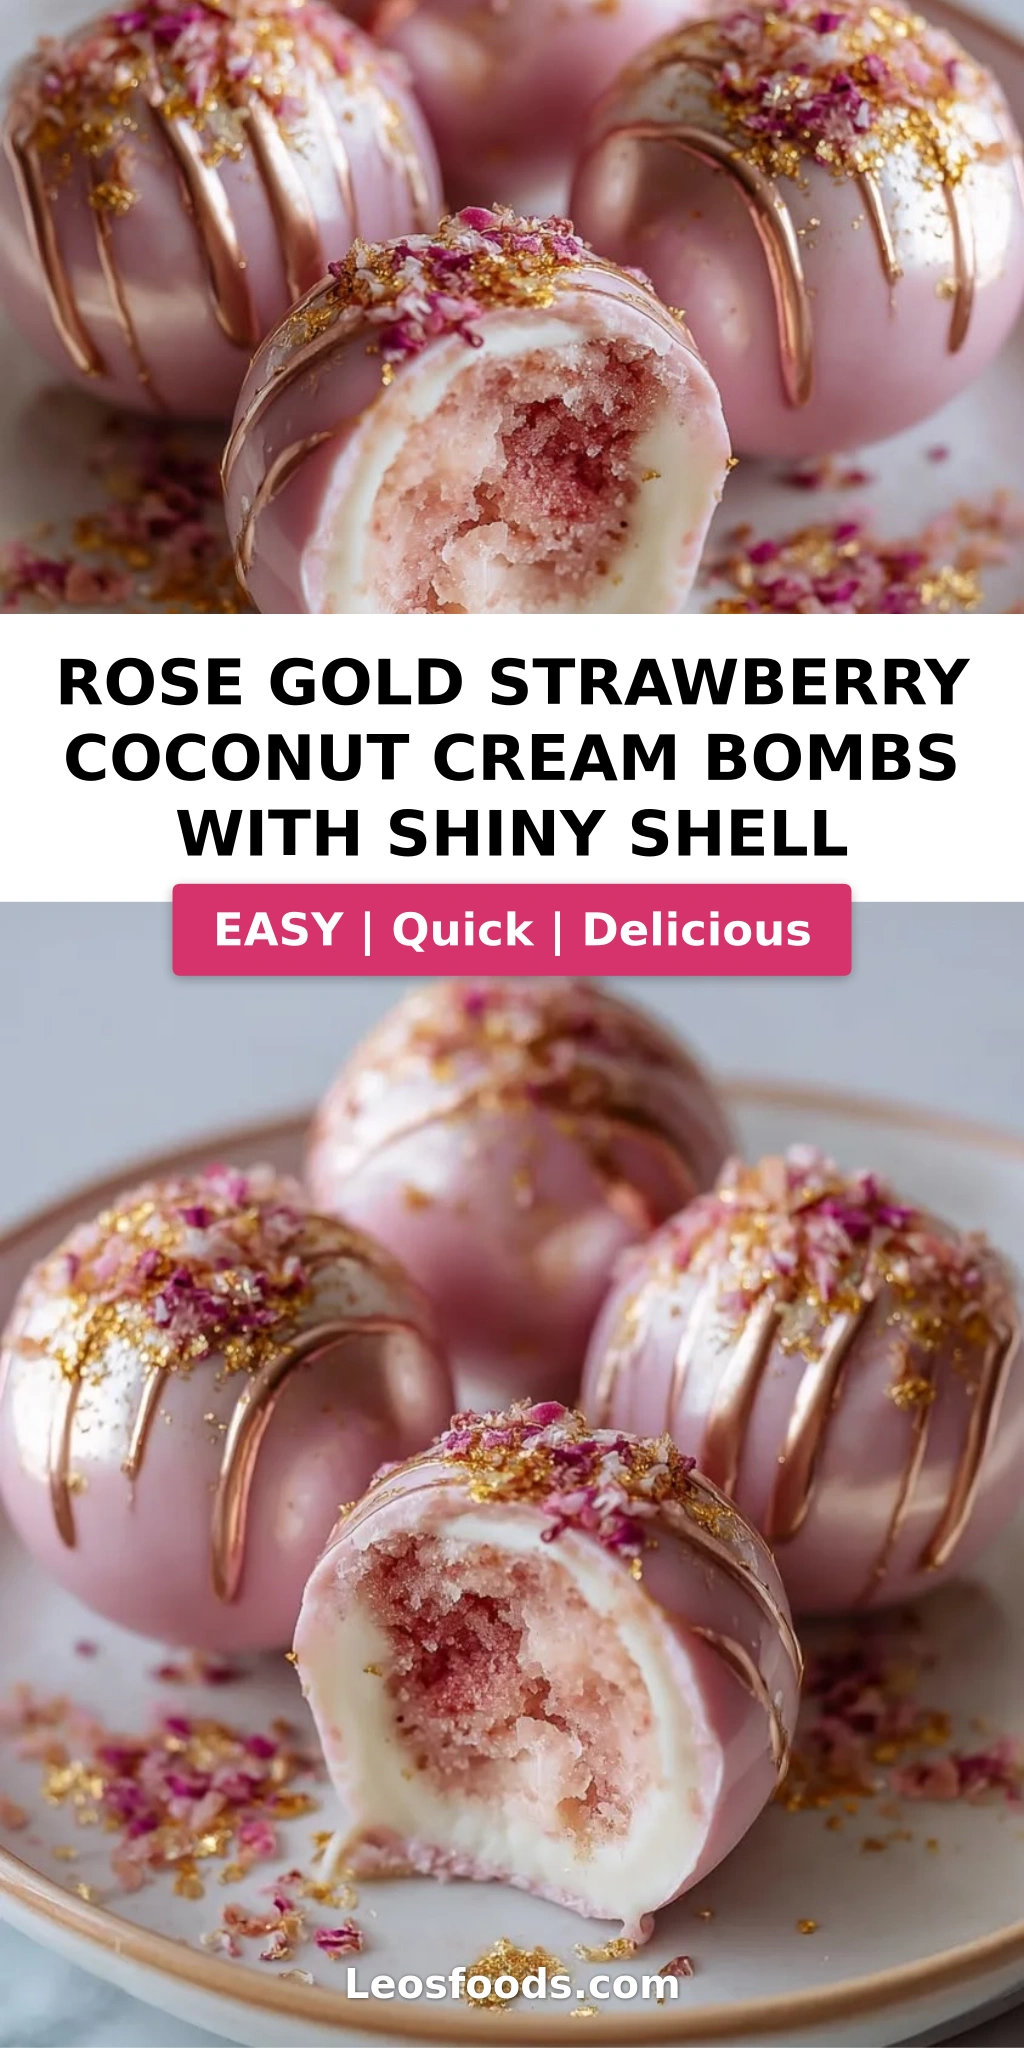
Rose Gold Strawberry Coconut Cream Bombs with Shiny Shell – A stunning no-temper dome dessert that shines like jewelry
I still remember the first time I saw a rose gold dessert in a tiny patisserie window near the École de Cuisine in Paris. The shimmering shell caught the morning light like a piece of jewelry. Decades later, here in my New York City kitchen, I’ve recreated that magic with these Rose Gold Strawberry Coconut Cream Bombs. The glossy, edible-gold finish doesn’t require a tempering machine – just a clever gelatin-based glaze that gives a mirror-like, rose gold sheen every single time. This is the kind of showstopper dessert that makes people gasp, yet it’s totally doable at home.
Picture this: a delicate, strawberry-coconut outer shell that cracks gently under your spoon, revealing a cloud of mascarpone-coconut cream inside. The aroma is pure summer – ripe strawberries, toasted coconut, and a hint of vanilla. With every bite you get that lush creamy filling, the fruity shell, and then the faint shimmer of edible gold that feels utterly decadent. My mother used to fold coconut into her tagines in Morocco; now I fold it into a French-inspired dome with a rose gold crown. It’s a little bit of Marrakech meets the Upper West Side.
I’ve tested this recipe a dozen times to make the shell sturdy enough to hold its shape yet thin enough to shatter beautifully. The secret? A precise gelatin bloom and the right ratio of puree to coconut milk. Plus, my No-Temper Shiny Rose Gold Shell Glaze means you skip all the fuss of chocolate tempering. One common mistake is rushing the setting time – patience gives you that perfect crisp shell. I’ll walk you through every step, including a pro tip to avoid weeping glaze. From my NYC kitchen, let’s make these bombs together.
Why This Rose Gold Strawberry Coconut Cream Bombs Recipe Is the Best
The Flavor Secret: This recipe marries the sweet-tartness of fresh strawberry puree with the rich creaminess of full-fat coconut milk. I add a pinch of salt to elevate the fruit, and the mascarpone filling is whipped to billowy lightness – it’s like a cloud of coconut dreams. My French pastry training taught me that balance is everything: the strawberry shell and coconut cream need to sing together, not overpower each other.
Perfected Texture: The shells get their just-right snap from a precise gelatin ratio. Blooming the gelatin in cold water for 5 minutes (never hot – that kills its setting power) and dissolving it into warm puree ensures a stable, flexible shell. Then the glaze – a blend of white chocolate, condensed milk, and gelatin – sets to a shiny, non-sticky finish that doesn’t crack. This is the technique I learned in Paris for mirror glazes, adapted for home cooks.
Foolproof & Fast: Even if you’ve never made a dome dessert before, this recipe works. The no-temper glaze is incredibly forgiving: just heat, whisk, and pour. No sugar thermometers, no fear of seizing. I’ve made these with my 10-year-old nephew, and he nailed the glaze on his first try. The hardest part is waiting for the bombs to freeze – but that hands-off time is perfect for prepping the glaze.
Rose Gold Strawberry Coconut Cream Bombs Ingredients
Every Saturday morning, I walk to the Union Square greenmarket to pick up fresh strawberries for this recipe. The bright, fragrant ones from New Jersey farms are my favorite. The coconut milk I always keep in my pantry – it reminds me of the tins my mother would open for her sweet couscous. Let me take you through the shopping list.
Ingredients List
- For the Strawberry Coconut Shells:
- 2 cups strawberry puree (blended fresh strawberries, strained if desired)
- 1 cup coconut milk (full-fat, from a can)
- 1/3 cup granulated sugar
- 2 tsp gelatin powder (unflavored)
- 2 tbsp cold water (for blooming gelatin)
- 1 tsp vanilla extract
- Pinch of salt
- For the Coconut Cream Filling:
- 1 cup mascarpone cheese, softened at room temp
- 1/2 cup heavy whipping cream, cold
- 3 tbsp powdered sugar
- 1 tsp coconut extract (not coconut flavoring)
- For the Shiny Rose Gold Shell Glaze:
- 1 cup white chocolate, finely chopped (use good quality – it matters for shine)
- 1/2 cup sweetened condensed milk
- 1/4 cup water
- 1 tbsp gelatin powder
- 3 tbsp cold water (for blooming)
- 1 tsp vanilla extract
- 1/2 tsp edible gold luster dust
- A few drops pink food coloring (gel preferred)
- For Garnish (optional):
- 2 tbsp toasted coconut flakes
- 1 tbsp freeze-dried strawberry crumbs
- Edible gold flakes
Ingredient Spotlight
Strawberry Puree: The base of your shell. Use ripe, in-season strawberries for the best color and sweetness. Frozen berries work too – just thaw and puree them, then strain if you want a seedless shell. The puree should be smooth and vibrant red.
Gelatin Powder: This is what gives the shell its structure and the glaze its mirror finish. Use unflavored gelatin like Knox. Bloom it in cold water for exactly 5 minutes – if you skip this step, the shell will be soft and the glaze won’t set properly.
White Chocolate: For the glaze, you want a white chocolate that melts smoothly. I prefer Ghirardelli or Callebaut – they have a high cocoa butter content which gives that lovely sheen. Avoid white chips that contain artificial fats – they won’t set into a glossy shell.
Edible Gold Luster Dust: This is what transforms your glaze into rose gold. You can find it at craft stores or online. A little goes a long way – just half a teaspoon mixed into the warm glaze gives a stunning shimmer. Don’t use gold spray – it can taste metallic.
| Original Ingredient | Best Substitution | Flavor / Texture Impact |
|---|---|---|
| Fresh strawberry puree | Thawed frozen strawberry puree, strained | Slightly less bright flavor, but works well after adding 1 tsp lemon juice |
| Coconut milk (full-fat) | Coconut cream + water (3:1 ratio) | Richer coconut flavor, but the shell may be slightly firmer |
| Mascarpone cheese | Full-fat cream cheese, softened | Tangier filling; add 1 extra tbsp powdered sugar |
| White chocolate (chopped) | White chocolate chips (check for cocoa butter) | Slightly less shiny glaze; add 1 tsp coconut oil for gloss |
| Edible gold luster dust | Pearl luster dust + yellow food coloring | Less authentic rose gold, but still pretty shimmer |
How to Make Rose Gold Strawberry Coconut Cream Bombs — Step-by-Step
Grab your silicone dome molds (2.5-inch half spheres work perfectly) and let’s get started. The process is broken into three parts: shell, filling, glaze. I’ll guide you through each one with chef’s tricks.
Step 1: Prepare the Gelatin Blossoms
In two small bowls, sprinkle the gelatin powders over the specified cold water – 2 tsp gelatin + 2 tbsp water for the shell, and 1 tbsp gelatin + 3 tbsp water for the glaze. Let them sit for 5 minutes without stirring. This “blooming” step hydrates the gelatin so it dissolves evenly later.
💡 Stella’s Pro Tip: Set a timer! Over-bloomed gelatin (more than 10 minutes) can lose setting power. Exactly 5 minutes is the sweet spot.
Step 2: Make the Strawberry Coconut Base
In a medium saucepan, combine the strawberry puree, coconut milk, sugar, vanilla extract, and a pinch of salt. Warm over medium heat, stirring occasionally, until the mixture is hot but not boiling (about 160°F). Remove from heat and add the bloomed shell gelatin. Stir until fully dissolved – the liquid should be smooth and slightly thickened.
⚠️ Common Mistake to Avoid: Boiling the mixture can break the gelatin and give a rubbery texture. Heat only until steam rises and it’s too hot to touch.
Step 3: Create the Shells
Spoon about 2 tablespoons of the warm strawberry mixture into each cavity of your silicone mold. Use a small brush or the back of a spoon to spread it evenly up the sides, ensuring no bare spots. Place the mold in the refrigerator for 20 minutes, until the layer is set but still slightly tacky.
💡 Stella’s Pro Tip: For even shells, rotate the mold after 10 minutes to redistribute the liquid. The layer should be about 1/8 inch thick – too thin and it breaks, too thick and it’s chewy.
Step 4: Whip the Coconut Cream Filling
While the shells are setting, make the filling. In a large bowl, combine the mascarpone, heavy cream, powdered sugar, and coconut extract. Beat with a whisk or hand mixer on medium speed until the mixture holds stiff peaks – about 2 minutes. Be careful not to over-whip, or it will curdle.
💡 Stella’s Pro Tip: Chill your bowl and beaters for 10 minutes first – the cream whips up faster and stays stable longer.
Step 5: Assemble the Bombs
Spoon the whipped coconut cream into a piping bag or a zip-top bag with the corner snipped. Pipe the filling into each shell cavity, filling almost to the top but leaving about 1/4 inch border around the edges. Gently tap the mold on the counter to settle the filling.
⚠️ Common Mistake to Avoid: Overfilling causes the shell to leak or dome when you add the top layer. Leave that tiny border so the seal holds.
Step 6: Seal and Freeze
Reheat the remaining strawberry coconut mixture until liquid again (if it has set). Pour a thin layer over each filled cavity, covering the filling completely. Use a small offset spatula to level the top. Place the mold in the freezer for at least 4 hours, or overnight. The bombs must be completely frozen solid before glazing.
💡 Stella’s Pro Tip: Freeze them on a flat baking sheet so they stay level. If any filling peeks through, dab it with a bit of the mixture before freezing – it helps the shell seal.
Step 7: Make the Rose Gold Glaze
Bloom the glaze gelatin (1 tbsp in 3 tbsp cold water) for 5 minutes. In a small pot, heat the sweetened condensed milk and water until steaming – again, no boiling. Remove from heat and stir in the bloomed gelatin until dissolved. Pour this warm liquid over the finely chopped white chocolate in a heatproof bowl. Let sit for 30 seconds, then stir gently until the chocolate is completely melted and the mixture is smooth. Add vanilla extract, pink food coloring (just a drop or two), and the edible gold luster dust. Stir until you achieve a uniform rose gold hue. Allow the glaze to cool to 90–95°F – it should be glossy and pourable, not runny.
⚠️ Common Mistake to Avoid: If the glaze is too warm (above 100°F), it will melt the frozen bombs and slide off. Let it cool until it feels like warm bathwater.
Step 8: Glaze and Garnish
Unmold the frozen bombs by gently twisting the silicone mold. Place each bomb on a wire rack set over a baking sheet lined with parchment. Working quickly, pour the rose gold glaze over each bomb, covering it completely. Let the excess drip off. Using a thin spatula, transfer each glazed bomb to a serving plate or individual cups. Immediately sprinkle with toasted coconut flakes, freeze-dried strawberry crumbs, and a few edible gold flakes. Work fast – the glaze sets within a minute or two.
💡 Stella’s Pro Tip: For a more dramatic drip, tilt the rack slightly so the glaze runs to one side – it creates a beautiful ombre effect.
Step 9: Chill and Serve
Place the glazed bombs in the refrigerator for at least 30 minutes to thaw slightly. The center should be creamy, not icy. Serve chilled, and watch the faces of your guests light up.
⚠️ Common Mistake to Avoid: Don’t let them sit at room temperature too long – the shiny shell can sweat. Keep them refrigerated until serving.
| Step | Action | Duration | Key Visual Cue |
|---|---|---|---|
| 1 | Bloom both gelatins | 5 mins | Gelatin absorbs water, becomes a firm, jiggly mass |
| 2 | Heat strawberry puree mixture | 5 mins | Steam rises, sugar dissolves, mixture feels warm to touch |
| 3 | Spoon and brush shell layers | 10 mins + 20 mins chill | Shell layer is set but still slightly tacky |
| 4 | Whip coconut cream filling | 2 mins | Stiff peaks hold their shape when whisk is lifted |
| 5 | Pipe filling into shells | 5 mins | Filling is level with the shell edge, little border remains |
| 6 | Seal and freeze bombs | 5 mins + 4 hrs freeze | Bombs are rock solid, unmold easily |
| 7 | Make rose gold glaze | 15 mins + cooling | Glaze is smooth, glossy, and runs off the spoon in a ribbon |
| 8 | Glaze and garnish bombs | 10 mins | Glaze sets to a shiny, non-sticky shell within 2 minutes |
| 9 | Chill and serve | 30 mins chill | Bombs are cold and creamy, glaze is firm |
Serving & Presentation
These bombs are meant to be the grand finale of a dinner party. I like to serve them on individual white plates with a swoosh of leftover strawberry puree or a dollop of whipped cream. The rose gold shimmer catches the light beautifully, especially for birthdays, anniversaries, or Valentine’s Day. For an extra touch, add a fresh mint leaf and a few edible flowers – they contrast perfectly with the pink and gold.
In my Parisian training, we always paired such desserts with a sweet wine or a floral tea. Here in NYC, I often serve them alongside a dark espresso or a sparkling rosé. The bombs are rich, so small portions are ideal. If you’re making them for a party, you can halve the recipe to make 6 smaller domes using mini silicone molds.
One of my favorite memories is serving these at a friend’s bridal shower in Brooklyn. We had a “rose gold” theme, and these bombs were the centerpiece of the dessert table. Guests kept asking if they were from a professional patisserie – and I’d smile and say, “No, just my tiny NYC kitchen.”
| Pairing Type | Suggestions | Why It Works |
|---|---|---|
| Side Dish | Fresh berries, vanilla bean ice cream | Adds freshness and contrast to the rich coconut cream |
| Sauce / Dip | Raspberry coulis, chocolate ganache drizzle | Extra fruity or chocolatey dimension |
| Beverage | Sparkling rosé, jasmine tea, espresso | The acidity or bitterness cuts through the sweetness |
| Garnish | Edible gold flakes, fresh mint, candied rose petals | Enhances the rose gold theme and visual appeal |
Make-Ahead, Storage & Reheating
Living in New York City means I’m always prepping for busy weeks. These bombs are perfect for making ahead. I often prepare a double batch, freeze them unglazed, and then glaze the day I serve them. The glaze holds its shine for up to 8 hours in the fridge, so you can glaze them in the morning for an evening party.
| Method | Container | Duration | Reheating Tip |
|---|---|---|---|
| Refrigerator | Airtight container, single layer | Up to 3 days (glazed) | Serve straight from fridge; glaze may soften slightly |
| Freezer | Freezer-safe bag, bombs unglazed | Up to 3 months | Thaw in fridge 2 hours, then glaze and serve |
| Make-Ahead | Freeze unglazed bombs on a tray | Make up to 1 week ahead | Glaze directly from frozen – no need to thaw first |
If you have leftover bombs after a party (unlikely, but possible!), store them in an airtight container in the fridge. The glaze may lose some of its mirror shine after a day or two, but the flavor remains delicious. Do not reheat these bombs – they are meant to be served chilled. If they freeze too hard, let them sit at room temperature for 5 minutes before serving.
Variations & Easy Swaps
The beauty of this recipe is that it’s a canvas for creativity. During strawberry season, I use peak-sweet berries; in winter, I swap in raspberry puree for a deep red shell. My Moroccan roots inspire me to add a pinch of cinnamon or cardamom to the shell for a warm, exotic twist. Here are three variations you’ll love.
| Variation | Key Change | Best For | Difficulty Impact |
|---|---|---|---|
| Raspberry Rose Gold Bombs | Replace strawberry puree with raspberry puree; add 1 tsp rose water to filling | Elegant floral flavor | Same – easy |
| Vegan Coconut Mango Bombs | Use agar-agar instead of gelatin (1:1 ratio), coconut cream instead of mascarpone, and mango puree | Plant-based diet | Medium – agar sets differently |
| Chocolate Rose Gold Bombs | Add 3 tbsp cocoa powder to strawberry puree; fill with chocolate mousse (replace coconut extract with vanilla) | Chocolate lovers | Same – easy |
Raspberry Rose Gold Bombs
This variation is inspired by the rose-scented desserts I tasted in Parisian tea rooms. Swap the strawberry puree for an equal amount of raspberry puree (strained to remove seeds). Add 1 teaspoon of rose water to the coconut cream filling. The pairing of tart raspberry and floral rose is absolutely divine, and the red glaze still shines beautifully with the gold luster dust.
Vegan Coconut Mango Bombs
For my plant-based friends, replace the gelatin with agar-agar powder (use the same weight – 2 tsp for shell, 1 tbsp for glaze). Bloom agar in water just like gelatin, but you must bring the mixture to a full boil for 2 minutes to activate it. Use full-fat coconut cream instead of mascarpone, and whip it with a little aquafaba for lightness. Mango puree makes a gorgeous golden shell. The texture is slightly softer than the original, but the flavor is tropical and bright – perfect for summer gatherings.
Chocolate Rose Gold Bombs
When I’m craving something richer, I add 3 tablespoons of unsweetened cocoa powder to the strawberry coconut base. The cocoa adds depth without overwhelming the strawberry. For the filling, replace the coconut extract with vanilla and fold in 2 ounces of melted dark chocolate into the mascarpone cream. These are absolutely decadent, and the rose gold glaze over the dark pink shell is stunningly beautiful.
How do you make a shiny shell for strawberry coconut cream bombs without a tempering machine?
You absolutely don’t need a tempering machine for this shiny shell! The secret is a gelatin-based mirror glaze. After blooming gelatin in cold water, you dissolve it into a warm mixture of sweetened condensed milk and water, then pour that over finely chopped white chocolate. The gelatin gives the glaze a glossy, firm finish that sets quickly without any tempering. Adding a drop of pink food coloring and edible gold luster dust creates that beautiful rose gold shine. Just make sure the glaze cools to about 95°F before pouring – if it’s too hot, it will melt the frozen bombs; too cool, it will become too thick to coat evenly.
What can I substitute for coconut cream in rose gold strawberry coconut cream bombs?
If you don’t have coconut cream, you can easily substitute with full-fat coconut milk that has been refrigerated overnight – the thick cream that rises to the top works perfectly. Alternatively, use mascarpone cheese mixed with a dash of coconut extract for the filling. For the shell, you can replace coconut milk with an equal amount of almond milk or oat milk, but the flavor will be milder and the texture slightly less rich. If you want to keep it dairy-free, use a combination of full-fat coconut milk and a tablespoon of coconut oil for richness. Each substitution changes the final taste, but the bombs will still be delicious.
How long do rose gold strawberry coconut cream bombs need to set in the fridge before serving?
After glazing, the bombs should be refrigerated for at least 30 minutes to allow the glaze to fully set and the interior to thaw to a creamy consistency. If you freeze the bombs for longer (like overnight), they may be too hard to eat straight from the freezer – let them sit in the fridge for about an hour before serving. The total time from start to serving is about 5 hours: 20 minutes to make the shell layer, 4 hours to freeze the assembled bombs, 15 minutes to make the glaze, and then 30 minutes to chill after glazing. For the best texture, serve them within 24 hours of glazing.
Can I use fresh strawberries instead of freeze-dried strawberry powder in this recipe?
Absolutely! This recipe actually calls for fresh strawberry puree as the base of the shells – not freeze-dried powder. The freeze-dried strawberry crumbs are only used as a garnish on top. For the puree, simply blend fresh, ripe strawberries until smooth. If you want a seedless shell, strain the puree through a fine-mesh sieve. In winter, you can use thawed frozen strawberries – just drain off any excess liquid before pureeing. The fresh strawberry flavor shines through beautifully. Freeze-dried strawberry powder can be used to intensify the color or to sprinkle on top, but it’s not necessary for the recipe.
Why did my shiny shell glaze become cloudy or dull?
A cloudy glaze usually happens when the glaze is too cold when poured, or when the white chocolate wasn’t fully emulsified. Make sure your white chocolate is finely chopped and the warm condensed milk mixture is between 160-170°F when you pour it over the chocolate. Stir gently to combine – over-stirring can create air bubbles that dull the shine. Also, the glaze should be poured when it’s between 90-95°F. If it cools too much, it becomes thick and loses its mirror finish. If it’s too warm, it may slide off and create a less uniform coating. I recommend using a digital thermometer for best results.
Can I make these bombs without silicone molds?
You can, but silicone hemisphere molds give the best shape and make unmolding easy. If you don’t have them, you can use a metal muffin tin that has been well-greased with coconut oil. Alternatively, use small glass bowls or ramekins lined with plastic wrap. The key is to create a smooth, dome-like cavity. Without silicone, you’ll need to be extra careful when unmolding: place the mold in warm water for 5 seconds to loosen the shell, then gently pull it out. The shape may not be as perfectly round as with silicone, but the taste will be the same.
How do I store leftover rose gold strawberry coconut cream bombs?
Leftover bombs should be stored in an airtight container in the refrigerator for up to 3 days. The glaze may lose some of its high-gloss shine after a day or two, but the flavor remains delicious. If you need to store them longer, freeze the unglazed bombs (without the glaze) for up to 3 months. When you’re ready to serve, thaw them in the fridge for 2 hours, then prepare a fresh batch of glaze and pour it over the frozen bombs. Never refreeze glazed bombs – the texture of the glaze will become dull and sticky upon thawing.
Can I double this recipe for a party?
Yes, you can easily double or triple this recipe. The only challenge is having enough room in your freezer to freeze all the bombs solid. I recommend using multiple silicone molds and freezing them in batches. For the glaze, make it in a larger batch but use it within 2 hours – the gelatin can start to set if left too long. When glazing, work in small batches so the bombs stay frozen. A good rule is to glaze no more than 6 bombs at a time. If you’re making a large quantity, you can also arrange a glazing assembly line with a helper.
What is the best way to achieve the perfect rose gold color?
The perfect rose gold comes from combining pink food coloring (gel works best) with edible gold luster dust. Start with just a drop of pink – you want a very pale pink, almost blush. Then add 1/2 teaspoon of edible gold luster dust and stir well. The gold dust gives a shimmer that catches the light. If the color looks too pink, add a tiny bit more gold dust; if too pale, add another drop of pink. Remember that the white color of the chocolate will lighten the final hue, so go a shade darker than you think. I always test a small spoonful of glaze on a white plate before pouring over the bombs.
Why did my strawberry coconut shell break when unmolding?
A broken shell usually means the gelatin was not bloomed properly, or the shell layer was too thin. Make sure you bloom the gelatin in cold water for exactly 5 minutes – warm water will cause it to dissolve unevenly and weaken the structure. Also, the shell layer should be about 1/8 inch thick – if it’s too thin, it will be fragile. Another common cause is rushing the freezing time: the bombs must be frozen solid for at least 4 hours. If you try to unmold before they are fully set, the shell can crack. Finally, use a flexible silicone mold and gently push from the bottom to release.
Share Your Version!
Now I want to hear from you! Have you tried these Rose Gold Strawberry Coconut Cream Bombs? Did you add your own twist – maybe a sprinkle of cinnamon from my Moroccan days or a dark chocolate drizzle from a Parisian memory? I’d love to see your creations. Leave a star rating below (I read every comment), and don’t forget to tag your photos with @leosfoods on Instagram or Pinterest. You can also follow me on Pinterest at @stellarecipeblog for more shiny, showstopping desserts.
One last question: What’s your favorite way to customize the filling? Let me know in the comments – your idea might inspire my next recipe! From my NYC kitchen to yours — I hope this recipe brings as much warmth to your table as it does to mine. — Stella 🧡
📣 Did you make this recipe?
I love seeing your creations! Snap a photo and tag me on Instagram @leosfoods or leave a comment below with your favorite variation.
Love This Recipe? Save It to Pinterest!
If you enjoyed these Rose Gold Strawberry Coconut Cream Bombs, don’t let them get lost in your browser tabs! 😄 Pin it now so you can find it again anytime — and explore hundreds more tested recipes waiting for you on my Pinterest boards.
👉 Follow Stella on Pinterest @stellarecipeblog
📌 Pin this recipe · 🔁 Re-pin your favorites · 💬 Tag me when you make it — I love seeing your creations!
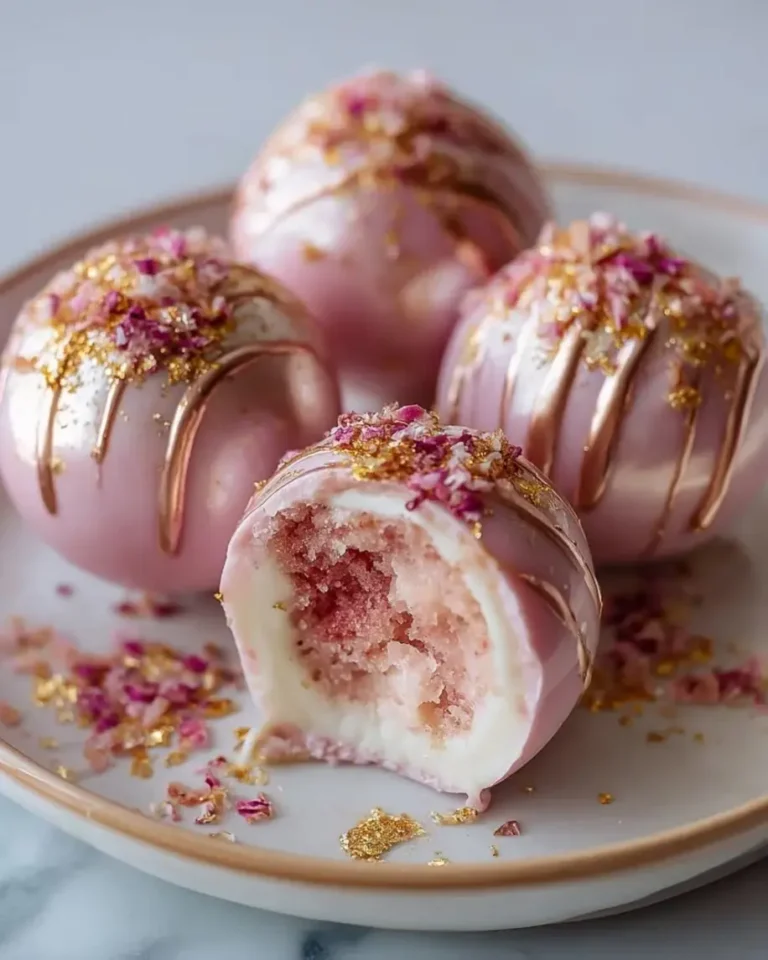
Rose Gold Strawberry Coconut Cream Bombs with Shiny Shell
Rose Gold Strawberry Coconut Cream Bombs with Shiny Shell
- Yield: 6 1x
Ingredients
- For the Strawberry Coconut Shells:
- 2 cups strawberry puree
- 1 cup coconut milk
- 1/3 cup granulated sugar
- 2 tsp gelatin powder
- 2 tbsp cold water
- 1 tsp vanilla extract
- Pinch of salt
- For the Coconut Cream Filling:
- 1 cup mascarpone cheese
- 1/2 cup heavy whipping cream
- 3 tbsp powdered sugar
- 1 tsp coconut extract
- For the Shiny Rose Gold Shell Glaze:
- 1 cup white chocolate, finely chopped
- 1/2 cup sweetened condensed milk
- 1/4 cup water
- 1 tbsp gelatin powder
- 3 tbsp cold water
- 1 tsp vanilla extract
- 1/2 tsp edible gold luster dust
- A few drops pink food coloring
- For Garnish (optional):
- 2 tbsp toasted coconut flakes
- 1 tbsp freeze-dried strawberry crumbs
- Edible gold flakes
Instructions
- Bloom gelatin in cold water for 5 minutes.
- Heat strawberry puree, coconut milk, sugar, salt, and vanilla extract until warm and smooth. Remove from heat and stir in bloomed gelatin until fully dissolved.
- Pour a thin layer of the strawberry coconut mixture into silicone molds, coating the sides evenly. Chill until partially set.
- Whip mascarpone, heavy cream, powdered sugar, and coconut extract until light and fluffy.
- Fill the center of each shell with the coconut cream filling, leaving a small border around the edges.
- Cover with remaining strawberry coconut mixture and freeze for at least 4 hours until fully firm.
- For the glaze, bloom gelatin in cold water for 5 minutes.
- Heat sweetened condensed milk and water until steaming. Remove from heat and stir in gelatin until dissolved.
- Pour over white chocolate and mix until smooth. Add vanilla extract, pink food coloring, and edible gold luster dust until a rose gold sheen forms.
- Allow glaze to cool until glossy but pourable.
- Unmold frozen bombs and place on a wire rack. Pour rose gold glaze evenly over each bomb.
- Let excess drip off, then transfer to serving plates.
- Finish with toasted coconut flakes, freeze-dried strawberry crumbs, and edible gold flakes.
- Serve chilled.
Nutrition
- Calories: 410
- Sugar: 31g
- Fat: 27g
- Carbohydrates: 38g
- Protein: 5g
Tried This Recipe? Leave a Comment!
Did you make this recipe? I’d love to hear how it turned out! Please leave a comment and a rating below. Your feedback helps other home cooks and supports cheerychop.com!
For more delicious inspiration, follow me on Pinterest!