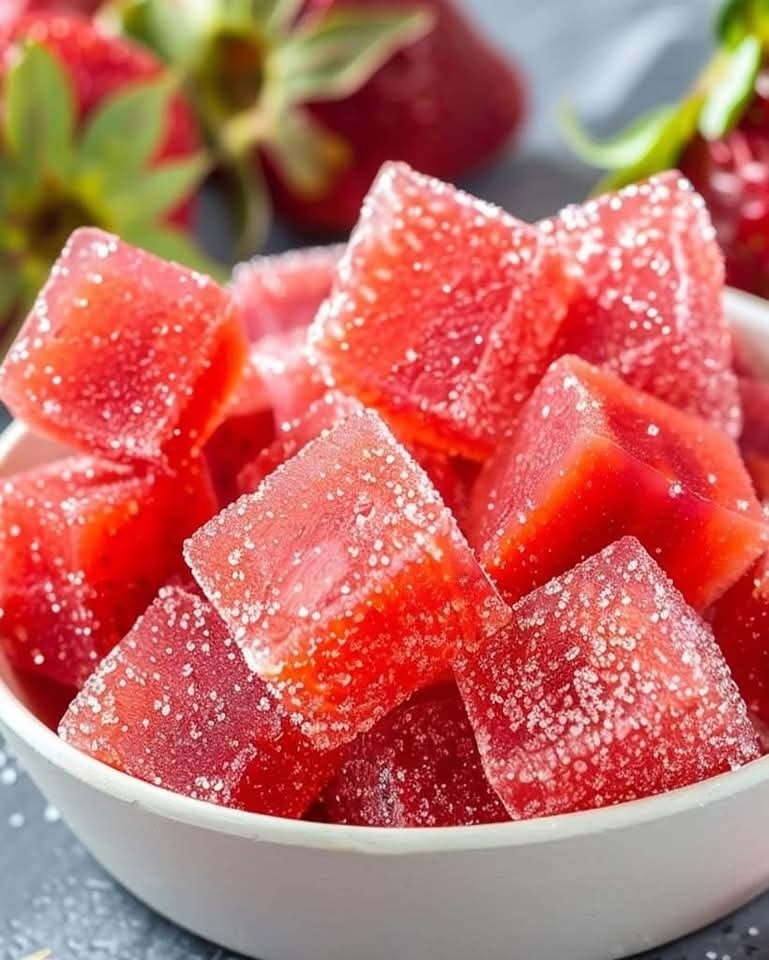
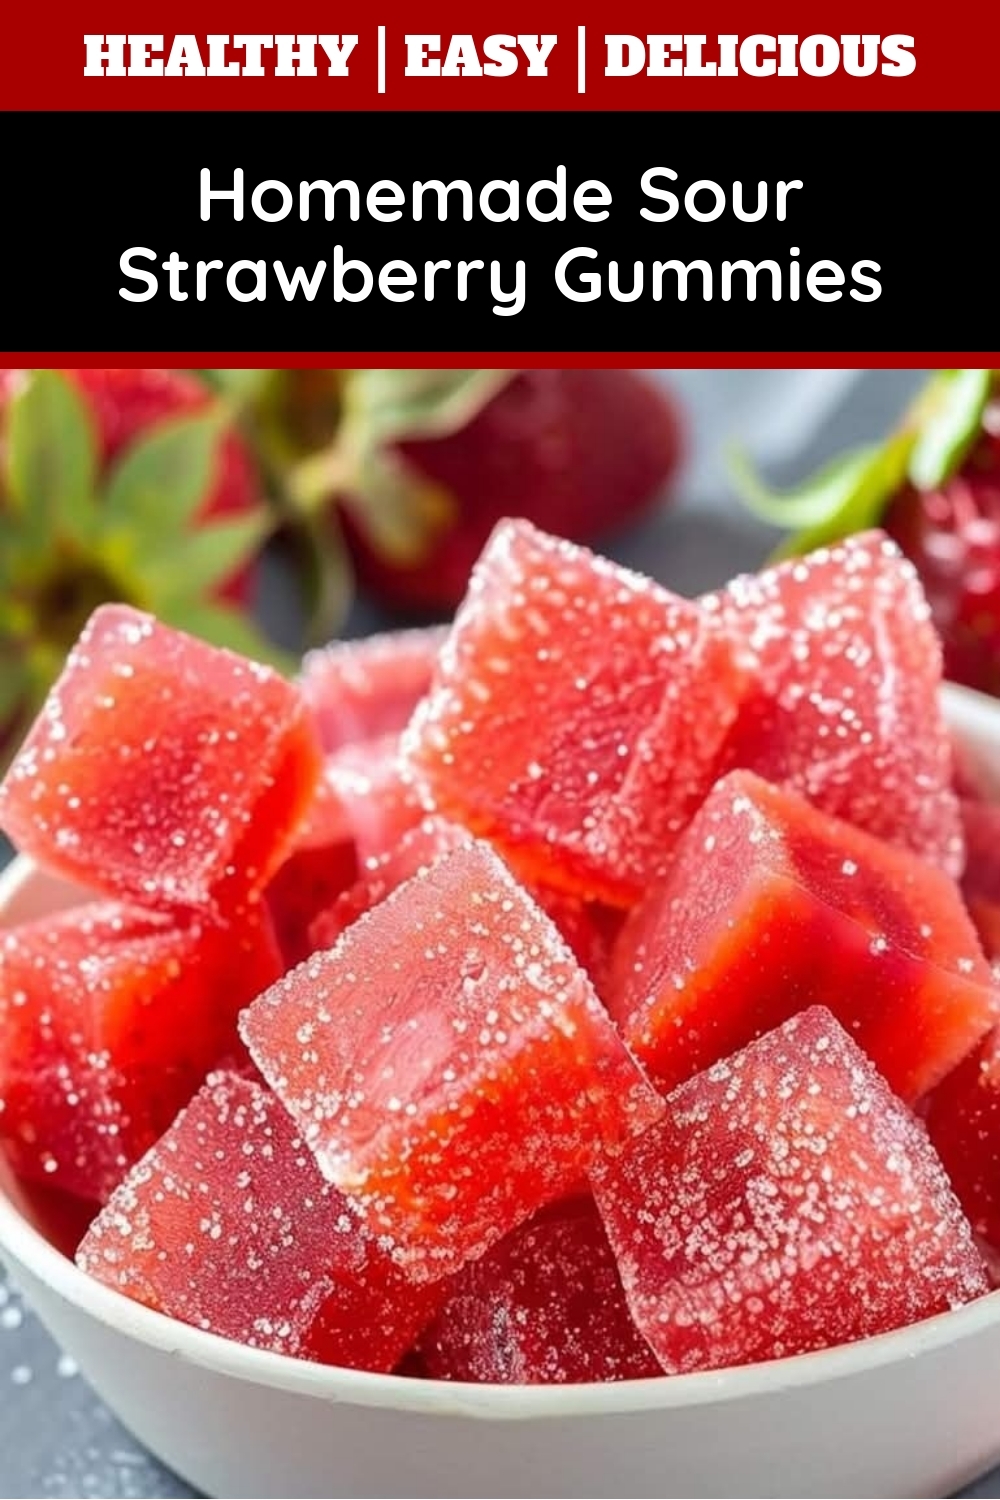
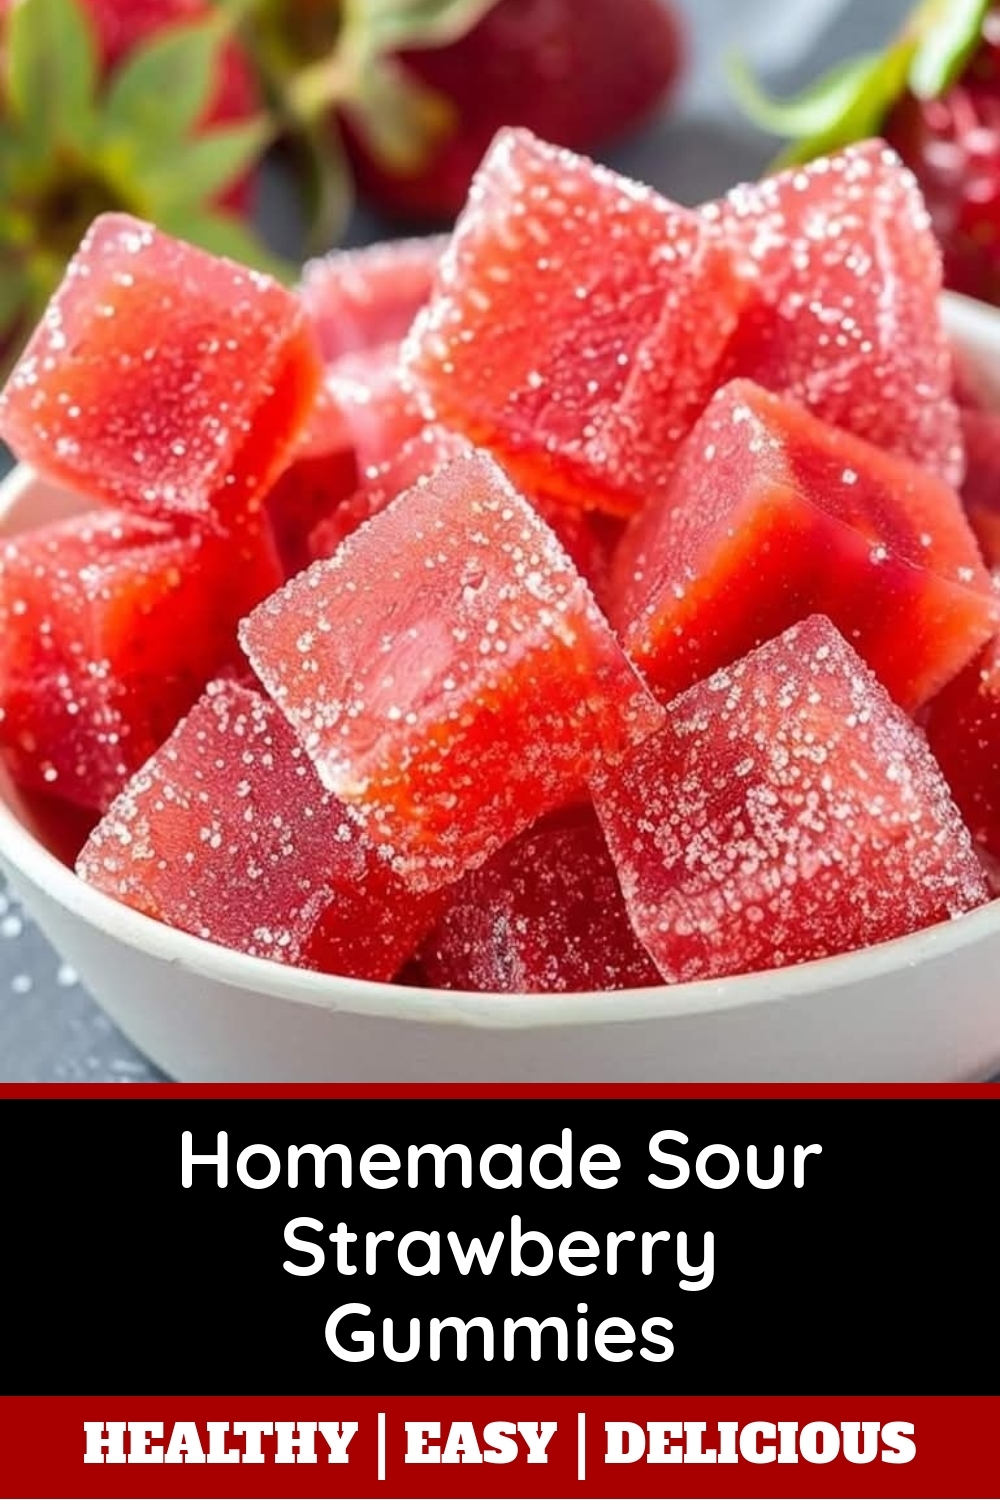
Homemade Sour Strawberry Gummies
Introduction
There’s something undeniably nostalgic about biting into a sweet yet tangy treat, especially when it reminds you of childhood summers. That’s exactly why I’m so excited to share my recipe for Homemade Sour Strawberry Gummies with you today. Whether you’re craving a guilt-free snack or want to surprise your kids with a healthier alternative to store-bought candy, these gummies deliver bold flavor without any artificial additives. Plus, they’re incredibly fun to make—just like my favorite Homemade Fruit Roll-Ups!
Homemade Sour Strawberry Gummies are a vibrant, chewy delight made with real strawberry puree, a touch of honey, and a zesty citrus kick. Unlike mass-produced candies, these gummies skip the preservatives and excessive sugar, letting the natural fruit shine. They’re perfect for lunchboxes, party favors, or even a quick pick-me-up during a busy day. What I love most is how versatile they are—you can adjust the sweetness or sourness to match your taste, just like with my Healthy Berry Jam. This recipe fits right into brekcakes.com’s mission of creating wholesome, approachable treats that bring joy to everyday moments.
Why I Love This Recipe
Homemade Sour Strawberry Gummies hold a special place in my heart because they remind me of baking with my grandma. She always had a jar of strawberry preserves ready, and now, every time I make these gummies, I feel that same connection. The process is simple, but the result feels like a little triumph—a reminder that the sweetest things in life often come from the simplest ingredients. I hope this recipe brings you as much happiness as it does me.
Health and Nutrition
Why it’s good for your body
Homemade Sour Strawberry Gummies pack a nutritious punch while satisfying your sweet tooth. First, they contain real strawberries, which deliver a hefty dose of vitamin C to boost immunity and promote glowing skin. Additionally, these gummies use natural sweeteners like honey or maple syrup, avoiding refined sugars that cause energy crashes. Since you control the ingredients, you can skip artificial additives and preservatives found in store-bought versions.
Moreover, Homemade Sour Strawberry Gummies offer a fun way to sneak in collagen or gelatin, which support joint health and improve digestion. The tangy flavor comes from citric acid, a natural compound that may enhance nutrient absorption. Unlike processed candies, these gummies provide antioxidants from strawberries, helping combat inflammation. Plus, their chewy texture encourages mindful eating, so you savor each bite without overindulging.
Finally, making Homemade Sour Strawberry Gummies at home ensures transparency. You know exactly what goes into them, tailoring recipes to dietary needs. Whether you choose organic strawberries or a sugar-free option, these treats align with your wellness goals. With every batch, you get a delicious snack that fuels your body and delights your taste buds.
How it fits in a healthy lifestyle
Homemade Sour Strawberry Gummies fit seamlessly into a balanced diet. They work as a smart alternative to sugary snacks, especially if you follow a gluten-free or dairy-free lifestyle. Pair them with a handful of nuts for a quick energy boost, or enjoy them post-workout to replenish electrolytes naturally. Because they’re portion-controlled, they help curb cravings without derailing your nutrition plan.
For those focusing on heart health, these gummies skip trans fats and excessive sodium found in processed sweets. If you’re exploring more wholesome dessert ideas, check out our guide to healthy dessert swaps. You can also customize them with superfoods like chia seeds or matcha for an extra nutrient kick. And if you love kitchen projects, our DIY snack recipes offer more inspiration for guilt-free munching. Homemade Sour Strawberry Gummies prove that eating well doesn’t mean sacrificing flavor.
Homemade Sour Strawberry Gummies
Delicious, chewy, and tangy strawberry gummies made with natural ingredients.
Ingredients
Scale
For the Crust:
- 1 cup fresh strawberries, pureed
- 1/4 cup honey or maple syrup
- 2 tbsp gelatin powder
- 1 tbsp lemon juice
- 1 tsp citric acid
- 1/2 tsp vanilla extract
Instructions
1. Prepare the Crust:
- In a small saucepan, heat the strawberry puree over low heat until warm.
- Whisk in honey or maple syrup until fully dissolved.
- Sprinkle gelatin powder over the mixture and whisk continuously until completely dissolved.
- Remove from heat and stir in lemon juice, citric acid, and vanilla extract.
- Pour the mixture into silicone molds or a greased baking dish.
- Refrigerate for at least 2 hours or until set.
- Remove from molds and cut into desired shapes if using a baking dish.
Notes
You can customize the seasonings to taste.
How to Prepare This Dish
Steps and time-saving tips
Start by blending fresh strawberries into a smooth puree, then strain it to remove seeds for a silky texture. Next, combine the puree with gelatin in a saucepan and whisk over low heat until fully dissolved—this prevents lumps. For a tangy kick, stir in lemon juice and a touch of honey, but adjust sweetness to taste. Meanwhile, lightly grease your molds with coconut oil to ensure easy release later. Pour the mixture into molds quickly before it sets, then chill for at least two hours. If you’re short on time, pop them in the freezer for 30 minutes instead. Once firm, toss the gummies in citric acid for that classic sour punch. Store them in an airtight container to keep them fresh longer. Pro tip: Double the batch and freeze half for a quick treat later. The whole process takes under 15 minutes of active work, making these Homemade Sour Strawberry Gummies a fuss-free delight.
Mistakes I’ve made and learned from
My first batch of Homemade Sour Strawberry Gummies turned into a sticky disaster because I skipped straining the puree—seeds made the texture gritty. Now I never skip that step. Another time, I overheated the gelatin mixture, and it lost its setting power, leaving me with goo instead of gummies. Low and slow is the way to go, just like when making perfect gelatin-based desserts. I also learned the hard way that skipping the coconut oil spray leads to torn gummies. For more troubleshooting, check out my guide on fixing common candy mistakes. Trust me, these small tweaks make all the difference between frustration and flawless gummies every time.

Cultural Connection and Variations
Where this recipe comes from
Homemade Sour Strawberry Gummies bring a burst of nostalgia and tangy sweetness to any kitchen. While gummy candies trace their roots to early 20th-century Germany, fruit-based versions like these likely evolved from traditional fruit leathers and preserves found across Europe and Asia. In France, cooks might infuse them with lavender or rosewater, while in Mexico, they often add chili powder for a spicy kick. Meanwhile, my grandma’s version always included a splash of lemon juice to balance the strawberry’s natural sweetness.
Families everywhere put their own spin on Homemade Sour Strawberry Gummies. Some use honey instead of sugar, while others mix in elderflower syrup for a floral note. During summer, farmers’ market strawberries make them extra vibrant, but frozen berries work just as well year-round. Whether you enjoy them as a lunchbox treat or a fancy dessert garnish, these gummies adapt to any culture or occasion.
How it fits in today’s cooking
Today, Homemade Sour Strawberry Gummies fit perfectly into modern cooking trends. Health-conscious cooks swap gelatin for agar-agar or pectin, creating vegan-friendly versions. Others layer them into yogurt parfaits for a protein-packed snack. During holidays, they add festive shapes like hearts or stars, making them a hit at parties.
Busy parents love how these gummies sneak fruit into kids’ diets without artificial additives. Meanwhile, food bloggers pair them with chocolate-dipped fruits for elegant dessert boards. Whether you crave a nostalgic treat or a creative kitchen project, this recipe stays as versatile as ever.
Taste and Texture
What makes it delicious
Homemade Sour Strawberry Gummies burst with a tangy, fruity punch that dances on your tongue. The bright strawberry flavor shines through, balanced by a zesty sour kick from citric acid. Each bite delivers a satisfyingly chewy texture—soft yet firm, with just the right amount of bounce. Fresh strawberry puree adds a natural sweetness, while a dusting of sugar coating creates a delightful contrast between gritty and smooth. Plus, the aroma alone will remind you of summer berries picked straight from the patch. Whether you savor them slowly or pop them one after another, Homemade Sour Strawberry Gummies make every bite irresistibly fun.
Boosting the flavor
For an extra flavor boost, try swapping strawberry puree with raspberry or mango for a tropical twist. A light sprinkle of chili powder or Tajín adds a spicy-sweet edge that elevates the sour tang. If you love layered flavors, drizzle melted white chocolate over the gummies for a creamy contrast. Alternatively, roll them in freeze-dried strawberry powder for an intense berry punch. Craving more inspiration? Check out these easy fruit snack variations to experiment with different fruits and textures. With a little creativity, you can tailor Homemade Sour Strawberry Gummies to your taste buds perfectly.
Tips for Success
Best practices for results
Always use fresh strawberry puree for the brightest flavor in your Homemade Sour Strawberry Gummies. Meanwhile, chill the mixture thoroughly before cutting to ensure clean edges. For extra tang, roll the gummies in citric acid right after they set. Additionally, use a silicone mold for easy removal and perfect shapes every time. Finally, store them in an airtight container to keep them chewy for days.
Mistakes to avoid
Avoid overheating the gelatin mixture, as high temperatures can break down its setting power. Instead, gently warm the ingredients until just dissolved. Many home cooks also skip the kneading step, but folding the mixture ensures even texture. For more troubleshooting tips, check out our guide on fixing gummy texture issues. Another common mistake is adding too much citric acid, which overpowers the strawberry flavor. Balance the sourness by tasting as you go, and explore our sour candy flavor guide for expert ratios.
Serving and Pairing Suggestions
How to serve this dish
Homemade Sour Strawberry Gummies shine when you serve them with flair. For a playful touch, arrange them in mini cupcake liners or stack them on a tiered dessert stand. Meanwhile, if you want a festive look, sprinkle them with edible glitter or pair them with fresh strawberry slices. These gummies also make perfect party favors—simply package them in clear cellophane bags tied with ribbon. Whether you set them out at a birthday bash or pack them in lunchboxes, their vibrant color and tangy flavor always delight.
What goes well with it
Balance the zesty kick of Homemade Sour Strawberry Gummies with a creamy vanilla milkshake for a sweet-and-tangy combo. Alternatively, serve them alongside a refreshing glass of sparkling lemonade to enhance their bright flavor. For a fun dessert spread, try pairing them with our Chocolate Covered Strawberries or Berry Cheesecake Bites. The rich, smooth textures of these treats contrast beautifully with the gummies’ chewy tartness.
To prevent Homemade Sour Strawberry Gummies from sticking, lightly dust them with cornstarch or citric acid powder after they set. You can also refrigerate them for longer to firm up the texture. These methods help maintain the perfect chewy consistency without the mess.
Agar agar or pectin works well as a vegan alternative to gelatin in Homemade Sour Strawberry Gummies. Agar agar provides a firmer texture, while pectin creates a softer chew. Both options let you enjoy the same tangy flavor without animal-based ingredients.
Yes! Frozen strawberries work perfectly for Homemade Sour Strawberry Gummies—just thaw and puree them first. They often have a more concentrated flavor than fresh strawberries, which enhances the gummies’ taste. Strain the puree to remove seeds for a smoother texture.
Homemade Sour Strawberry Gummies stay fresh for up to 2 weeks when stored in an airtight container in the fridge. For longer shelf life, freeze them for up to 3 months. Always check for mold or off smells before eating.