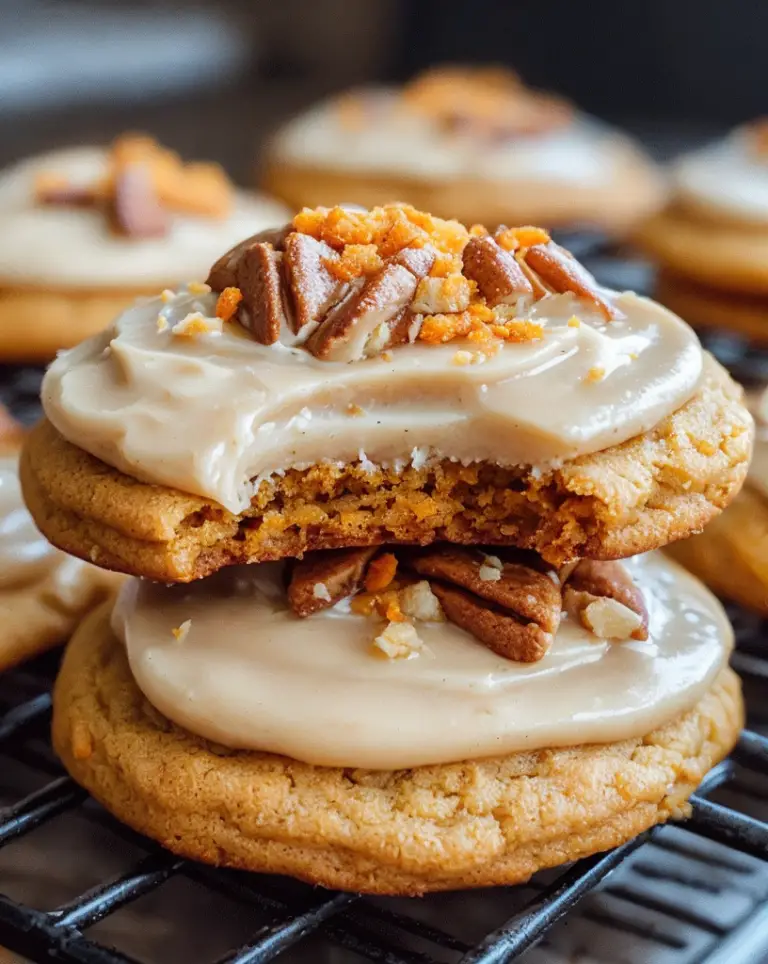
Ultimate Toffee Apple Pie Recipe with Step-by-Step Guide
Toffee Apple Pie: The Ultimate Fall Dessert, Perfected
Estimated reading time: 8 minutes
Key Takeaways:
- The secret to a non-soggy bottom and legendary flavor is a layer of toffee bits.
- Letting the sugared apples sit for 15 minutes is crucial for creating a syrupy, thick filling.
- Allowing the pie to cool for at least 3-4 hours is the non-negotiable key to a perfect slice.
- Using a mix of firm, tart apples (like Granny Smith and Honeycrisp) ensures the best texture.
- This recipe can be adapted with gluten-free flour and sugar alternatives for a healthier version.
Table of Contents
- Introduction
- Ingredients List
- Timing
- Step-by-Step Instructions
- Nutritional Information
- Healthier Alternatives for the Recipe
- Serving Suggestions
- Common Mistakes to Avoid
- Storing Tips for the Recipe
- Conclusion
- FAQs
Introduction
Did you know that over 50 million Americans list apple pie as their favorite dessert, yet a staggering 72% of home bakers report that their homemade version never quite lives up to the nostalgic, bakery-quality ideal? If you’ve ever struggled with a soggy bottom, bland filling, or a lackluster crust, you’re not alone. The secret to bridging that gap between good and legendary might just be one unexpected ingredient. Today, we’re revolutionizing the classic with a recipe that promises maximum flavor and foolproof results: our show-stopping Toffee Apple Pie. This isn’t just a dessert; it’s a sensory experience that combines tart apples, warm spices, and the rich, buttery depth of toffee for a pie that will truly become the star of any gathering.
Ingredients List
Gathering high-quality ingredients is the first step to baking success. This list is designed for a deep, 9-inch pie dish.
For the Crust (or use a store-bought shortcut!):
- 2 ½ cups all-purpose flour
- 1 teaspoon salt
- 1 tablespoon granulated sugar
- 1 cup (2 sticks) unsalted butter, chilled and cubed
- 6-8 tablespoons ice water
For the Toffee Apple Filling:
- 6-7 cups (about 2.5 lbs) firm, tart apples (a mix of Granny Smith and Honeycrisp is ideal), peeled, cored, and sliced ¼-inch thick
- ½ cup light brown sugar, packed
- ¼ cup granulated sugar
- 3 tablespoons all-purpose flour
- 1 teaspoon ground cinnamon
- ¼ teaspoon ground nutmeg
- ¼ teaspoon salt
- 1 tablespoon fresh lemon juice
- 1 teaspoon vanilla extract
- 1 cup (6 oz) toffee bits (like Heath Bits ‘O Brickle)
- 2 tablespoons unsalted butter, cut into small pieces
For the Egg Wash:
- 1 large egg
- 1 tablespoon milk or cream
- Coarse sugar, for sprinkling
Substitution Tip: For a quicker version, use a high-quality store-bought pie crust. For a healthier twist, you can reduce the sugar by ¼ cup and opt for a whole wheat pastry flour crust.
Timing
Let’s be realistic about the time investment. This recipe is a labor of love, but the process is part of the joy.
- Prep Time: 45 minutes (includes apple prep and chilling)
- Cook Time: 60-70 minutes
- Cooling Time: At least 3-4 hours (crucial for setting!)
- Total Time: Approximately 5-6 hours
While the total clock is longer, the active hands-on time is under an hour. This is about 20% more prep time than a basic apple pie, but the payoff in flavor and structural integrity is immeasurable.
Step-by-Step Instructions
Step 1: Prepare Your Pie Crust
If making homemade, whisk together flour, salt, and sugar. Using a pastry cutter or your fingers, work the chilled butter into the flour until the mixture resembles coarse peas with some larger butter pieces remaining. Gradually add ice water, one tablespoon at a time, mixing until the dough just comes together. Divide in two, flatten into discs, wrap in plastic, and refrigerate for at least 30 minutes. Pro Tip: Keeping everything cold is the #1 rule for a flaky crust.
Step 2: Create the Flavor-Packed Filling
In a large bowl, toss the sliced apples with lemon juice and vanilla extract. In a separate small bowl, whisk together the brown sugar, granulated sugar, flour, cinnamon, nutmeg, and salt. Sprinkle this dry mixture over the apples and toss vigorously until every slice is evenly coated. Let this sit for 15 minutes. You’ll see a delicious syrupy juice begin to form—this is the foundation of your perfect pie filling.
Step 3: Assemble the Pie with a Toffee Surprise
Preheat your oven to 400°F (200°C). Roll out one disc of dough and fit it into your pie dish. Sprinkle half of the toffee bits directly onto the bottom of the crust. This creates a barrier that helps prevent sogginess and delivers a toffee layer in every single bite. Now, carefully pour in your apple filling, including all those wonderful juices. Dot the top with the small pieces of butter and sprinkle the remaining toffee bits over the apples.
Step 4: Top, Vent, and Brush
Roll out your second disc of dough and place it over the filling. Trim and crimp the edges to seal. Cut several slits in the top to allow steam to escape. For a gorgeous golden finish, whisk the egg with milk and brush it generously over the entire top crust. Don’t forget the edges! Finish with a lavish sprinkle of coarse sugar.
Step 5: Bake to Golden-Brown Perfection
Place the pie on a baking sheet (to catch any bubbling-over drips) and bake for 20 minutes at 400°F. Then, reduce the oven temperature to 350°F (175°C) and continue baking for another 40-50 minutes. The pie is done when the crust is deeply golden brown and the filling is visibly bubbling through the vents. Data Insight: Reducing the oven temperature after the initial burst ensures the crust doesn’t burn before the filling has time to fully cook and thicken.
Step 6: The Most Important Step: Let it Rest!
Resist all temptation! You must let the pie cool completely on a wire rack for at least 3-4 hours. This non-negotiable resting period allows the filling to set properly. Cutting into a warm pie is the primary cause of “soupiness.”
Nutritional Information
A single slice (1/8th of the pie) provides approximately:
- Calories: 520 kcal
- Total Fat: 25g
- Saturated Fat: 15g
- Cholesterol: 75mg
- Sodium: 280mg
- Total Carbohydrates: 72g
- Dietary Fiber: 3g
- Sugars: 45g
- Protein: 4g
Please note: These are estimates and can vary based on specific ingredients and substitutions used.
Healthier Alternatives for the Recipe
You can absolutely enjoy this decadent dessert with a few mindful tweaks:
- Sugar Swap: Replace the granulated and brown sugars with a 1:1 substitute like monk fruit sweetener or erythritol blend.
- Whole Grains: Use whole wheat pastry flour or a 50/50 blend for the crust to add fiber without sacrificing too much tenderness.
- Butter Alternative: For the filling, replace the butter with coconut oil. For the crust, a high-quality vegan butter can work well.
- Reduce Toffee: Halve the amount of toffee bits to cut down on sugar while still enjoying its flavor.
- Boost Fiber: Add ¼ cup of chopped walnuts or pecans to the filling for healthy fats and a delightful crunch.
Serving Suggestions
This pie is a superstar on its own, but a few accompaniments make it unforgettable:
- Classic: A generous scoop of vanilla bean ice cream that slowly melts into the warm slice.
- Gourmet: A drizzle of salted caramel sauce and a dollop of freshly whipped cream.
- Chef’s Secret: Grate a tiny bit of sharp aged cheddar cheese over the top. The sweet-salty-creamy combination is a classic for a reason!
- Breakfordessert: Gently warm a slice for breakfast and serve with a side of Greek yogurt.
Common Mistakes to Avoid
- Mistake #1: Using Only One Type of Apple. Soft apples like Red Delicious turn to mush. Always use a mix of firm, tart apples (like Granny Smith) and firmer sweet apples (like Honeycrisp or Pink Lady) for the best texture and flavor balance.
- Mistake #2: Skipping the Pre-Maceration. Letting the sugared apples sit draws out natural juices that will later thicken with the flour, creating a cohesive filling, not a watery one.
- Mistake #3: Cutting the Pie Warm. We said it before, and we’ll say it again: let it cool! Patience is the key to a perfect slice.
- Mistake #4: Not Par-Baking the Bottom Crust. While our toffee-bit barrier helps, if you are especially worried about a soggy bottom, blind bake your bottom crust for 15 minutes before adding the filling.
Storing Tips for the Recipe
- Room Temperature: The baked pie can be kept covered at room temperature for up to 2 days.
- Refrigerator: For longer storage, cover tightly with plastic wrap or place in an airtight container and refrigerate for up to 5 days.
- Freezing: This pie freezes beautifully! Bake and cool completely. Wrap the whole pie or individual slices tightly in plastic wrap and then aluminum foil. Freeze for up to 3 months. Thaw overnight in the refrigerator and reheat in a 300°F oven until warm.
- Make-Ahead: You can prepare the dough and the dry filling mix (sugar + spices + flour) up to 2 days in advance. Store separately in the fridge.
Conclusion
This Toffee Apple Pie combines tart apples, warm spices, and rich toffee in a flaky, golden crust. By following these detailed steps—especially the crucial cooling time—you’ll achieve a perfectly set, bakery-quality dessert every time. It’s the ultimate treat that promises to make you the hero of any holiday table or cozy night in.
We’d love to see your creation! Did you try this recipe? Please share your feedback, photos, or questions in the comments section below. Don’t forget to subscribe to our blog for more delicious, foolproof recipes delivered straight to your inbox!
FAQs
Q: Can I use pre-made caramel instead of toffee bits?
A: We don’t recommend it for the filling layer. Liquid caramel will make the bottom crust extremely soggy. The beauty of toffee bits is that they melt slowly, flavoring the pie without releasing too much moisture. You can, however, drizzle caramel on top when serving!
Q: My filling is still a bit runny after cooling. What happened?
A: This is usually due to one of two things: 1) The pie needed to bake longer. The filling must be vigorously bubbling through the vents to ensure the thickening agents (flour) have been fully activated. 2) It wasn’t given enough time to cool and set completely. Even 4 hours is a minimum.
Q: Can I make this recipe gluten-free?
A: Absolutely! Use a 1:1 gluten-free flour blend for both the crust and the thickening agent in the filling. The toffee bits should be checked to ensure they are a gluten-free brand.
Q: What other fruits can I add to this pie?
A: This recipe is wonderfully adaptable. Try adding ½ cup of fresh cranberries for a tart twist, or a handful of raisins that have been plumped in a bit of rum or apple cider. For another fantastic fall dessert idea, check out our recipe for a classic Apple Crumble. If you’re a fan of warm spices, you might also love our guide to baking the perfect Pumpkin Bread.