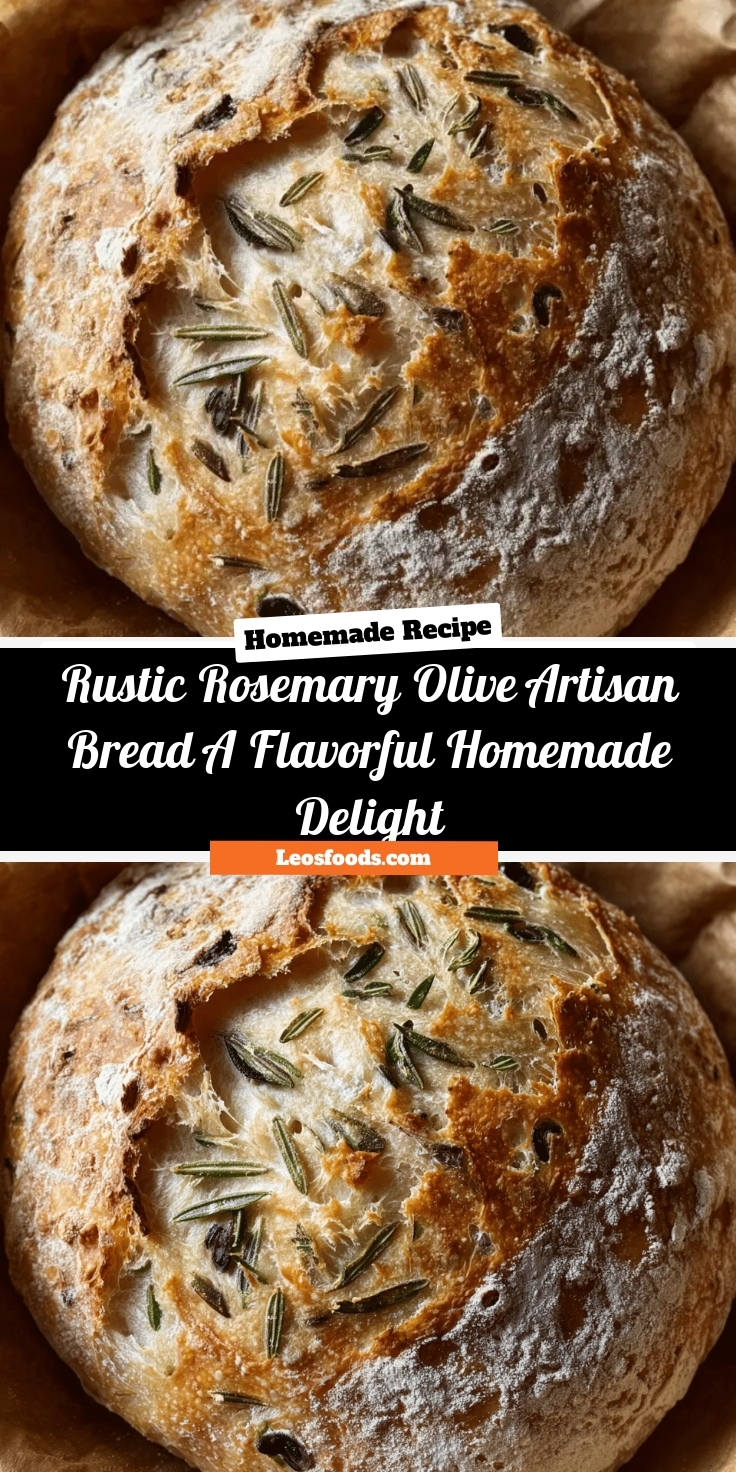
Rustic Rosemary Olive Artisan Bread A Flavorful Homemade Delight
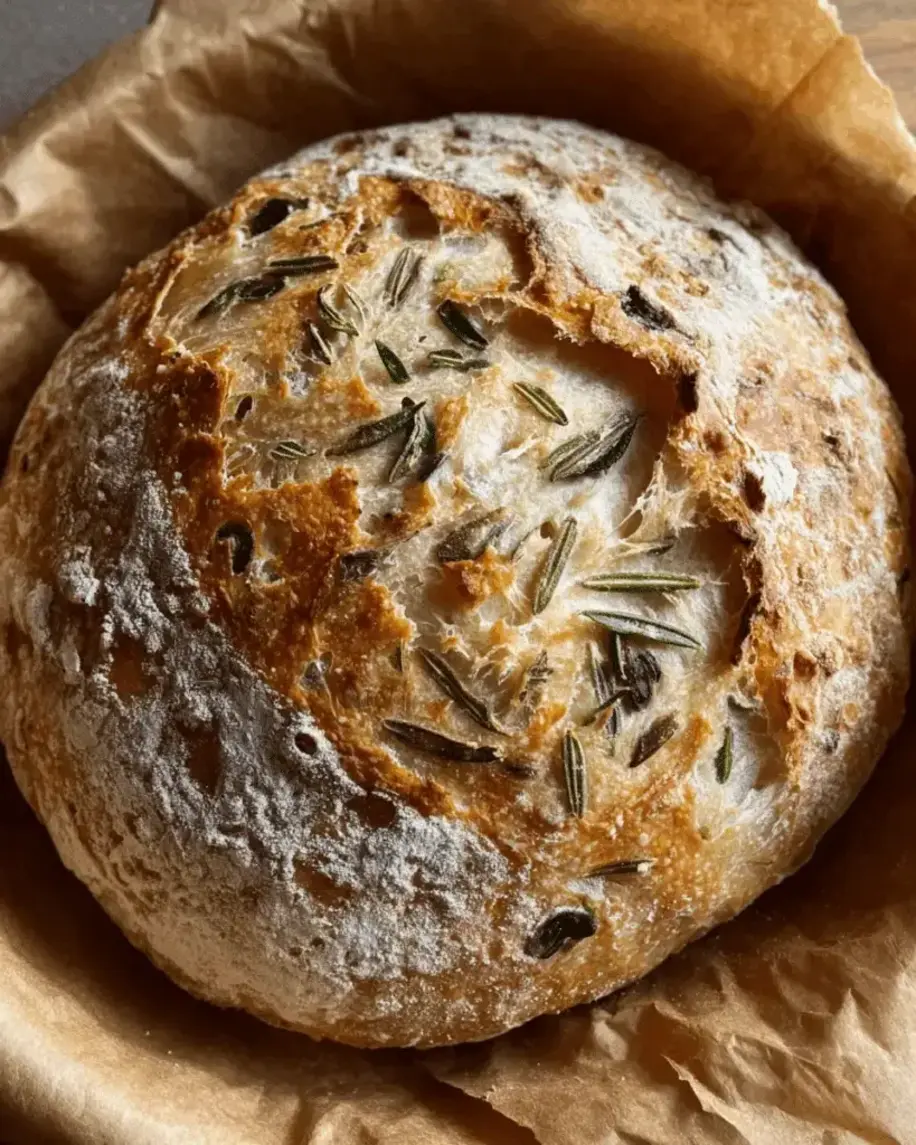
Table of Contents
Rustic Rosemary Olive Artisan Bread: A Flavorful Homemade Delight: The Only Recipe You’ll Ever Need
Imagine the rustic charm of a freshly baked loaf of Rustic Rosemary Olive Artisan Bread: A Flavorful Homemade Delight gracing your table, turning an ordinary meal into a gourmet experience. This easy-to-follow recipe solves the common dilemma of store-bought bread lacking that authentic, homemade taste and texture. With its slow-fermented dough, this bread delivers an unbeatable depth of flavor that elevates every slice, making it perfect for beginners and seasoned bakers alike. As the aromas of rosemary and olives fill your kitchen, you’ll discover why this Rustic Rosemary Olive Artisan Bread: A Flavorful Homemade Delight is the go-to choice for anyone seeking a crusty, aromatic loaf without the fuss.
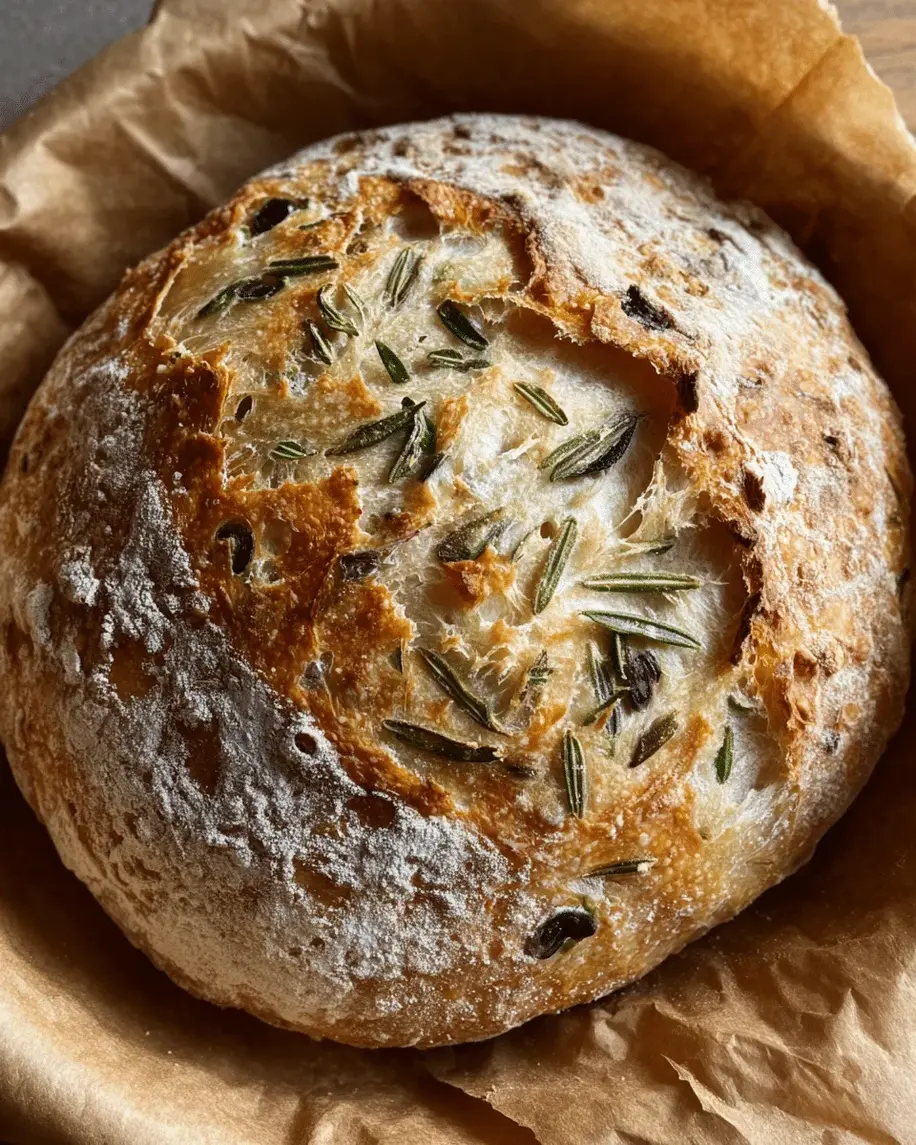
The allure of this Rustic Rosemary Olive Artisan Bread: A Flavorful Homemade Delight lies in its incredible sensory profile. Each bite offers a delightful contrast of a crispy, golden-brown crust that shatters with satisfaction, revealing a soft, airy interior infused with the earthy essence of fresh rosemary and the briny burst of green olives. The flavors dance on your palate—subtle herbal notes intertwined with a savory olive punch, creating a harmonious blend that’s both comforting and sophisticated. Bake this bread, and you’ll be greeted by the intoxicating scent of warm, yeasty dough mingling with aromatic herbs, making it impossible to resist slicing into it straight from the oven.
What sets this Rustic Rosemary Olive Artisan Bread: A Flavorful Homemade Delight recipe from leosfoods.com apart is our commitment to simplicity and excellence, honed through rigorous testing in home kitchens. Drawing from time-honored artisan techniques, we’ve incorporated a Chef’s Secret that ensures foolproof results every time. Readers will learn insider tips for achieving that perfect rise, creative serving ideas, and answers to common questions, empowering you to bake with confidence. Whether you’re a novice or a pro, this comprehensive guide will make you feel like a master baker, transforming your bread-making game forever.
Why This Rustic Rosemary Olive Artisan Bread: A Flavorful Homemade Delight Recipe is a Game-Changer
The Chef’s Secret in this Rustic Rosemary Olive Artisan Bread: A Flavorful Homemade Delight lies in the overnight chilling of the dough, which allows for slow fermentation. This technique enhances the bread’s flavor profile by developing complex notes from the rosemary and olives while strengthening the gluten structure for a superior rise. Unlike quick-rise methods, this step ensures a more digestible loaf with subtle tanginess, making it stand out as a true artisan creation that rivals bakery-quality bread.
Unbeatable Texture: The science behind the texture of this Rustic Rosemary Olive Artisan Bread: A Flavorful Homemade Delight comes from the extended fermentation and high-hydration dough, which creates air pockets for a light, chewy interior. The rosemary and olives add moisture and natural oils, preventing the crust from becoming tough, resulting in a perfect balance of crispiness outside and tenderness inside. This process guarantees a loaf that’s not just bread—it’s an experience.
Foolproof for a Reason: We’ve tested this Rustic Rosemary Olive Artisan Bread: A Flavorful Homemade Delight recipe multiple times to ensure it’s reliable, even for those new to bread-making. Clear instructions, precise measurements, and built-in tips minimize errors, making success virtually guaranteed. Home cooks rave about its consistency, turning what could be an intimidating process into a rewarding kitchen adventure.
Ingredient Spotlight: Quality Makes the Difference
Warm water (around 70°F / 21°C) is the foundation of this Rustic Rosemary Olive Artisan Bread: A Flavorful Homemade Delight, activating the yeast and hydrating the flour for proper gluten development. Using water at the right temperature ensures even rising without killing the yeast, which can happen if it’s too hot. Opt for filtered water to avoid chlorine that might affect flavor—quality matters for a clean, pure taste. If substituting, room-temperature water works in a pinch, but it may slow fermentation slightly.
Active dry yeast is essential for that beautiful rise in this Rustic Rosemary Olive Artisan Bread: A Flavorful Homemade Delight, providing the leavening power that creates airy pockets. Fresh yeast leads to a more robust flavor and reliable proofing, so check the expiration date before using. For substitutions, instant yeast can replace it one-to-one, but you’ll skip the activation step, saving time while maintaining the bread’s signature texture.
All-purpose or bread flour forms the structure of this Rustic Rosemary Olive Artisan Bread: A Flavorful Homemade Delight, giving it that chewy artisan feel. High-protein bread flour is ideal for better gluten formation, resulting in a stronger, more elastic dough. Always use unbleached flour for a natural taste—quality flour means less chance of a dense loaf. If you’re out, whole wheat flour can substitute partially (up to 50%), but it will add a nuttier flavor and require extra hydration.
Fine sea salt or kosher salt enhances the flavors in this Rustic Rosemary Olive Artisan Bread: A Flavorful Homemade Delight, balancing the earthiness of rosemary and the brininess of olives while strengthening the dough’s structure. Using fine sea salt ensures even distribution, so every bite is perfectly seasoned. For substitutions, table salt works, but use about 25% less due to its finer grain—remember, quality salt elevates the bread from good to exceptional.
Finely chopped fresh rosemary infuses this Rustic Rosemary Olive Artisan Bread: A Flavorful Homemade Delight with its fragrant, pine-like aroma, adding a herbal depth that pairs beautifully with the olives. Fresh rosemary provides a vibrant punch, so source it from your garden or a reputable market for the best oil content. If substituting with dried rosemary, use half the amount and soak it in warm water first to rehydrate, preventing it from overpowering the bread.
Green olives, pitted, dried, and roughly chopped, bring a savory, tangy element to this Rustic Rosemary Olive Artisan Bread: A Flavorful Homemade Delight, adding bursts of flavor and moisture. Choose high-quality, plain or lightly marinated olives for a cleaner taste that complements the rosemary. If you’re substituting, kalamata olives can work for a richer profile, but pat them dry to avoid excess oil that could make the dough greasy.
Optional ground flaxseed for dusting adds a nutty crunch and subtle nutrition to this Rustic Rosemary Olive Artisan Bread: A Flavorful Homemade Delight, enhancing the loaf’s visual appeal. It’s a simple way to boost fiber without altering the flavor much. If omitting, extra flour dusting is fine, or try sesame seeds for a similar textural effect, ensuring your bread remains versatile and delicious.
Step-by-Step Instructions
Step 1: Activating the Yeast
In a medium bowl, combine ¾ cup plus 2 tablespoons of warm water with ½ teaspoon of active dry yeast. Let the mixture sit for 10–15 minutes until it becomes slightly foamy, indicating the yeast is active and ready.
Pro Tip: Use a digital thermometer to ensure the water is exactly 70°F for optimal yeast activation—too hot, and you’ll kill it; too cold, and it won’t bloom properly, affecting the bread’s rise.
Step 2: Mixing the Dry Ingredients
In a large bowl, whisk together 1⅔ cups of all-purpose or bread flour, ½ teaspoon of fine sea salt, and ¾ tablespoon of finely chopped fresh rosemary. Let this mixture rest for about 10 minutes to allow the flavors to meld.
Common Mistake to Avoid: Don’t rush the resting period; skipping it can lead to uneven distribution of salt and rosemary, resulting in pockets of overly salty or bland areas in your final loaf.
Step 3: Forming the Dough
Pour the activated yeast mixture and ¾ cup of chopped green olives into the bowl with the dry ingredients. Stir until just combined, creating a slightly sticky and shaggy dough. Cover the bowl and let it rise in a warm place until doubled in size, which takes about 8–10 hours.
Pro Tip: Place the bowl in a draft-free spot, like an oven with the light on, to maintain consistent warmth—this ensures even rising and maximizes the flavorful fermentation in your Rustic Rosemary Olive Artisan Bread: A Flavorful Homemade Delight.
Step 4: Shaping and Chilling the Dough
Once the dough has risen, turn it out onto a floured surface and gently fold it over itself a few times to form a soft ball. Place it seam side up in a lightly floured proofing bowl, dust with flour, cover, and refrigerate overnight or up to 48 hours for enhanced flavor.
Common Mistake to Avoid: Over-kneading at this stage can deflate the dough, making it tough; handle it gently to preserve those air pockets that give the bread its artisan texture.
Step 5: Preheating the Oven
When ready to bake, place your Dutch oven inside the oven and preheat it to 450°F (232°C). This step ensures the bread gets a high-heat start for a perfect crust.
Pro Tip: Preheat for at least 30 minutes to thoroughly heat the Dutch oven, which helps create steam for a glossy, professional finish on your Rustic Rosemary Olive Artisan Bread: A Flavorful Homemade Delight.
Step 6: Preparing the Loaf
Carefully invert the chilled dough onto parchment paper with the seam side down. If using, sprinkle 1 tablespoon of ground flaxseed over the top and lightly press it in. Score the top with a sharp knife or blade to allow steam to escape during baking.
Common Mistake to Avoid: Shallow scoring can cause the bread to burst unpredictably; make deep, confident cuts to guide the expansion and achieve an even, rustic appearance.
Step 7: Baking
Transfer the dough, still on the parchment, into the preheated Dutch oven. Cover and bake for 30 minutes, then uncover and bake for another 15–20 minutes until golden brown and crisp. The bread should sound hollow when tapped.
Pro Tip: Check for doneness a few minutes early to prevent over-baking; this ensures a moist interior while maintaining that crave-worthy crust.
Step 8: Cooling and Serving
Lift the baked bread out using the parchment and place it on a wire rack. Let it cool for at least 1 hour before slicing to allow the flavors to settle and the texture to firm up.
Common Mistake to Avoid: Cutting into the bread too soon can make it gummy; patience here preserves the structure and enhances the overall eating experience.
Serving & Presentation
For an impressive presentation of your Rustic Rosemary Olive Artisan Bread: A Flavorful Homemade Delight, slice it thickly and arrange on a wooden board with a drizzle of olive oil and a sprinkle of flaky sea salt for a simple yet elegant touch. Pair it with creamy cheeses like goat or brie to highlight the rosemary’s herbal notes, or serve alongside a fresh Mediterranean salad with tomatoes and cucumbers to complement the olives’ brininess. This bread shines as a side for soups, such as a hearty minestrone, or as the base for gourmet sandwiches with prosciutto and arugula, adding a rustic flair to any meal.
Make-Ahead & Storage Solutions
Make-Ahead Strategy: Prepare the dough up to 48 hours in advance by following the steps through chilling; this allows flavors to deepen. Simply remove it from the fridge 1-2 hours before baking to come to room temperature, making it ideal for busy schedules.
Storing Leftovers: Store cooled bread in a paper bag at room temperature for up to 2 days to maintain crispness. For longer storage, wrap tightly in plastic and refrigerate for up to 5 days, or freeze slices in an airtight container for up to 3 months to preserve freshness.
The Best Way to Reheat: To restore the original texture, thaw frozen slices at room temperature, then warm in a 350°F oven for 5-10 minutes. This method revives the crust’s crunch and the bread’s soft interior without drying it out.
Frequently Asked Questions (FAQ)
How do you make rustic rosemary olive artisan bread from scratch?
To make Rustic Rosemary Olive Artisan Bread: A Flavorful Homemade Delight from scratch, start by activating the yeast in warm water, mix with flour, salt, rosemary, and olives, then let it rise for 8-10 hours. Shape, chill overnight, and bake in a Dutch oven at 450°F for about 50 minutes. Follow our detailed steps for the best results, ensuring a flavorful, homemade loaf every time.
Can I substitute fresh rosemary with dried herbs in olive artisan bread?
Yes, you can substitute fresh rosemary with dried herbs in this Rustic Rosemary Olive Artisan Bread: A Flavorful Homemade Delight recipe. Use half the amount of dried rosemary (about ⅜ tablespoon) and soak it in warm water for 5 minutes before adding to rehydrate and release flavors. Dried herbs are more potent, so this prevents overpowering the bread, but fresh rosemary will provide a brighter, more aromatic profile for optimal taste.
How long does it take to bake rustic rosemary olive bread at home?
Baking Rustic Rosemary Olive Artisan Bread: A Flavorful Homemade Delight at home takes about 45-50 minutes in total: 30 minutes covered in a Dutch oven at 450°F, followed by 15-20 minutes uncovered for a golden crust. Factor in prep time, rising (8-10 hours), and chilling (overnight), making the full process span 24 hours, but the active baking is straightforward and rewarding.
What are some serving ideas for rustic rosemary olive artisan bread?
Serving ideas for Rustic Rosemary Olive Artisan Bread: A Flavorful Homemade Delight include using it as a base for avocado toast with a poached egg, dipping it in balsamic vinegar and olive oil, or incorporating it into a charcuterie board with cured meats and cheeses. It’s also fantastic for making panini sandwiches or as a side for pasta dishes, enhancing meals with its robust flavors.
Can this bread be made without a Dutch oven?
Yes, you can make this Rustic Rosemary Olive Artisan Bread: A Flavorful Homemade Delight without a Dutch oven by using a heavy baking sheet or cast-iron skillet. Preheat it and add a pan of hot water on the lower rack to create steam, mimicking the Dutch oven’s effect for a crispy crust, though the results may vary slightly.
What type of olives work best in this recipe?
Green olives, either plain or lightly marinated in chili oil, work best in this Rustic Rosemary Olive Artisan Bread: A Flavorful Homemade Delight for their mild, tangy flavor. Avoid strongly flavored varieties like black olives, as they can dominate the rosemary; always pit and dry them to prevent excess moisture in the dough.
Can I make this recipe vegan?
Yes, this Rustic Rosemary Olive Artisan Bread: A Flavorful Homemade Delight is naturally vegan, as it contains no animal products. Stick to the ingredients listed, and you’re good to go. For a gluten-free version, substitute the flour with a 1:1 gluten-free blend, but note that the texture may be denser, and you might need to add a bit more water for the right consistency.
Tried This Recipe? Leave a Comment!
Did you make this recipe? I’d love to hear how it turned out! Please leave a comment and a rating below. Your feedback helps other home cooks and supports leosfoods!
For more delicious inspiration, follow me on Pinterest!

Rustic Rosemary Olive Artisan Bread: A Flavorful Homemade Delight
Bake Rustic Rosemary Olive Artisan Bread at home with this easy, flavorful recipe for a crusty, aromatic loaf.
Ingredients
- ¾ cup+ 2 tablespoons warm water (around 70°F / 21°C)
- ½ teaspoonactive dry yeast
- 1⅔ cupsall-purpose or bread flour (plus extra for dusting)
- ½ teaspoonfine sea salt or kosher salt
- ¾ tablespoonfinely chopped fresh rosemary
- ¾ cupgreen olives, pitted, dried, and roughly chopped (use plain or lightly marinated in chili oil)
- Optional: 1 tablespoon ground flaxseed for dusting
Instructions
- Activate the Yeast
- In a medium bowl, combine warm water and yeast. Let it rest for 10–15 minutes until slightly foamy.
- Mix the Dry Ingredients
- In a large bowl, whisk together flour, salt, and chopped rosemary. Allow the mixture to rest for about 10 minutes.
- Form the Dough
- Pour the yeast mixture and chopped olives into the flour bowl. Mix until just combined — the dough should be slightly sticky and shaggy.
- Cover the bowl and let the dough rise in a warm place until doubled in size, about 8–10 hours.
- Shape and Chill the Dough
- Once risen, turn the dough out onto a floured surface. Gently fold it over itself a few times to form a soft ball.
- Place it seam side up into a lightly floured proofing bowl. Dust with flour, cover, and refrigerate overnight (or up to 48 hours).
- Preheat the Oven
- When ready to bake, place your Dutch oven inside and preheat the oven to 450°F (232°C).
- Prepare the Loaf
- Carefully invert the dough onto parchment paper, seam side down.
- Sprinkle flaxseed (if using) over the top and lightly press it in.
- Score the top with a sharp knife or blade to allow steam to escape while baking.
- Bake
- Transfer the dough (with parchment) into the preheated Dutch oven.
- Cover and bake for 30 minutes, then uncover and bake another 15–20 minutes, until golden brown and crisp.
- The bread should sound hollow when tapped.
- Cool and Serve
- Lift the bread out using parchment and place it on a wire rack. Let cool for at least 1 hour before slicing.
Conclusion
In crafting this Rustic Rosemary Olive Artisan Bread, you’ll discover a harmonious blend of earthy rosemary and briny olives that elevates simple ingredients into a flavorful, homemade masterpiece perfect for any meal. The bread’s rustic texture and aromatic essence make it an ideal companion for cozy dinners or casual gatherings. For a delightful serving tip, pair it with a warm soup or use it as a base for sandwiches, and consider experimenting with variations like adding garlic for an extra punch of flavor.