
Easy Homemade White Bread – Soft, Fluffy, and Perfect
Easy Homemade White Bread: A Simple Yet Delicious Recipe
If you’ve ever craved the comforting aroma of freshly baked bread wafting through your home, this Easy Homemade White Bread recipe is the perfect solution. Baking bread at home not only fills your kitchen with an irresistible scent, but it also rewards you with soft, fluffy loaves that can be enjoyed in countless ways. This recipe emphasizes simplicity while ensuring you achieve a delightful, warm loaf that makes any meal special. Ideal for beginners, the steps are straightforward, resulting in a delicious bread that is perfect for sandwiches or toast.
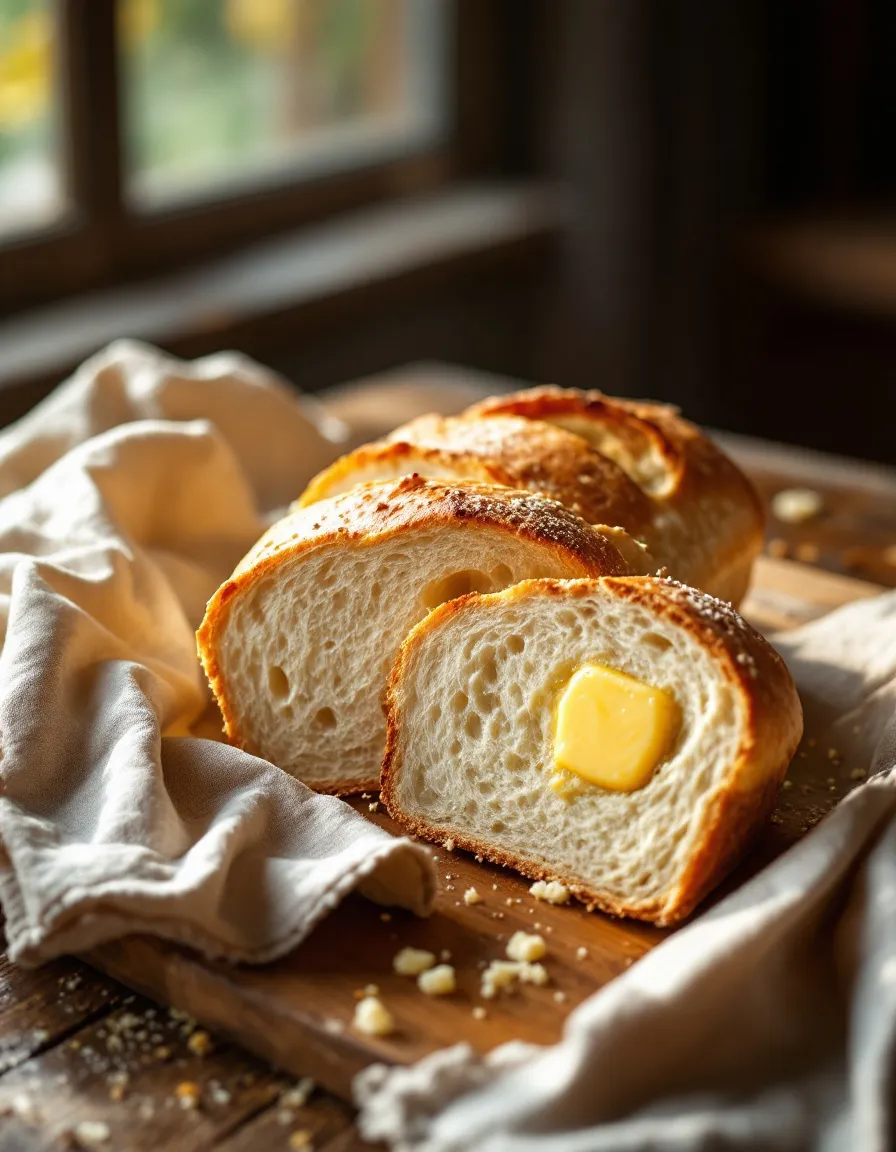
Imagine slicing into a freshly baked loaf of white bread, revealing its golden crust and tender crumb. The softness of the bread invites you to enjoy it with your favorite spreads or toppings. Perfectly paired with butter, jam, or even savory items like deli meats, each slice promises to be a delightful experience. Plus, there’s nothing quite like the satisfaction of knowing you created something so wonderful from scratch.
Quick Recipe Highlights
- Flavor Profile: The bread is mildly sweet, perfectly balanced, and has a delightful buttery taste that complements a variety of toppings.
- Texture: Expect a soft, light crumb with a crust that’s just the right amount of chewyness to hold it all together.
- Aroma: The inviting smell of warm, baked bread is sure to make your kitchen feel like a bakery.
- Visual Appeal: The loaf has a golden-brown crust that contrasts beautifully with the white, pillowy interior.
- Skill Level Needed: This recipe is designed for beginners, requiring only a few essential techniques.
- Special Equipment: A mixing bowl, measuring cups, a loaf pan, and an oven are all you need to get started!
Recipe Overview
- Difficulty Level: This Easy Homemade White Bread is approachable for novice bakers and requires no complex techniques or specialized skills.
- Category: This recipe falls under baking and is perfect for breakfasts, lunches, or dinners.
- Cuisine: Rooted in traditional Western baking, this recipe draws on classic bread-making techniques that have been passed down through generations.
- Cost: Baking homemade bread is generally cost-effective, with minimal ingredients needed.
- Season: Bread baking is enjoyable year-round, especially cozying up with freshly baked bread during colder months.
- Occasion: Great for family gatherings, picnics, or as a thoughtful homemade gift — nothing says comfort quite like homemade bread.
Why You’ll Love This Recipe
First and foremost, the taste and texture of homemade white bread are unmatched. Each slice offers a perfect blend of softness and a subtle sweetness that store-bought bread just can’t replicate. This freshness is what truly makes homemade bread a treat — the very first bite tells you that you are indulging in something special.
Beyond flavor, the convenience of this recipe cannot be overstated. With just a few simple ingredients and steps, you can create a loaf from scratch, without the need for advanced baking skills. Here’s a recipe that fits seamlessly into your busy routine; it doesn’t require hours of hands-on work, making it easy to incorporate into your daily life.
Nutritionally, making your own white bread allows you to control the ingredients. You can choose high-quality flour, limit added sugars, and even incorporate whole grain options if desired. This gives you the advantage of knowing exactly what you’re consuming and tailoring it to your health needs.
Socially, sharing homemade bread can strengthen bonds with friends and family. Nothing sparks joy quite like pulling a warm loaf from the oven and inviting others to enjoy it with you. Bread is often the centerpiece of meals, making it a perfect addition to gatherings and celebrations.
Lastly, cost-effectiveness is a hallmark of this recipe. A simple blend of flour, water, yeast, and salt allows you to create a fresh loaf without the premium price often associated with artisan breads from the store. This recipe not only fills your home with warmth and aroma but also fills your stomach — and your wallet remains intact.
Historical Background and Cultural Significance
Bread is one of the oldest staple foods, with origins dating back to ancient civilizations. The process of making bread has witnessed countless variations, but the core concept has remained unchanged: using basic ingredients to create sustenance. The specific evolution to white bread offers insight into societal changes, including the industrialization of milling processes that made refined flour widely available.
Culturally, bread holds significant importance in many societies. It often symbolizes life and prosperity and is a central element in numerous social rituals and traditions. Whether used for celebrations or as everyday sustenance, bread acts as a common thread that connects individuals across diverse backgrounds.
This recipe for Easy Homemade White Bread represents a return to simpler times, where the act of baking was both a necessity and an art form. Today, this tradition continues to foster a sense of community and comfort, reminding us of our shared heritage and the joy of homemade food.
Throughout the years, regional variations of bread have emerged, influenced by local ingredients and culinary practices. This bread can be adapted, allowing home bakers to experiment and make it their own, reflecting personal tastes while honoring traditional methods.
Ingredient Deep Dive
Flour: Flour is a fundamental ingredient in bread-making, known for its ability to create structure through gluten development. Unbleached all-purpose flour offers a balanced option for this homemade white bread, providing a consistent result. Nutritionally, flour packs carbohydrates, protein, and essential vitamins. When selecting flour, choose a fresh option and store it in a cool, dry place to preserve quality. Potential substitutes for those wishing for variation can include whole wheat flour or bread flour for different textures.
Yeast: Yeast acts as the leavening agent, giving bread its airy texture. Active dry yeast is commonly used for its ease of use and accessibility. It requires activation, which is a simple process involving warm water and sugar. Nutritionally, yeast is a source of protein and B vitamins, contributing to the overall health profile of homemade bread. Always check the expiration date before using and store unused yeast in a cool, dry place for longevity.
Common Mistakes to Avoid
- Using expired yeast: Always check the expiration date to ensure it activates properly, as using stale yeast can lead to a dense loaf.
- Inaccurate measurements: Precision is key when baking. Make sure to measure your ingredients accurately, particularly flour and water.
- Insufficient kneading: Kneading develops gluten, which helps the bread rise. Avoid skipping or rushing this step for best results.
- Skipping the second rise: Allowing your dough to rise a second time enhances texture and flavor, so don’t skip this vital step.
- Baking at incorrect temperatures: Using an oven thermometer helps ensure accurate baking temperatures, promoting even cooking.
- Overcrowding the oven: Breads need space to rise while baking, so avoid placing multiple trays too close together in the oven.
- Not cooling the bread before slicing: Give the loaf time to cool completely to maintain its structure and texture.
- Using cold ingredients: Use room temperature water and ingredients to create a more responsive dough.
- Ignoring humidity levels: Baking in damp conditions may require slight adjustments in flour measurement for successful texture.
- Not letting the flavors develop: Allowing the dough to rest for extended periods can lead to better flavor development and texture.
Essential Techniques
Kneading: Kneading the dough is crucial for gluten development, which provides the bread with its structure and chewiness. Aim to knead the dough for about 10 minutes until it becomes smooth and elastic. One common pitfall is over-kneading, which can result in a tough texture. Visual cues of success include a stretchy dough that holds its shape well.
Proofing: Proofing is the resting period after kneading, allowing the yeast to ferment and supply carbon dioxide, leading to a rise. It’s essential to proof the dough in a warm, draft-free area. A common mistake is not allowing enough time for proofing; under-proofed dough will not rise properly during baking. Visual cues for readiness include the dough doubling in size.
Pro Tips for Perfect Easy Homemade White Bread
1. Use lukewarm water when activating yeast, as it encourages optimal fermentation.
2. Incorporate a touch of sugar to feed the yeast for a better rise.
3. Experiment with adding extra flavors like herbs or garlic for a unique twist.
4. For a higher loaf, try using bread flour instead of all-purpose flour, which has stronger gluten properties.
5. Check the color of your crust — it should be golden brown and firm to the touch.
6. For a softer crust, brush the loaf with melted butter immediately after removing it from the oven.
7. Patience is key: allow your bread to cool completely before slicing for best texture.
8. Store leftover bread in a cloth bag to maintain moisture yet prevent sogginess.
Variations and Adaptations
Consider regional adaptations, such as adding spices or local grains to cater to different palates. Seasonal adaptations could include incorporating cinnamon or pumpkin spice during fall or herbs during the summer for variation. For dietary restrictions, think about substituting traditional ingredients, such as using gluten-free flour or dairy alternatives to make it accessible to more people, promoting inclusivity in your baking.
Serving and Presentation Guide
For serving, consider simple yet elegant plating techniques such as arranging slices in a breadbasket lined with a cloth napkin. Garnishing with fresh herbs or a drizzle of high-quality olive oil enhances visual appeal. Traditional accompaniments might include honey or artisanal jams, while modern ideas could include open-faced sandwiches topped with trendy ingredients. Serve at slightly warm or room temperature for the best texture experience, and consider portion control by cutting uniform slices to maintain consistency.
Wine and Beverage Pairing
Pair your easy homemade white bread with a light-bodied white wine, such as a Chardonnay, to complement the subtle flavors. Non-alcoholic alternatives like sparkling water with lemon can also be refreshing choices. If enjoying the bread during breakfast, consider pairing it with rich coffee or herbal teas. For a picnic or casual gathering, light beers or fruity ciders can elevate the experience, enhancing the overall enjoyment of your homemade bread.
Storage and Shelf Life
Proper storage of your homemade bread is essential for maintaining freshness. Store it in a cool, dry place, ideally wrapped in a cloth or bread box to keep its crust intact. Bread can typically last for 3-4 days when stored properly at room temperature. If you wish to prolong its life, consider freezing slices to preserve texture. When freezing, wrap the slices in plastic wrap and place them in an airtight container. Look for signs of spoilage like mold or off-flavors, and reheat slices in the oven for best results.
Make Ahead Strategies
To streamline the process, prepare the dough the day before and allow it to proof in the refrigerator overnight. This can enhance flavor development. When you’re ready to bake, simply allow the dough to come to room temperature. If you prefer, you can also par-bake the loaves, letting them cool before completing the baking process later. This approach allows for flexibility and ensures fresh bread with minimal last-minute effort.
Scaling Instructions
If you want to halve the recipe, simply reduce all measurements by half, while keeping the baking time similar. To double or triple the recipe, consider using larger mixing bowls and potentially adjusting cooking times to ensure even baking. If making larger batches, it may be necessary to bake in multiple loaf pans or batches, and always keep an eye on doneness to prevent uneven texture due to volume.
Nutritional Deep Dive
This Easy Homemade White Bread recipe primarily consists of carbohydrates, making it a great energy source. Each slice of bread provides essential B vitamins, especially if using enriched flour. However, it’s important to consider portion sizes, as bread can contribute to higher caloric intake depending on serving sizes. Customize the nutritional profile by experimenting with whole grain or blended flours, increasing fiber content while enhancing health benefits in your daily diet.
Dietary Adaptations
For those looking to adapt the recipe for gluten-free diets, alternatives such as almond flour or specialized gluten-free mixes are essential. Dairy-free enthusiasts can replace any milk with plant-based alternatives, providing the same texture without compromising taste. Vegan bakers can enjoy this recipe by omitting any non-plant-based ingredients, maintaining simplicity without sacrifice. For low-carb or keto modifications, consider using coconut flour or other low-carb blends for a unique take on this classic.
Troubleshooting Guide
If your bread has a dense texture, it may have been under-kneaded or not allowed to proof sufficiently. For flavor issues, adjusting the amount of salt or ensuring your yeast is fresh can greatly improve results. If your bread is browning too quickly, consider positioning it lower in the oven or covering it with foil until the last few minutes of baking. Keeping an eye during the baking process allows you to adjust for any ingredient variations that could affect texture and flavor.
Recipe Success Stories
Many community members have shared positive feedback about this Easy Homemade White Bread, emphasizing how simple it is to master. Adaptations through personal creativity, such as adding spices or seeds, have resulted in delightful variations that have become family favorites. Readers often express the joy of baking bread together with children, creating great memories while teaching essential cooking skills. Moreover, photography has captured the stunning results of this recipe, with many bakers showcasing their delicious loaves on social media.
Frequently Asked Questions
Can I use whole wheat flour instead of all-purpose flour?
Yes, you can swap some or all of the all-purpose flour with whole wheat flour. This will alter the texture slightly and may require some adjustments to liquid levels.
What should I do if my dough doesn’t rise?
If your dough doesn’t rise, check the freshness of your yeast. It might also be necessary to provide a warmer environment for proofing, as yeast needs warmth to activate consistently.
Can I add flavors or herbs to this bread?
Absolutely! This recipe can be easily customized by adding herbs, spices, or even cheese to enhance the flavor profile.
How can I ensure my bread is soft after baking?
To keep your bread soft, consider brushing the crust with butter as soon as it comes out of the oven and storing it wrapped at room temperature.
What’s the best way to store leftover bread?
Store leftover bread in a cloth bag at room temperature. Avoid using plastic as it may create moisture and lead to a soggy crust.
Can I freeze the bread?
Yes, bread freezes well! Just wrap it tightly in plastic wrap before placing it in an airtight container or freezer bag to prevent freezer burn.
How long does it take for the bread to cool after baking?
Allow the bread to cool completely on a wire rack for at least an hour before slicing to maintain its integrity.
Can I bake this bread in a bread machine?
Yes, this recipe can be adapted for use in a bread machine; just follow the machine’s specific instructions for timing and quantity adjustments.
Is it possible to double this recipe?
Yes, you can double the recipe, but you may need to bake two separate loaves or use a larger mixing bowl for the dough.
What can I do with stale bread?
Stale bread can be transformed into croutons, breadcrumbs, or bread pudding, preventing waste and creating new dishes!
Additional Resources
For those interested in enhancing their bread-making skills, consider exploring related recipes that introduce different grain types, herbs, or unique flavors. Technique guides can provide insights into effective kneading or proofing methods. Ingredient information can also aid in understanding how each component contributes to the final product. Investing in good quality baking equipment can further elevate your results and provide a better baking experience.
Join the Conversation
Engage with us on social media and share your success stories or variations on this Easy Homemade White Bread. Post your delicious results, and share any photography tips, ensuring that fellow bakers can enjoy your creations. We love to hear from our community about what worked well and how the recipe adapted to individual tastes. Share the joy of this baked goodness and inspire others to pull out their ovens and give this delightful recipe a try!
The Recipe
Easy Homemade White Bread
Serves: 12 slices
Prep Time: 15 mins
Cook Time: 30 mins
Total Time: 45 mins
Kitchen Equipment Needed
- Mixing Bowl
- Loaf Pan
- Measuring Cups and Spoons
- Oven
- Wire Rack
Ingredients
- 3 ½ cups all-purpose flour
- 1 packet active dry yeast (2 ¼ tsp)
- 1 ¼ cups warm water
- 2 tbsp sugar
- 1 tsp salt
- 2 tbsp butter (melted)
Directions
- In a mixing bowl, dissolve sugar in warm water, then add yeast. Let sit for 5-10 minutes until foamy.
- Add salt, melted butter, and flour, mixing until combined. Knead on a floured surface for about 10 minutes.
- Shape into a ball, place in a greased bowl, cover with a cloth, and let rise until doubled (1 hour).
- Punch down the dough, shape it, and place it in a greased loaf pan. Allow it to rise again for 30-45 minutes.
- Bake in a preheated oven at 375°F (190°C) for 25-30 minutes, or until golden brown and sounds hollow when tapped.
- Remove from oven, brush with melted butter, and let cool before slicing.
Recipe Notes
- For a softer crust, brush the bread with butter immediately after baking.
- If desired, add herbs or seeds for additional flavor before baking.
- This bread can be frozen for up to 3 months; wrap slices tightly in plastic.