One-Skillet Hibachi Chicken & Garlic Fried Rice
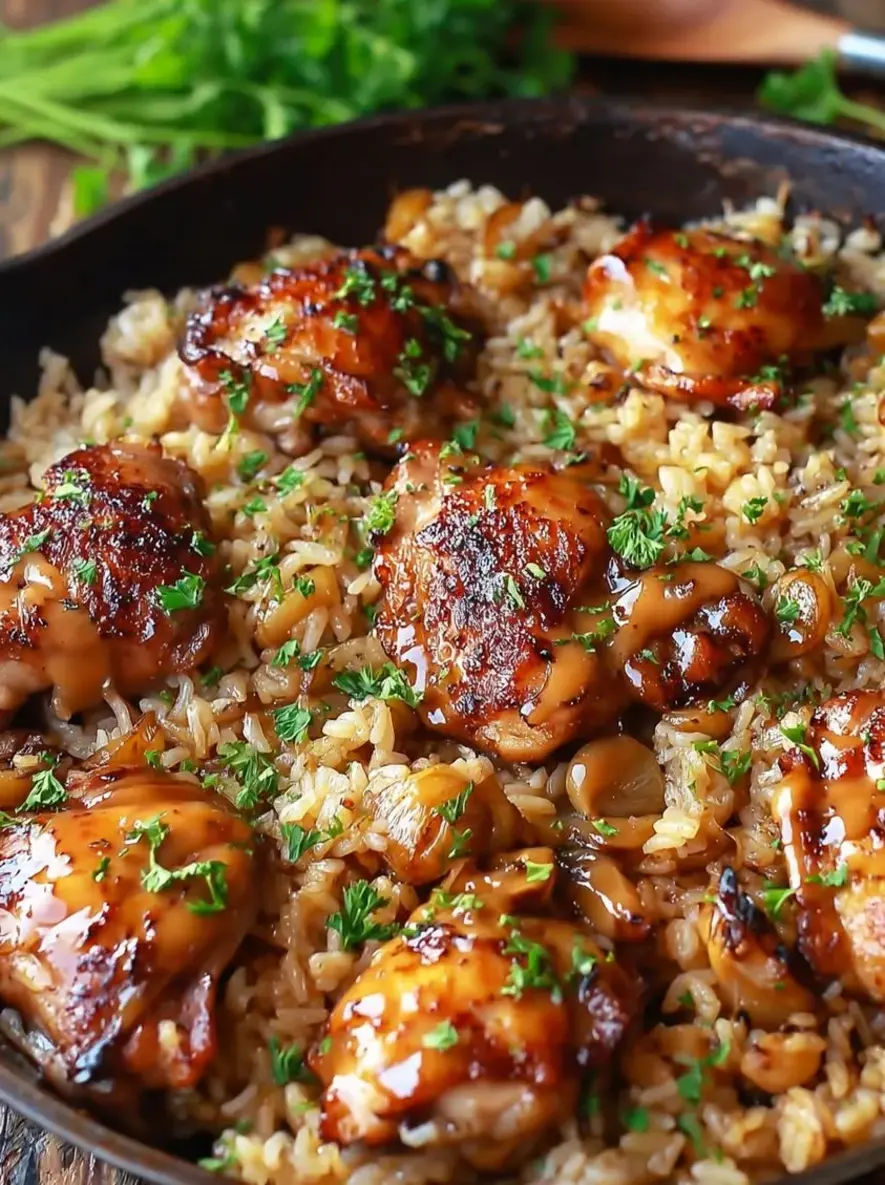
Table of Contents
Rustic Cast-Iron Hibachi Chicken with Savory Garlic Fried Rice & Creamy Yum Yum Drizzle – A One-Skillet Dinner That Delivers Restaurant Flavor at Home
Growing up in Morocco, I learned that the best meals often come from a single, well-seasoned pan. My mother would sear lamb and vegetables in a heavy clay tagine, layering spices and patience. Years later, training in Paris at Le Cordon Bleu, I fell in love with the precision of a cast-iron skillet – its ability to deliver a blistering sear and hold heat like a faithful coworker. Now here in New York, I channel all of that into this rustic cast-iron hibachi chicken recipe. It’s my weeknight answer to the sizzling hibachi tables I adore, but made right at home. Juicy chicken thighs, golden and charred, paired with savory garlic fried rice and a creamy yum yum drizzle – it’s a complete meal that feels like a special occasion, yet comes together in under an hour. The key? Using a cast-iron skillet to get that authentic smoky, charred flavor that makes hibachi so irresistible.
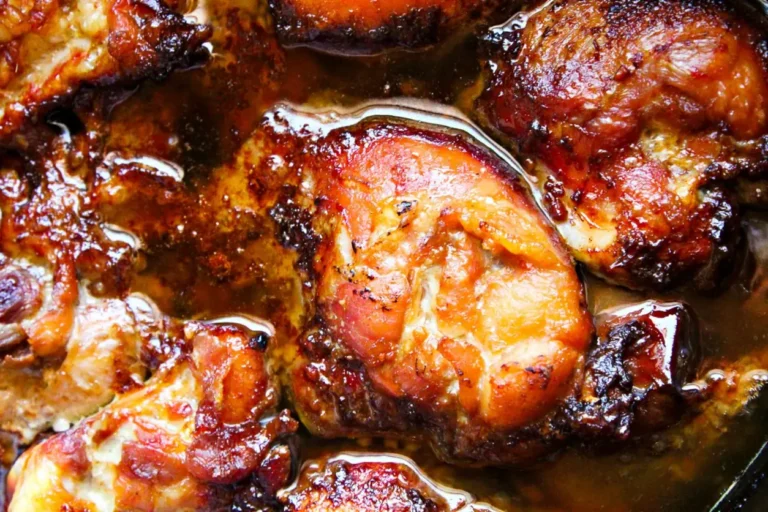
Picture this: the chicken hits the hot skillet with a satisfying sizzle, releasing an aroma of garlic and soy that fills your kitchen. The skin (well, the surface of boneless thighs) develops a deep, caramelized crust flecked with paprika and black pepper. Meanwhile, day-old jasmine rice soaks up chicken broth and extra soy sauce, turning fluffy and fragrant with each stir. And the yum yum sauce – that creamy, tangy, slightly sweet wonder – ties everything together in one decadent drizzle. Every bite delivers a crunch from the crispy rice edges, a tender bite of chicken, and a cool, velvety finish from the sauce. It’s comfort food with a global passport, and it’s exactly the kind of meal I love to make after a busy day of recipe testing in my tiny West Village kitchen.
Now, you might wonder: what makes my version different from the dozens of hibachi recipes out there? Three things: First, I use chicken thighs instead of breasts – they stay juicier and take the high heat beautifully. Second, I finish the chicken in a garlic-butter baste that mimics the hibachi showmanship but requires no fancy spatula tricks. And third, my yum yum sauce is made from pantry staples – no fuss, no obscure ingredients. But the real soul of this dish is the technique. I’ll share my pro tip for getting that crust without burning the garlic, and the common mistake that makes fried rice stick to the pan. By the end of this post, you’ll have a go-to hibachi chicken recipe that rivals any teppanyaki chain. From my NYC kitchen to yours – let’s get cooking.
Why This Hibachi Chicken Recipe Is the Best
The Flavor Secret: Growing up in Morocco, I watched my mother layer spices with a hand that knew no fear. That same confidence comes through here. The chicken is seasoned simply with paprika, onion powder, and black pepper – but the magic happens when it hits the cast-iron skillet. The high heat creates a crust that locks in moisture, while a final glaze of soy, teriyaki, and sesame oil adds a savory-sweet finish. The yum yum sauce, inspired by my time in Paris learning emulsion techniques, brings a creamy tang that cuts through the richness. It’s a fusion of North African warmth, French finesse, and American comfort – all in one skillet.
Perfected Texture: I’ve tested this recipe more times than I can count. The key to the chicken is patting it dry – really dry – before seasoning. That ensures a deep golden sear, not a steamed surface. For the rice, using day-old jasmine rice (or freshly cooked rice that’s been spread out to cool) prevents clumping. I sauté the onions and garlic just until fragrant, then add the rice and broth, letting it absorb slowly while scraping up the browned bits from the chicken. The result? Separate, fluffy grains with crispy edges that soak up every drop of flavor.
Foolproof & Fast: This recipe is designed for busy home cooks. You don’t need a hibachi grill or any special equipment – just a sturdy cast-iron skillet (I love my Lodge). The whole meal cooks in one pan, meaning less cleanup. And because I’ve broken down every step with clear timings and visual cues, even a beginner can nail it on the first try. No smoke alarms, no burnt garlic, no sad, sticky rice. Just a gorgeous, satisfying dinner that’s ready in 45 minutes. 💡 Stella’s Pro Tip: Always preheat your cast-iron skillet for at least 3 minutes before adding oil – that’s the secret to a non-stick sear.
Hibachi Chicken Recipe Ingredients
I source my ingredients from the Union Square Greenmarket when possible – especially the garlic, green onions, and fresh parsley. But everything here is available at any standard US grocery store. Let’s go through what you’ll need.
Ingredients List
- For the Chicken:
- 6 boneless, skinless chicken thighs
- 2 tablespoons vegetable oil
- 2 tablespoons butter
- 3 cloves garlic, minced
- 2 tablespoons soy sauce
- 1 tablespoon teriyaki sauce
- 1 teaspoon sesame oil
- 1 teaspoon paprika
- ½ teaspoon black pepper
- ½ teaspoon onion powder
- Salt to taste
- For the Rice:
- 3 cups cooked jasmine rice (day-old preferred)
- 1 tablespoon butter
- 1 tablespoon vegetable oil
- ½ small onion, finely diced
- 3 cloves garlic, minced
- 2 tablespoons soy sauce
- 1½ cups chicken broth
- 2 green onions, sliced
- 1 tablespoon chopped parsley
- Quick Yum Yum Sauce:
- ½ cup mayonnaise
- 1 tablespoon ketchup
- 1 teaspoon rice vinegar
- ½ teaspoon garlic powder
- ½ teaspoon paprika
- 1 teaspoon sugar
- 1 tablespoon water (if needed)
Ingredient Spotlight
Chicken Thighs: They’re the star. Boneless, skinless thighs stay juicy under high heat and have enough fat to develop a beautiful crust. Look for uniform thickness so they cook evenly. Substitute: boneless skinless chicken breasts (cook 1-2 minutes less per side).
Jasmine Rice: Day-old rice is ideal because it’s drier and won’t clump. If using freshly cooked, spread it on a baking sheet to cool and dry for 15 minutes. Substitute: long-grain white rice or basmati – just adjust liquid slightly.
Soy Sauce: Use low-sodium if you prefer. It’s the backbone of the umami in both the chicken and rice. Substitute: tamari for gluten-free, coconut aminos for a slightly sweeter profile.
| Original Ingredient | Best Substitution | Flavor / Texture Impact |
|---|---|---|
| Chicken thighs | Boneless skinless chicken breasts | Slightly drier – baste with extra butter |
| Jasmine rice | Long-grain white rice | Similar texture; slightly less fragrant |
| Soy sauce | Tamari (gluten-free) or coconut aminos | Tamari same umami; aminos sweeter, less salty |
| Teriyaki sauce | 1 tbsp soy + 1 tsp honey + ½ tsp ginger | Less thick but similar sweet-savory profile |
How to Make Rustic Cast-Iron Hibachi Chicken — Step-by-Step
Follow these simple steps, and you’ll have a dinner that looks and tastes like it came from a hibachi grill. I’ll guide you through each stage with chef-level tips.
Step 1: Season and Prepare the Chicken
Pat the chicken thighs dry with paper towels – moisture is the enemy of a good sear. In a small bowl, mix paprika, onion powder, black pepper, and a pinch of salt. Sprinkle the seasoning evenly over both sides of the thighs, pressing lightly to adhere. Let them sit at room temperature for 10 minutes while the skillet heats.
💡 Stella’s Pro Tip: For an extra layer of flavor, add ¼ teaspoon of smoked paprika along with the regular paprika. It gives a subtle campfire note that mimics authentic hibachi char.
Step 2: Sear the Chicken
Place a large cast-iron skillet over medium-high heat and let it heat for 3 minutes. Add the vegetable oil and swirl to coat. Carefully place the chicken thighs in the skillet – they should sizzle immediately. Sear for 5-6 minutes without moving them, until the underside is deep golden brown and releases easily. Flip and sear the other side for another 5-6 minutes. The internal temperature should reach 165°F.
⚠️ Common Mistake to Avoid: Don’t overcrowd the pan! If your skillet is too full, the chicken will steam instead of sear. Use a large 12-inch skillet or cook in two batches.
Step 3: Glaze and Keep Warm
Reduce heat to medium-low. Add the butter and minced garlic to the skillet, tilting the pan to let the butter melt around the chicken. Spoon the garlic butter over the chicken for about 1 minute. Then stir in soy sauce, teriyaki sauce, and sesame oil, turning the chicken to coat in the glossy glaze. Remove the chicken to a plate and tent with foil to keep warm.
💡 Stella’s Pro Tip: The glaze will bubble and reduce quickly. Don’t leave it too long or it will burn. As soon as the chicken is coated, remove it. You can add a splash of water to the pan to deglaze if needed.
Step 4: Sauté the Onions and Garlic
In the same skillet (with all those delicious browned bits), melt the butter with the remaining vegetable oil over medium heat. Add the diced onion and cook for 2-3 minutes until softened and translucent. Add the minced garlic and cook for 30 seconds, stirring constantly, until fragrant.
⚠️ Common Mistake to Avoid: Garlic burns quickly. Keep it moving and don’t let it turn dark brown. If you see it browning too fast, lower the heat.
Step 5: Fry the Rice
Add the cooked rice to the skillet, breaking up any clumps with a spatula. Pour in the chicken broth and soy sauce, then stir well. Cook for 4-5 minutes, stirring occasionally, until the liquid is absorbed and the rice is hot and slightly golden in spots. Fold in the sliced green onions and chopped parsley. Taste and adjust salt if needed.
💡 Stella’s Pro Tip: For extra crispy rice bits, press the rice down with a spatula and let it cook undisturbed for 1-2 minutes before stirring again. That creates the irresistible crunchy texture you get at hibachi restaurants.
Step 6: Make the Yum Yum Sauce
While the rice cooks, whisk together all the yum yum sauce ingredients in a small bowl: mayonnaise, ketchup, rice vinegar, garlic powder, paprika, sugar, and water (start with 1 teaspoon water and add more if needed to reach a drizzling consistency). Taste and adjust sweetness or tang.
⚠️ Common Mistake to Avoid: Don’t skip the water – the sauce should be thick but pourable. If it’s too thick, it won’t drizzle nicely over the chicken and rice.
Step 7: Assemble and Serve
Slice the chicken thighs into thick strips. Spoon the garlic fried rice onto a platter or individual plates. Arrange the sliced chicken on top. Drizzle generously with the yum yum sauce, and garnish with extra chopped parsley or sliced green onions. Serve immediately while everything is hot.
💡 Stella’s Pro Tip: For a beautiful presentation, sprinkle a pinch of sesame seeds over the top. It adds a nutty crunch and makes the dish look extra polished.
| Step | Action | Duration | Key Visual Cue |
|---|---|---|---|
| 1 | Season chicken | 10 min (resting) | Dry surface, even seasoning |
| 2 | Sear chicken | 10-12 min | Deep golden crust, releases easily |
| 3 | Glaze chicken | 1-2 min | Glossy, bubbling sauce coats chicken |
| 4 | Sauté aromatics | 3 min | Onions translucent, garlic fragrant |
| 5 | Fry rice | 5-6 min | Liquid absorbed, rice slightly golden |
| 6 | Make sauce | 2 min | Smooth, pourable, pinkish-orange |
| 7 | Assemble and serve | 2 min | Sliced chicken over rice, drizzled sauce |
Serving & Presentation
This dish is a showstopper on its own, but the way you plate it can elevate it from weeknight dinner to restaurant-quality. I like to serve the garlic fried rice on a large wooden board or a white platter, then arrange the sliced chicken thighs in a row across the top. Drizzle the yum yum sauce in a zigzag pattern – it looks dramatic and ensures every bite gets a little bit of that creamy tang. Finish with a generous sprinkle of chopped parsley or sliced green onions for a pop of green.
In my NYC kitchen, I often pair this with a quick cucumber salad (thinly sliced cucumbers with rice vinegar and a pinch of sugar) to add a refreshing crunch. For a heartier meal, serve with steamed edamame or a side of miso soup. And because this is hibachi-inspired, a cold glass of sake or a crisp lager like Sapporo is the perfect companion. If you’re cooking for a crowd, double the recipe and use two cast-iron skillets – it’s worth the extra sizzle.
| Pairing Type | Suggestions | Why It Works |
|---|---|---|
| Side Dish | Cucumber salad, steamed edamame, miso soup | Light, acidic sides balance the rich, savory main |
| Sauce / Dip | Extra yum yum sauce, spicy sriracha mayo | Adds heat or creaminess as desired |
| Beverage | Sake, Sapporo beer, ginger ale | Crisp, cold drinks cut through the richness |
| Garnish | Sliced green onions, parsley, sesame seeds | Adds color, freshness, and a nutty finish |
Make-Ahead, Storage & Reheating
Living in a bustling city means I often meal prep this dish for busy weeknights. The chicken and rice keep beautifully, and the yum yum sauce can be made days ahead. Here’s how to store and reheat for the best results.
| Method | Container | Duration | Reheating Tip |
|---|---|---|---|
| Refrigerator | Airtight container, separate chicken & rice | Up to 4 days | Reheat rice in a skillet with a splash of water; reheat chicken in a 350°F oven for 8-10 min |
| Freezer | Freezer-safe bag or container | Up to 2 months | Thaw overnight in fridge; reheat as above |
| Make-Ahead | Store yum yum sauce in a jar | Sauce keeps 1 week | Whisk before using; add a splash of water if too thick |
From my experience, the fried rice actually tastes better the next day – the flavors meld and the rice grains become even more distinct. For reheating, a hot skillet is your best friend. Add a tiny bit of oil and a splash of water, cover, and steam for 2-3 minutes, then uncover and fry until crispy. The chicken should be reheated gently to avoid drying out – I prefer the oven over the microwave. And always wait to add the yum yum sauce until just before serving, so it stays creamy and fresh.
Variations & Easy Swaps
One of the things I love about this recipe is how adaptable it is. Whether you’re catering to dietary needs or just want to switch things up, here are some of my favorite variations.
| Variation | Key Change | Best For | Difficulty Impact |
|---|---|---|---|
| Spicy Hibachi Chicken | Add 1 tsp sriracha or gochujang to glaze | Heat lovers | Easy |
| Gluten-Free | Use tamari instead of soy sauce, ensure teriyaki is GF | Gluten-free diet | Easy |
| Vegetarian Hibachi Bowl | Replace chicken with extra-firm tofu or portobello mushrooms | Vegetarian / vegan | Medium (tofu requires pressing) |
Spicy Hibachi Chicken
For those who like a kick, add a teaspoon of sriracha or Korean gochujang to the yum yum sauce. The heat cuts through the richness beautifully. In Morocco, we often use harissa for a similar effect – if you have some, a dollop will add a North African twist that I absolutely love.
Gluten-Free Version
This is an easy swap: replace the soy sauce with tamari or coconut aminos, and check that your teriyaki sauce is gluten-free (many brands are, but read the label). Everything else – the rice, chicken, vegetables, and yum yum sauce – is naturally gluten-free. I tested this with tamari and the flavor was just as savory, no compromises.
Vegetarian Hibachi Bowl
On Meatless Mondays, I swap the chicken for extra-firm tofu (pressed, then cut into ½-inch slabs and seared until golden) or thick portobello mushroom caps. The same garlic butter glaze works wonders. For a vegan version, use vegan butter and omit the honey in the teriyaki. The fried rice can be made with vegetable broth instead of chicken broth – the flavor still sings.
What is the best way to get a smoky, charred flavor on hibachi chicken in a cast-iron skillet?
The key is a screaming hot skillet and a good sear. Preheat your cast-iron skillet over medium-high heat for at least 3 minutes before adding oil. The oil should shimmer but not smoke. Pat the chicken completely dry – moisture is the enemy of browning. Season generously and place the chicken in the pan without crowding. Let it cook undisturbed for 5-6 minutes per side until a deep, mahogany crust forms. For extra smokiness, add a small amount of smoked paprika to the seasoning blend. And here’s a trick from my Paris days: after flipping, add a pat of butter and let it brown slightly – the milk solids add complexity. Avoid moving the chicken too early; if it sticks, it’s not ready to flip.
Can I substitute chicken thighs for chicken breasts in this rustic hibachi chicken recipe?
Absolutely. Chicken breasts work, but they require a few adjustments. Boneless, skinless chicken breasts are leaner, so they can dry out faster. To keep them juicy, you can pound them to an even thickness (about ½ inch) so they cook evenly. Reduce the searing time to 4-5 minutes per side, and check for an internal temperature of 160°F (they’ll carryover to 165°F). Basting with the garlic butter becomes even more important – spoon it over the breasts generously. Also, consider brining the breasts for 20 minutes in a saltwater solution before cooking for extra moisture. The flavor will be just as delicious, but the texture will be slightly firmer than thighs.
How do I make the savory garlic fried rice not stick to the cast-iron pan?
Non-stick starts with the right technique. First, use day-old rice – fresh rice is too moist and will clump and stick. If using fresh rice, spread it on a baking sheet and let it cool and dry for 15 minutes. Second, after cooking the chicken, you’ll have browned bits (fond) on the bottom of the skillet – that’s flavor, but it can cause sticking. Before adding the rice, deglaze the pan with a splash of chicken broth or water, scraping up the fond. Then add the butter and oil for the rice. Make sure the pan is hot enough (medium heat) before adding the rice. Stir frequently, and don’t overload the pan – 3 cups cooked rice is perfect for a 12-inch skillet. Lastly, add a little extra oil if needed; fried rice should be sizzling, not steaming.
What is a good substitute for Yum Yum sauce if I don’t have paprika or rice vinegar?
No problem – the yum yum sauce is adaptable. If you’re out of paprika, use a pinch of smoked paprika (if you have it) or just skip it – you’ll still get a tasty sauce from the mayo, ketchup, garlic powder, and sugar. The paprika mainly adds color and mild warmth. For rice vinegar, substitute apple cider vinegar or white wine vinegar mixed with a tiny pinch of sugar to mimic the mild sweetness. If you don’t have either, a squeeze of fresh lemon juice works too – it will add brightness. The sauce will still be creamy and tangy. I’ve also made a version with a dash of sriracha for heat – that’s delicious. The key ratios are: ½ cup mayo, 1 tbsp ketchup, 1 tsp vinegar, ½ tsp garlic powder, 1 tsp sugar – that’s the base. Add water to thin.
Can I make the whole hibachi chicken and fried rice ahead of time for a party?
Yes, but with a few tips to keep everything fresh. You can cook the chicken and rice up to 2 days in advance. Store them separately in airtight containers in the refrigerator. The yum yum sauce can be made up to a week ahead. To serve, reheat the rice in a large skillet with a splash of broth or water to rehydrate it – stir until steaming. Reheat the chicken in a 350°F oven, covered with foil, for about 10 minutes, then uncover for the last 2 minutes to crisp the edges slightly. Slice the chicken just before serving to keep it juicy. Arrange on a platter and drizzle with the sauce right before guests arrive. This method works wonderfully for dinner parties – you get all the flavor with no last-minute stress.
Share Your Version!
I absolutely love seeing how you make this recipe your own. Did you try the spicy variation? Did your family fight over the last piece of chicken? Leave a star rating and a comment below – I read every single one and it truly makes my day. If you’re on Instagram or Pinterest, snap a photo of your hibachi creation and tag me @stellarecipeblog. I’ll share my favorites in my Stories! And here’s a fun question for you: what’s your go-to side dish to serve with hibachi? For me, it’s a tie between cucumber salad and a simple bowl of edamame sprinkled with sea salt. Can’t wait to hear from you!
From my NYC kitchen to yours — I hope this recipe brings as much warmth to your table as it does to mine. — Stella 🧡
Love This Recipe? Save It to Pinterest!
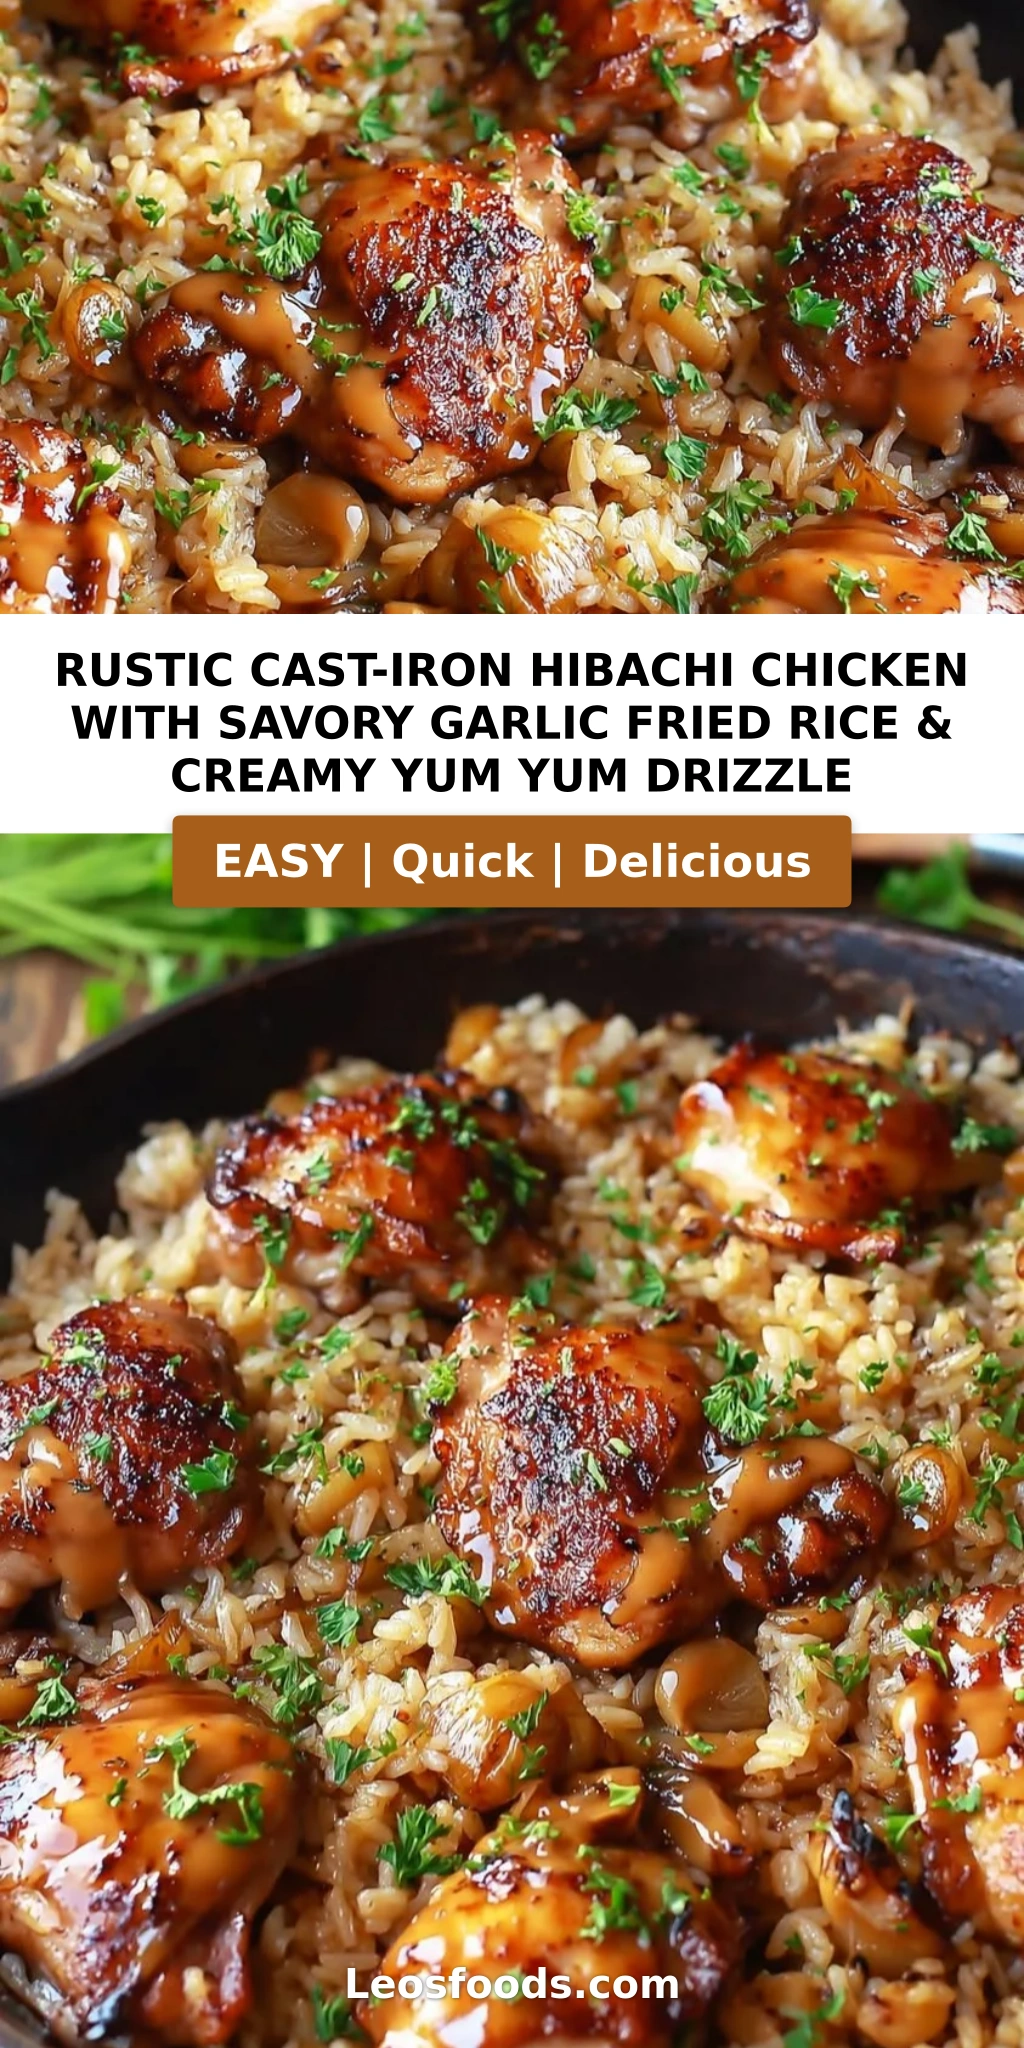
If you enjoyed this Rustic Cast-Iron Hibachi Chicken with Savory Garlic Fried Rice & Creamy Yum Yum Drizzle recipe, don’t let it get lost in your browser tabs! 😄 Pin it now so you can find it again anytime — and explore hundreds more tried-and-tested recipes waiting for you on my Pinterest boards.
👉 Follow Stella on Pinterest @stellarecipeblog
📌 Pin this recipe · 🔁 Re-pin your favorites · 💬 Tag me when you make it — I love seeing your creations!
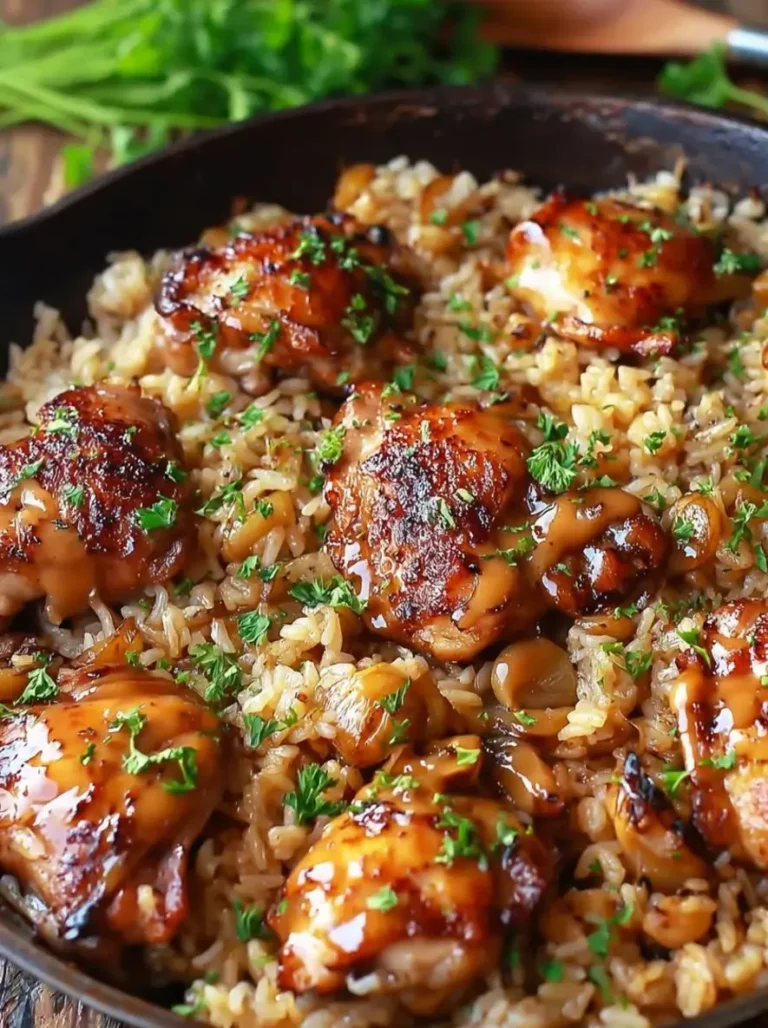
Rustic Cast-Iron Hibachi Chicken with Savory Garlic Fried Rice & Creamy Yum Yum Drizzle
Juicy cast-iron seared chicken thighs paired with savory garlic fried rice and a creamy yum yum drizzle.
- Total Time: 45 minutes
- Yield: 4 servings 1x
Ingredients
- For the Chicken:
- 6 boneless, skinless chicken thighs
- 2 tablespoons vegetable oil
- 2 tablespoons butter
- 3 cloves garlic, minced
- 2 tablespoons soy sauce
- 1 tablespoon teriyaki sauce
- 1 teaspoon sesame oil
- 1 teaspoon paprika
- ½ teaspoon black pepper
- ½ teaspoon onion powder
- Salt to taste
- For the Rice:
- 3 cups cooked jasmine rice (day-old preferred)
- 1 tablespoon butter
- 1 tablespoon vegetable oil
- ½ small onion, finely diced
- 3 cloves garlic, minced
- 2 tablespoons soy sauce
- 1½ cups chicken broth
- 2 green onions, sliced
- 1 tablespoon chopped parsley
- Quick Yum Yum Sauce:
- ½ cup mayonnaise
- 1 tablespoon ketchup
- 1 teaspoon rice vinegar
- ½ teaspoon garlic powder
- ½ teaspoon paprika
- 1 teaspoon sugar
- 1 tablespoon water (if needed)
Instructions
- Pat the chicken thighs dry and season with paprika, onion powder, black pepper, and salt.
- Heat vegetable oil in a large cast-iron skillet over medium-high heat.
- Sear the chicken for 5-6 minutes per side until deeply golden and cooked through.
- Add butter and minced garlic, spooning the garlic butter over the chicken for 1 minute.
- Stir in soy sauce, teriyaki sauce, and sesame oil until the chicken is coated in a glossy glaze. Remove and keep warm.
- In the same skillet, melt butter with a little oil and sauté the onion until softened.
- Add garlic and cook for 30 seconds until fragrant.
- Stir in the cooked rice and pour in the chicken broth and soy sauce. Cook while stirring until the broth is absorbed and the rice becomes fluffy and lightly golden.
- Fold in sliced green onions and parsley.
- Whisk together all Yum Yum sauce ingredients until smooth.
- Slice the chicken and arrange it over the rice. Drizzle generously with Yum Yum sauce and garnish with extra parsley before serving.
Notes
Prep Time: 15 minutes | Cooking Time: 30 minutes | Total Time: 45 minutes
- Prep Time: 15 minutes
- Cook Time: 30 minutes
Nutrition
- Calories: 610 kcal
Tried This Recipe? Leave a Comment!
Did you make this recipe? I’d love to hear how it turned out! Please leave a comment and a rating below. Your feedback helps other home cooks and supports cheerychop.com!
For more delicious inspiration, follow me on Pinterest!