BEST Sweet and Sour Sauce
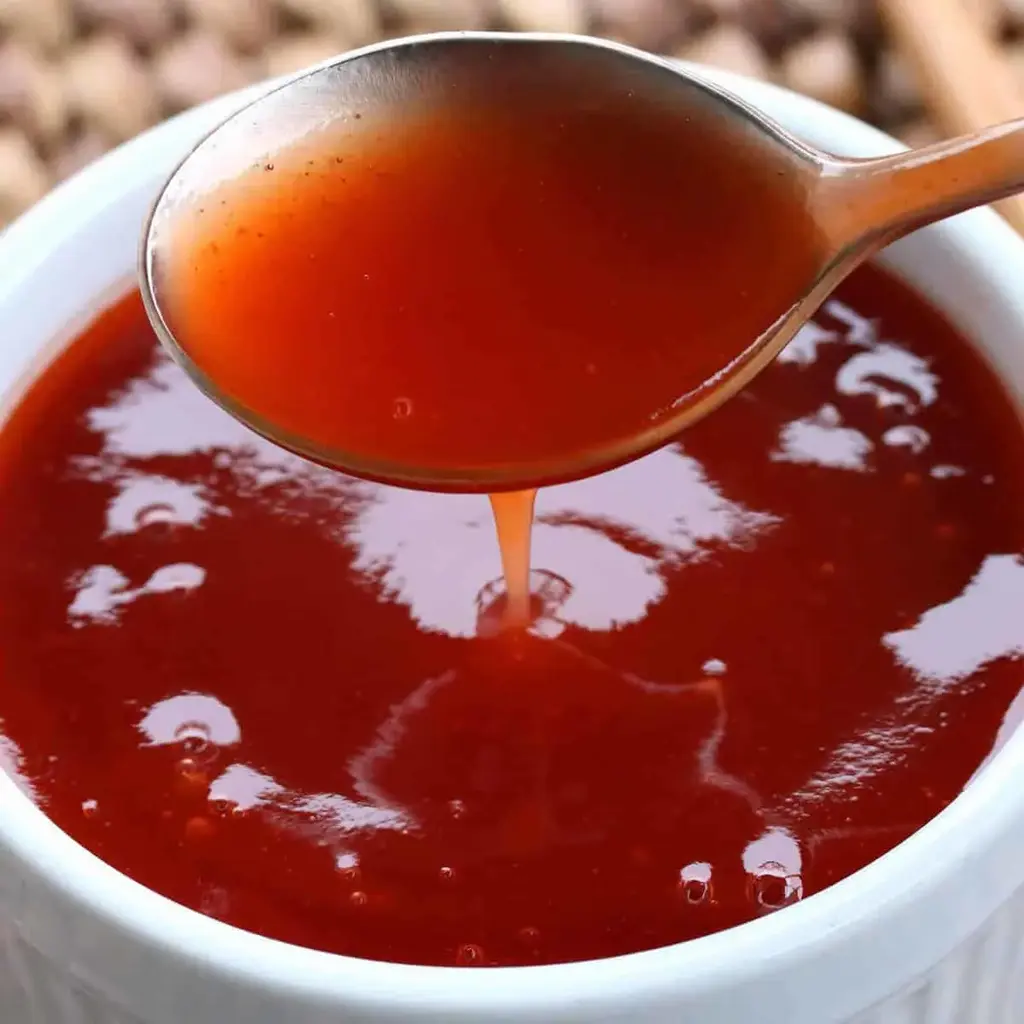
Table of Contents
BEST Sweet and Sour Sauce – The Easy Homemade Version You’ll Never Buy Again
Let me tell you a little secret: the very first time I made this sweet and sour sauce, I was standing in my tiny New York City kitchen, surrounded by boxes from a move, and I was completely out of that neon-bright, syrupy stuff from a bottle. I had just returned from a trip to see my mother in Morocco, where her kitchen was filled with the aromas of sweet-and-tangy tagines, and I craved something that balanced those two forces perfectly — sweet pineapple, sharp vinegar, a hint of tomato richness. In that moment, I grabbed a can of pineapple juice, some brown sugar, and rice vinegar, and I started improvising. The result? This best sweet and sour sauce recipe — a sauce that is shockingly easy, completely free of junk ingredients, and tastes so much brighter and more complex than anything you can buy. It became a staple in my home, and I’m so excited to share it with you.
Imagine pouring a glossy, deep-amber sauce over crispy chicken pieces, the way it clings to each nugget with a silky sheen — that’s what this homemade sweet and sour sauce delivers. The first hit is pure, juicy pineapple sweetness, followed immediately by the clean tang of rice vinegar and the savory depth of soy sauce. It’s not cloying; it’s balanced. A touch of ketchup adds a subtle tomato richness and that familiar red-orange hue, while the cornstarch slurry gives it the perfect, pourable thickness — not too runny, not too gloppy. Every time I make it, I’m transported back to my Paris culinary school days, where I learned that a great sauce is all about layering flavors and trusting simple techniques. No artificial colors, no high-fructose corn syrup, just real ingredients working in harmony.
I’m a trained chef and a busy mom living in Queens, and I need recipes that are both quick and genuinely delicious. My version of sweet and sour sauce takes just 15 minutes from start to finish, and the flavor is exponentially better than store-bought. The secret? Using canned pineapple juice (not crushed pineapple) for a smooth, consistent sweetness, and a cornstarch slurry that you can adjust to your ideal thickness — something bottled sauces never allow. I’m going to show you a pro tip that prevents lumps and a common mistake that can turn your sauce into a sugary mess. Trust me, once you make this, you’ll never go back to the jarred stuff. It’s the perfect condiment for weeknight stir-fries, homemade takeout, or even as a glaze for roasted veggies.
Why This Sweet and Sour Sauce Recipe Is the Best
The flavor secret lies in the balance — something I learned in Paris, where a sauce must be harmonious. I don’t just dump sugar and vinegar together. I use light brown sugar for its subtle molasses notes, which pair beautifully with the tropical sweetness of pineapple juice. The rice vinegar provides a clean, sharp acidity without being harsh. The unique twist? I add just a whisper of ketchup, which gives the sauce a beautiful depth and a rusty-red color that looks as good as it tastes. It’s the kind of nuanced sweet and sour sauce that will make your family ask, “What did you do differently?”
Perfected Texture: I’ve tested this sauce dozens of times to get the consistency just right — pourable enough to coat food but thick enough to cling to a spoon. The technique from my chef’s training is to never add the cornstarch slurry directly to a cold liquid; instead, you bring the base mixture to a rolling boil first, then whisk in the slurry. This prevents that raw-starch taste and gives you a glossy, restaurant-quality sheen every single time. It’s a small step that makes a world of difference.
Foolproof & Fast: This recipe is designed for the home cook. You don’t need any special equipment or hard-to-find ingredients. Everything is available at your local US grocery store, and the process is almost impossible to mess up. It’s forgiving — if you like a thinner sauce, add a little water; if you want it thicker, simmer it a bit longer. I’ve made it with my daughter on a Tuesday night after a long day, and it never fails. It’s the kind of best sweet and sour sauce recipe that becomes your weeknight hero.
Sweet and Sour Sauce Ingredients
I find all these ingredients easily at my local grocery store in Astoria, Queens — the pineapple juice is usually in the canned fruit aisle, and the rice vinegar is in the Asian section. It reminds me of the colorful souks in Morocco where every spice and vinegar had a purpose. Let’s get into what you’ll need.
Ingredients List
- 1 cup canned pineapple juice (see note)
- 3/4 cup packed light brown sugar (OR brown sugar alternative for low sugar option)
- 1/3 cup rice vinegar (found in the Asian or general vinegar section, or substitute apple cider vinegar)
- 3 tablespoons ketchup
- 2 tablespoons soy sauce or tamari (GF)
- For the Cornstarch Slurry: 1 1/2 tablespoons cornstarch dissolved in 2 tablespoons water
- Optional: 2-3 drops natural red food coloring
Ingredient Spotlight
Pineapple Juice: The backbone of this sauce. Use canned, unsweetened pineapple juice (not from concentrate if possible) for consistent sweetness. If you use fresh pineapple juice, you may need to adjust the sugar because fresh pineapple can be more tart. Stick with canned for the most reliable results.
Rice Vinegar: This is my preferred vinegar for its clean, mild acidity. It doesn’t overpower the other flavors like white vinegar can. Apple cider vinegar is an excellent substitute and lends a slightly fruitier note. Avoid balsamic or red wine vinegar — they are too bold and will muddy the flavor.
Brown Sugar: Light brown sugar is key here. It provides a deeper flavor than white sugar because of the molasses, and it helps achieve that beautiful caramel color. For a low-sugar option, a brown sugar alternative (like Swerve) works well, but expect a slightly different mouthfeel and less caramelization.
| Original Ingredient | Best Substitution | Flavor / Texture Impact |
|---|---|---|
| Pineapple Juice | Orange juice + 1 tbsp lemon juice | Slightly less tropical, more citrus-forward. |
| Rice Vinegar | Apple cider vinegar | Slightly fruitier, still excellent balance. |
| Light Brown Sugar | Coconut sugar | Deeper, earthier sweetness, less molasses. |
| Soy Sauce | Coconut aminos | Slightly less salty, a touch sweeter. |
How to Make Sweet and Sour Sauce — Step-by-Step
Trust me, you are about to be amazed at how quickly this comes together. It’s easier than making a box of mac and cheese, and the result is pure magic.
Step 1: Combine and Boil
In a small saucepan, combine the pineapple juice, brown sugar, rice vinegar, ketchup, and soy sauce. Place the saucepan over medium-high heat and bring the mixture to a full, rolling boil. Stir occasionally to help the sugar dissolve completely. You’ll see the liquid become clear and start to bubble vigorously.
⚠️ Common Mistake to Avoid: Don’t walk away at this stage! The sugar can scorch quickly. Stir every 30 seconds to ensure everything is dissolving evenly and the bottom doesn’t burn.
Step 2: Add the Slurry and Thicken
While the base is heating, whisk together the cornstarch and water in a small bowl until completely smooth. There should be no lumps. Once the sauce is boiling, reduce the heat to medium-low and slowly pour in the cornstarch slurry while whisking constantly. Continue to simmer for about 1 minute, whisking all the while, until the sauce thickens to a glossy, syrupy consistency that coats the back of a spoon. If using, stir in the red food coloring now.
💡 Stella’s Pro Tip: For an ultra-glossy finish that rivals a Chinese takeout joint, use a wire whisk, not a spoon, when incorporating the slurry. The whisk helps distribute the cornstarch evenly and prevents any tiny lumps from forming.
Step 3: Cool and Store
Remove the saucepan from the heat. Let the sweet and sour sauce cool completely to room temperature in the pan. As it cools, it will thicken slightly more. Once cool, transfer it to an airtight container, such as a glass jar or a squeeze bottle, and store it in the refrigerator.
⚠️ Common Mistake to Avoid: Pouring hot sauce into a glass container can cause it to crack! Always let the sauce cool to at least lukewarm before transferring. I usually let it sit on the counter for 20 minutes while I clean up.
| Step | Action | Duration | Key Visual Cue |
|---|---|---|---|
| 1 | Combine & boil | 5-7 mins | Vigorous, rolling bubbles across surface |
| 2 | Add slurry & thicken | 1-2 mins | Coats spoon, glossy sheen |
| 3 | Cool & store | 20 mins (cooling) | Reaches room temperature |
Serving & Presentation
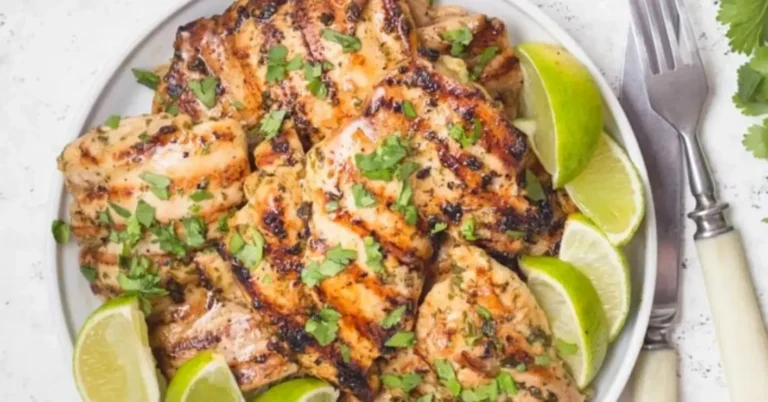
This sweet and sour sauce is a true all-star in the kitchen. My favorite way to serve it is drizzled over crispy baked or fried chicken — just like what you’d get from a Cantonese restaurant in Chinatown, but so much better. It also makes a fantastic dipping sauce for spring rolls, egg rolls, or wontons. For a beautiful presentation, pour the sauce into a small bowl and sprinkle with a few sesame seeds or a pinch of red pepper flakes for color.
Growing up in Morocco, we often used a tangy-sweet sauce called *charmoula* with fish, and this sweet and sour sauce reminds me of that bright, balanced energy. I love to use it as a glaze for grilled salmon or shrimp skewers, brushing it on during the last few minutes of cooking. In the summer, I even toss it with roasted vegetables like bell peppers and onions for a sticky, caramelized side dish that disappears in minutes.
| Pairing Type | Suggestions | Why It Works |
|---|---|---|
| Main Dish | Fried chicken, meatballs, tofu | Sticky glaze clings beautifully. |
| Side | Steamed rice, stir-fried veggies | Balances savory and sweet. |
| Dip | Spring rolls, dumplings, egg rolls | Classic pairing, bright flavor. |
| Beverage | Iced tea, lager beer, sake | Cuts through sweetness. |
Make-Ahead, Storage & Reheating
I do this all the time: on a Sunday afternoon, I make a double batch of this sauce, let it cool, and keep it in a jar in the fridge. Then, on busy weeknights when I need a quick meal, I can just grab it and go. It saves me from ordering takeout when I’m tired and hungry.
| Method | Container | Duration | Reheating Tip |
|---|---|---|---|
| Refrigerator | Airtight glass jar | 2-3 weeks | Microwave in 15-sec bursts or warm in a pan |
| Freezer | Freezer-safe zip bag | Up to 3 months | Thaw in fridge overnight, whisk before use |
| Make-Ahead | Airtight container | Up to 5 days in advance | No reheating needed for cold dip; warm for glaze |
A quick note on reheating: This sauce is naturally thick, but it can thicken further in the fridge. If you want to use it as a pourable glaze, simply warm it in a small saucepan over low heat, adding a teaspoon of water at a time if needed, until it reaches your desired consistency. Stir constantly to prevent sticking.