
Strawberry Shortcake Pudding Cups (No Sugar!)
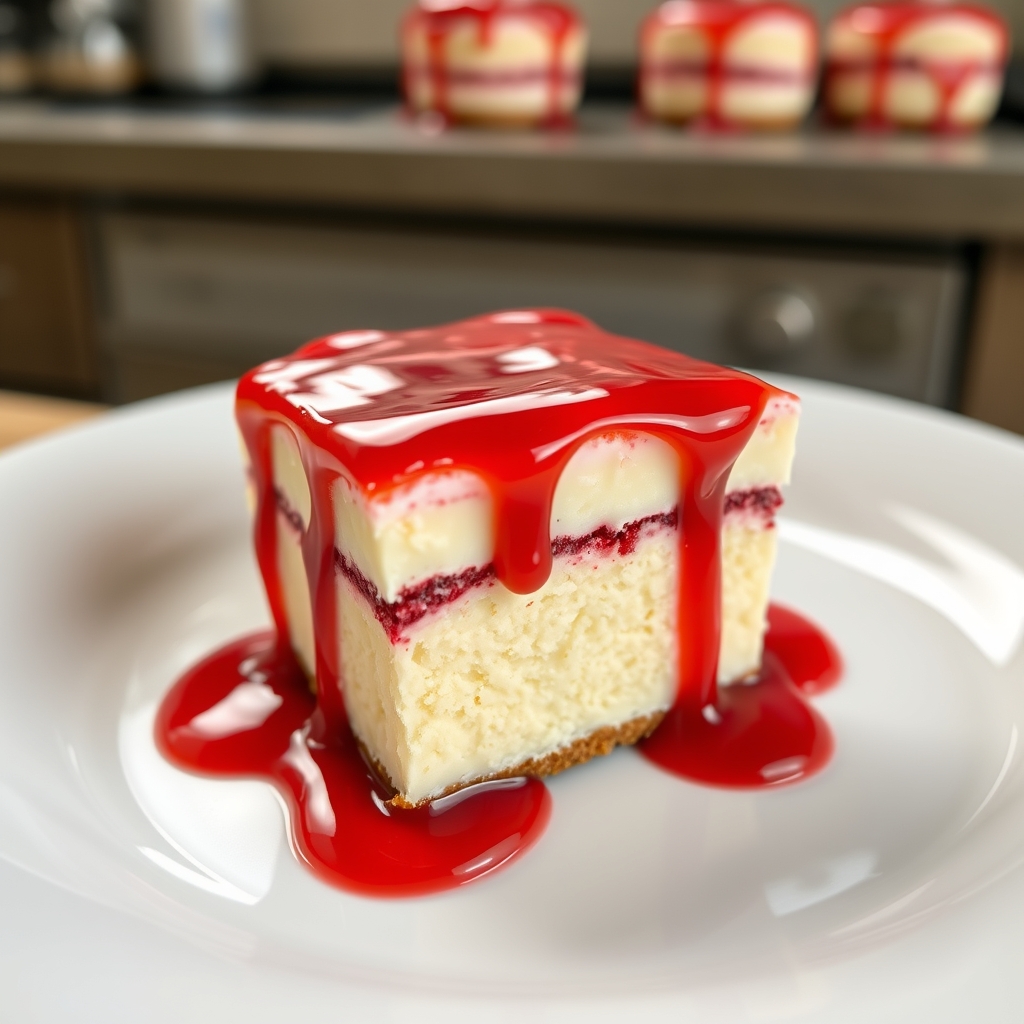
Strawberry Shortcake Pudding Cups (No Sugar!)
There’s something about strawberries that feels like a warm hug from summer itself, isn’t there? Growing up, my family and I would spend lazy afternoons picking strawberries at a local farm, our fingers stained with their sweet juice. Those trips were more than just an opportunity to gather fresh produce; they were a chance to connect, share stories, and savor the simple joy of being together. This recipe for Strawberry Shortcake Pudding Cups takes me back to those sun-drenched days but with a delightful twist—no added sugar! It’s an easy, wholesome treat that’s perfect for sharing with family and friends, evoking that same nostalgic warmth and joy.
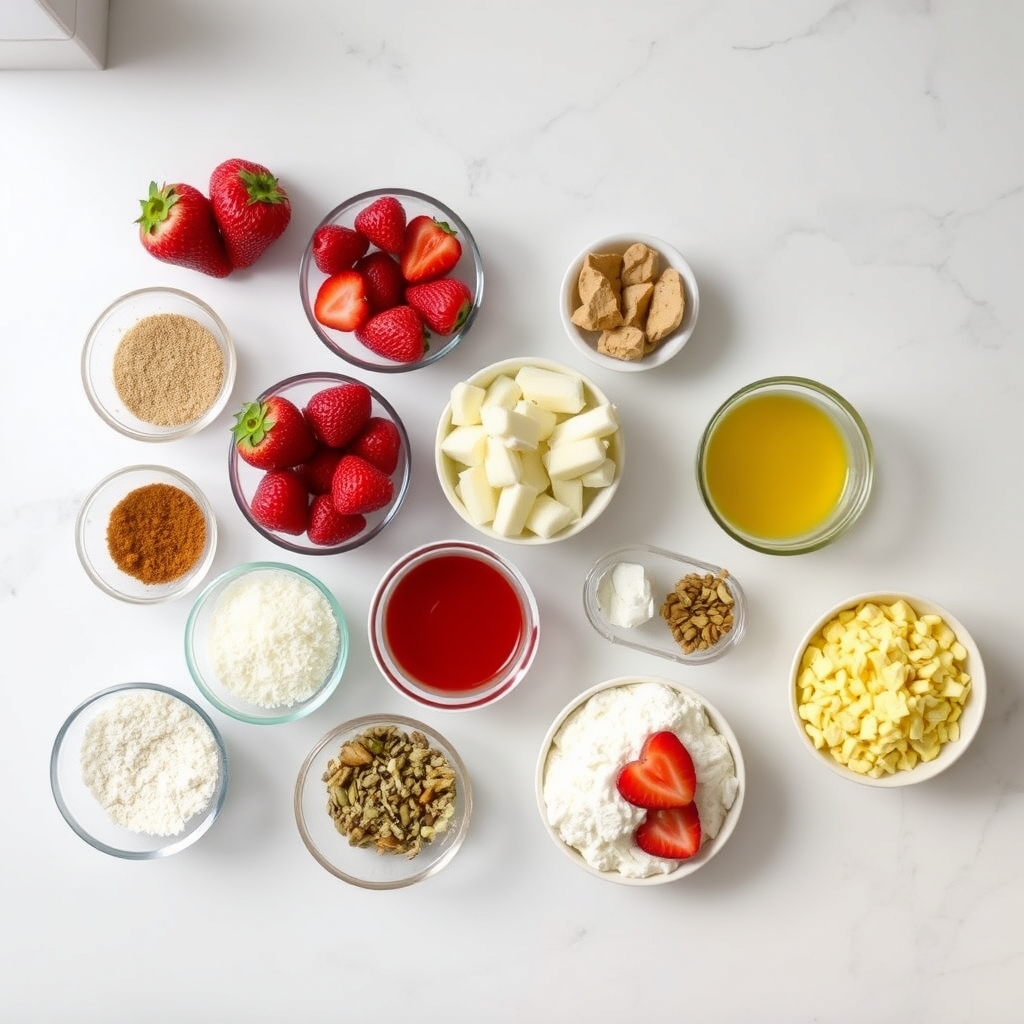
Ingredients You’ll Need
- Fresh Strawberries (2 cups, diced): The star of our show! Choose ripe strawberries for the best natural sweetness. Remember, the redder, the better!
- Vanilla Extract (1 teaspoon): A splash of vanilla adds a lovely, comforting aroma that pairs beautifully with the strawberries.
- Almond Milk (2 cups): I love using almond milk for its subtle nuttiness and creamy texture. Feel free to substitute with any milk of your choice.
- Cornstarch (3 tablespoons): This is our secret weapon for creating that perfect pudding consistency without any need for sugar.
- Honey or Maple Syrup (optional, to taste): Although this recipe is designed to be sugar-free, a touch of natural sweetener can be added if your strawberries aren’t as sweet as you’d like.
- Crushed Graham Crackers (1 cup): These add a delightful crunch and mimic the shortcake element in our cups. Look for whole-grain or gluten-free options if preferred.
- Whipped Cream (for topping): This is entirely optional but highly recommended for that classic shortcake finish!
How to Make Your Strawberry Shortcake Pudding Cups
Let’s dive into the process of crafting these delightful pudding cups. Imagine you’re in the kitchen with me, surrounded by the sweet smell of strawberries and the comforting hum of activity. Here’s how you can bring these flavors to life:
- Prepare the Strawberries: Start by rinsing your strawberries under cold water and patting them dry. Dice them into small pieces and set aside. If your strawberries are a little tart, you might want to sprinkle them with a teaspoon of honey or maple syrup to enhance their natural sweetness.
- Make the Pudding: In a medium saucepan, whisk together the almond milk and cornstarch until smooth. Place the pan over medium heat, stirring constantly, until the mixture begins to thicken. This should take about 5-7 minutes. Add the vanilla extract and stir well. If you prefer a sweeter pudding, this is the moment to add a touch of honey or maple syrup.
- Layer the Cups: Take your serving cups and start layering. Begin with a generous spoonful of the pudding at the base, followed by a layer of diced strawberries. Add a sprinkle of crushed graham crackers for that delightful crunch, then repeat the layers until you reach the top of the cup.
Stay tuned for the second half of this recipe where we’ll finish off our delicious pudding cups and explore some creative serving ideas!
Strawberry Shortcake Pudding Cups (No Sugar!)
by Naomi from Tea Time with Naomi
Pro Tips for Perfect Pudding Cups
Creating these delightful strawberry shortcake pudding cups is a breeze, but here are a few pro tips to elevate your dessert game:
- Choose Fresh Strawberries: Opt for ripe, juicy strawberries to ensure maximum flavor and natural sweetness. Organic strawberries are even better if available!
- Blend Smoothly: When making the pudding, ensure that you blend the mixture until completely smooth for that creamy, luxurious texture.
- Chill Thoroughly: Allow your pudding cups to chill in the refrigerator for at least two hours. This not only enhances the flavor but also firms up the pudding to perfection.
Variations and Substitutions
Feel free to get creative with these pudding cups! Here are some variations and substitutions you might enjoy:
- Dairy-Free Option: Swap out regular milk for almond milk or coconut milk for a dairy-free version.
- Alternative Sweeteners: If you’d like a touch more sweetness, consider adding a teaspoon of honey or maple syrup.
- Berry Mix: Add blueberries or raspberries for a mixed berry twist on this classic treat.
What to Serve with Strawberry Shortcake Pudding Cups
These pudding cups are delightful on their own, but they can also be paired with a few extras for a more indulgent experience:
- Whipped Cream: A dollop of fresh whipped cream adds a light, airy touch.
- Shortbread Crumbles: Sprinkle some crushed shortbread cookies on top for added texture and that classic shortcake feel.
- Mint Leaves: Garnish with fresh mint leaves for a burst of color and a hint of freshness.
Storage and Reheating Guidance
These pudding cups are best enjoyed fresh, but they can be stored in the refrigerator for up to three days. Be sure to cover them with plastic wrap or store them in an airtight container to maintain freshness. If you find the pudding has thickened too much, simply stir in a little milk to reach your desired consistency.
Frequently Asked Questions
Can I use frozen strawberries?
Absolutely! If fresh strawberries are not in season, frozen strawberries are a great alternative. Just make sure to thaw them and drain any excess liquid before using.
Can I prepare these pudding cups in advance?
Yes, you can prepare them a day ahead. They make a convenient and delicious dessert or snack for gatherings or busy weekdays.
Is there a nut-free version?
Of course! Simply use oat milk or rice milk instead of almond milk for a nut-free version.
Strawberry Shortcake Pudding Cups (No Sugar!)
Indulge in the classic flavors of strawberry shortcake with a healthy twist! These no-sugar-added pudding cups combine layers of creamy vanilla pudding, fresh strawberries, and fluffy cake for a guilt-free treat that’s perfect for any occasion.
Ingredients
For the Crust:
- Vanilla Pudding Layer
- 2 cups unsweetened almond milk
- 1/4 cup cornstarch
- 1/4 cup granulated erythritol
- 1 teaspoon vanilla extract
- Strawberry Layer
- 2 cups fresh strawberries, hulled and sliced
- 1 tablespoon lemon juice
- 1 tablespoon granulated erythritol
- Shortcake Layer
- 1 cup almond flour
- 1 teaspoon baking powder
- 1/4 cup granulated erythritol
- 1/4 cup unsalted butter, melted
- 1 large egg
- 1 teaspoon vanilla extract
Instructions
1. Prepare the Crust:
- Prepare the Vanilla Pudding Layer: In a medium saucepan, whisk together the almond milk, cornstarch, and erythritol over medium heat. Cook while stirring until the mixture thickens, about 5-7 minutes. Remove from heat and stir in the vanilla extract. Let cool slightly.
- Prepare the Strawberry Layer: In a medium bowl, combine the sliced strawberries, lemon juice, and erythritol. Toss until well coated and let sit for 10 minutes to release their juices.
- Prepare the Shortcake Layer: Preheat your oven to 350°F (175°C). In a mixing bowl, combine almond flour, baking powder, and erythritol. Stir in the melted butter, egg, and vanilla extract until well combined. Spread the batter in a greased baking dish and bake for 15-18 minutes, or until golden brown. Let cool and then crumble into small pieces.
- Assemble the Pudding Cups: In individual serving cups, layer the ingredients starting with the vanilla pudding, followed by a layer of strawberries and their juices, and finish with a layer of shortcake crumbles. Repeat layers if desired.
- Chill and Serve: Refrigerate the assembled pudding cups for at least 1 hour before serving to allow the flavors to meld together. Top with additional strawberries or a dollop of whipped coconut cream if desired.
Notes
These pudding cups can be made a day ahead and stored in the refrigerator. For an extra touch, garnish with fresh mint leaves before serving.