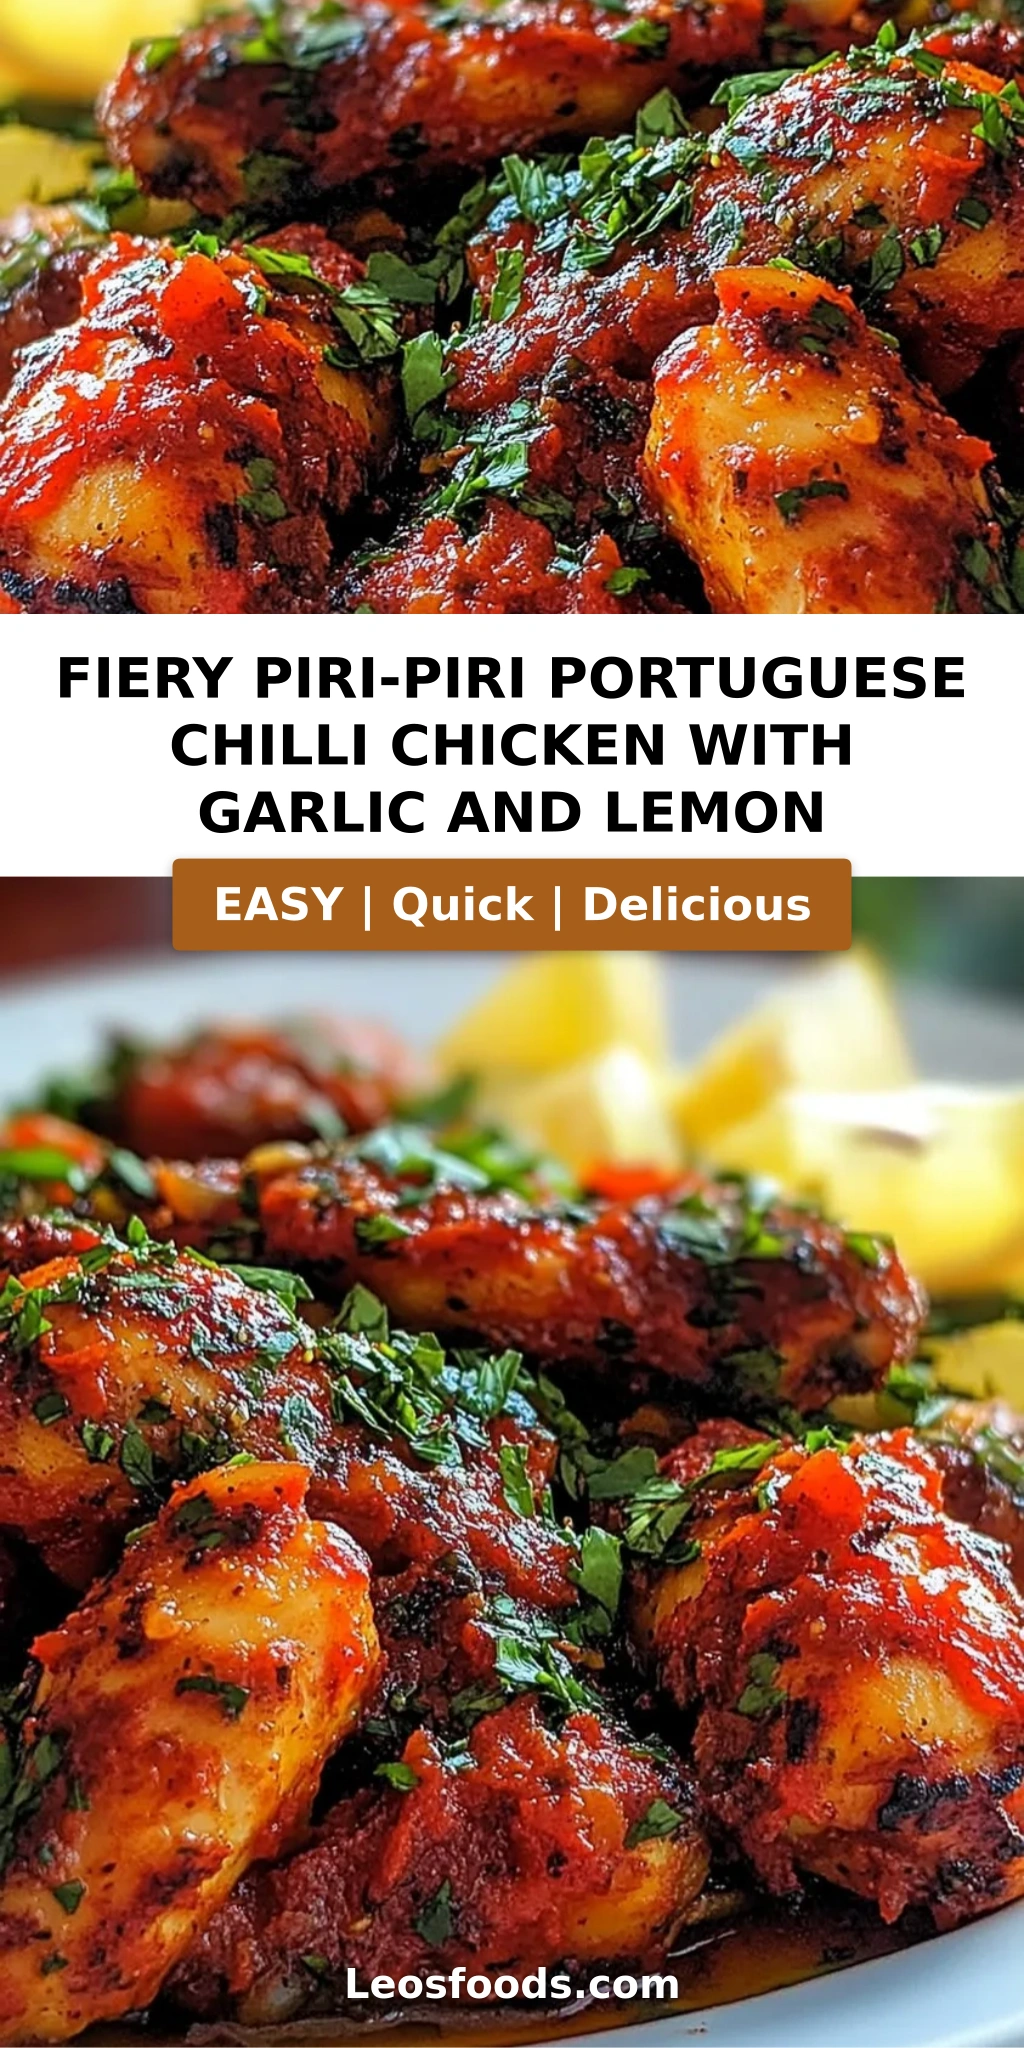
Fiery Piri-Piri Portuguese Chicken with Garlic and Lemon
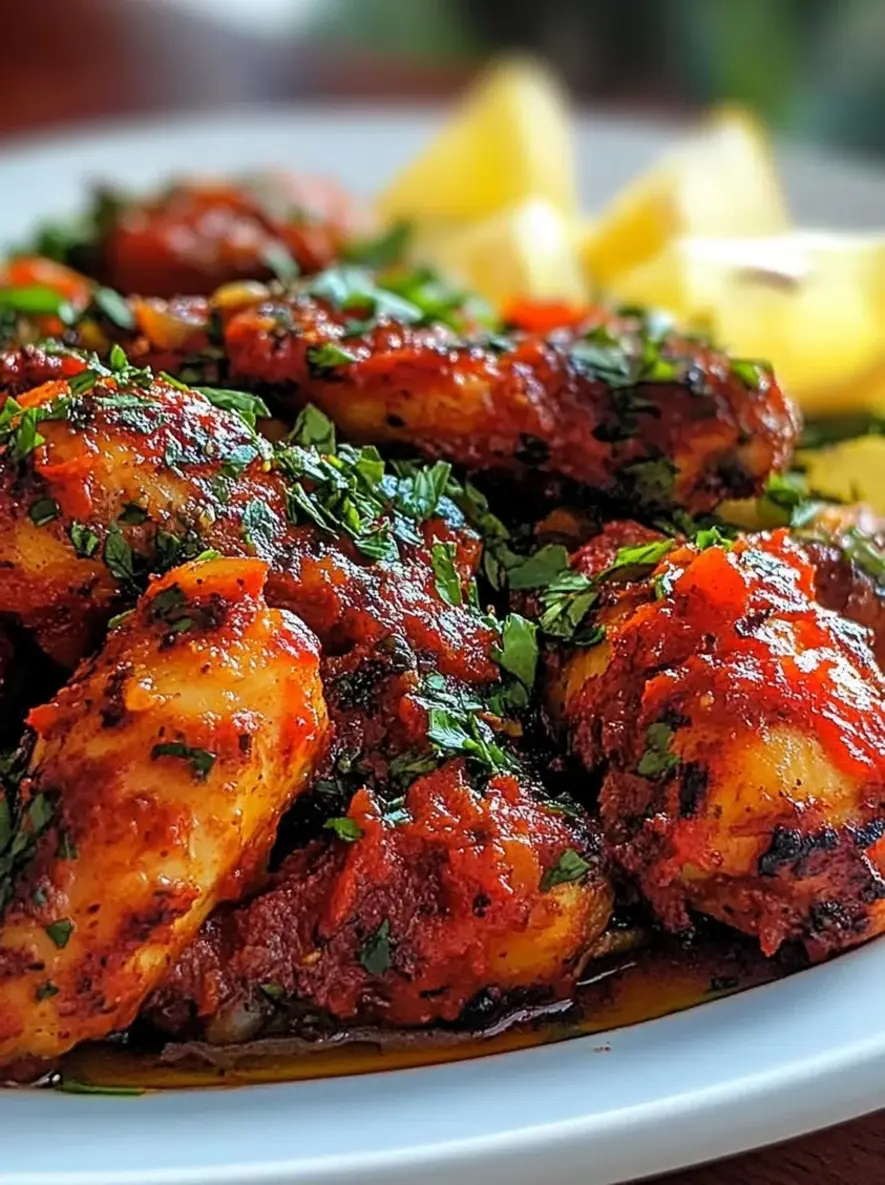
Table of Contents
Fiery Piri-Piri Portuguese Chilli Chicken with Garlic and Lemon – The Authentic Char-Grilled Version
I still remember the first time I tasted truly authentic piri-piri Portuguese chicken recipe — it was on a trip to Lisbon years ago, but the heat and brightness reminded me of the spicy chermoula my mother used to make in our kitchen in Morocco. That fusion of North African warmth and Portuguese chilli soul stuck with me. When I later trained in Paris and learned to balance heat with acidity, I knew I had to create my own version: Fiery Piri-Piri Portuguese Chilli Chicken with Garlic and Lemon. The key? A marinade that’s simple but layered, and a char-grilled finish that gives you that iconic smoky crust. This spicy Portuguese chicken is not just about the burn — it’s about depth, aroma, and that kick of citrus that cuts through the fat like a bright summer day.
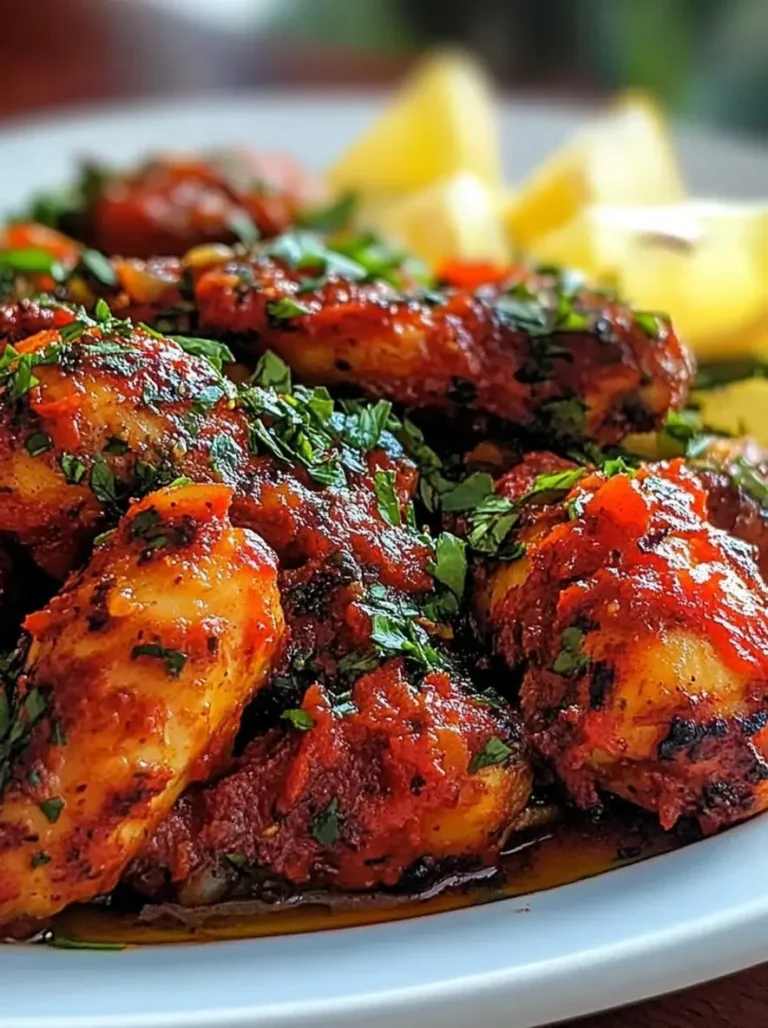
Imagine chicken thighs and drumsticks, skin blistered and almost blackened in spots, glistening with a sauce that’s equal parts garlic, lemon, and heat. The moment you pull one apart, the juices run clear, and the scent of smoked paprika and cayenne fills the air. That first bite: crunch from the skin, then tender, juicy meat that has absorbed every bit of the marinade. The chilies give it a slow, building heat, while the garlic and lemon keep everything fresh and vibrant. It’s the kind of dish that makes you close your eyes and just smile — the kind you want to serve at a backyard barbecue or a cozy weeknight dinner with a cold beer in hand.
I’ve tested this piri-piri chicken thighs recipe dozens of times — grilling, baking, even pan-searing — and the char-grilled version wins every time. My French-trained palate insists on layering the flavors: first a dry rub, then a wet marinade, then a final glaze. I’ll show you a pro tip for achieving that authentic char without setting off your smoke alarm, plus the one mistake I see home cooks make (spoiler: it’s about not patting the chicken dry enough). Whether you’re new to Portuguese chilli chicken or a seasoned spice lover, this recipe will become your go-to. Let’s fire up the grill!
Why This Piri-Piri Portuguese Chicken Recipe Is the Best
The Flavor Secret: Most recipes rely on bottled piri-piri sauce that’s heavy on vinegar and light on complexity. My version starts with a dry rub — smoked paprika, cayenne, and a hint of garlic powder — that penetrates the meat before the wet marinade. I learned this two-step technique at Le Cordon Bleu: seasoning from the inside out. The lemon adds brightness that balances the heat, while a touch of honey (yes, really!) helps caramelize the skin to perfection. This isn’t just spicy Portuguese chicken; it’s a masterclass in balancing flavors.
Perfected Texture: The goal is crispy skin with juicy, fall-off-the-bone meat. The trick? Marinate overnight, but bring the chicken to room temperature before cooking. This ensures even cooking and prevents the dreaded rubbery skin. I also use a two-zone fire on the grill: high heat for searing, then indirect heat to finish. The result is that authentic Portuguese chilli chicken texture — crackling on the outside, tender within. If you don’t have a grill, a cast-iron skillet works beautifully.
Foolproof & Fast: Despite its complex flavors, this recipe is remarkably forgiving. The ingredients are pantry staples (olive oil, garlic, chilies, paprika, cayenne, lemon), and the active prep is under 15 minutes. Whether you’re a weekend cook or a busy parent, you can pull this off. I’ve made it for friends in my tiny NYC apartment kitchen and for a crowd at a summer cookout — it never fails. And because the marinade does all the heavy lifting, even beginners will feel like pros.
Piri-Piri Portuguese Chicken Recipe Ingredients
One of my favorite things about living in New York City is the access to incredible specialty markets. I’ll grab fresh red chilies at a bodega on the Lower East Side, pick up smoked paprika from a spice shop in Chelsea Market, and buy pasture-raised chicken thighs from the Union Square Greenmarket. But you can find everything at your local supermarket — no need for a special trip. This garlic lemon chicken marinade is built on five key ingredients that deliver maximum flavor with minimal effort.
Ingredients List
- 2 lbs bone-in, skin-on chicken thighs and drumsticks (about 8 pieces total)
- 3 tbsp olive oil (extra virgin is fine, but regular works too)
- 5 garlic cloves, minced (about 1.5 tablespoons)
- 2 fresh red chilies, chopped (serrano or Fresno for medium heat; habanero for more fire)
- 2 tsp smoked paprika (hot or sweet — I use hot for extra depth)
- 1 tsp cayenne pepper (adjust to taste)
- Zest and juice of 1 large lemon (plus extra wedges for serving)
- 1 tsp salt (preferably kosher)
- ½ tsp black pepper
- Optional: 1 tbsp honey (for caramelization)
- Optional: fresh cilantro or parsley for garnish
Ingredient Spotlight
Chicken Thighs and Drumsticks: Bone-in, skin-on is non-negotiable for this recipe. The skin protects the meat from drying out and gets gloriously crispy. I prefer thighs and drumsticks because they stay juicy under high heat. If you use boneless skinless thighs, reduce cook time by about 10 minutes. Shortcut: buy pre-cut chicken portions or a whole cut-up chicken.
Fresh Red Chilies: These bring fruity heat that dried chilies can’t match. I use Fresno chilies for a medium kick — they’re widely available in US grocery stores. If you want milder spice, remove the seeds and membranes; for a volcano, keep everything and add an extra chili. Tested substitution: 1 teaspoon red pepper flakes (but add to the marinade, not as a dry rub).
Smoked Paprika and Cayenne: Smoked paprika gives that piri-piri signature smokiness (I get mine from a spice shop in NYC’s Essex Market). Cayenne adds pure heat. Together they create a complex background. If you only have sweet paprika, add a pinch of liquid smoke — not ideal but works. For a milder version, replace cayenne with ancho chile powder.
Garlic and Lemon: These two are the heart of the marinade. The lemon zest provides essential oils that infuse the chicken, while the juice tenderizes and brightens. I always use fresh garlic — never the jar stuff. If you’re in a pinch, you can use 1 teaspoon garlic powder, but the fresh cloves really matter here.
| Original Ingredient | Best Substitution | Flavor / Texture Impact |
|---|---|---|
| Fresh red chilies | Red pepper flakes (1 tsp) | Less fruity, more one-dimensional heat |
| Smoked paprika | Sweet paprika + ¼ tsp liquid smoke | Similar smokiness but less depth |
| Cayenne pepper | Ancho chile powder (use 1.5 tsp) | Milder heat, more earthy |
| Fresh garlic (5 cloves) | 1 tsp garlic powder | Milder, less aromatic; OK in a pinch |
| Lemon juice + zest | Lime juice + zest | More tart, less floral; works well |
How to Make Piri-Piri Portuguese Chilli Chicken — Step-by-Step
Making this fiery Portuguese chilli chicken at home is straightforward — you just need a little patience for the marinade and a hot grill (or cast-iron pan). Follow these steps exactly, and you’ll get that authentic char-grilled finish that makes this dish so irresistible.
Step 1: Prepare the Dry Rub
In a small bowl, combine 1 tsp salt, ½ tsp black pepper, 2 tsp smoked paprika, and 1 tsp cayenne. Pat the chicken thighs and drumsticks dry with paper towels — this is crucial for crispy skin. Rub the dry mixture all over the chicken, including under the skin if you can. Let it sit for 10 minutes while you make the wet marinade.
⚠️ Common Mistake to Avoid: Forgetting to pat the chicken dry. Excess moisture creates steam, not crisping. Take the extra 30 seconds — your taste buds will thank you.
Step 2: Make the Wet Marinade
In a bowl, whisk together 3 tbsp olive oil, 5 minced garlic cloves, 2 chopped fresh red chilies, the zest and juice of 1 lemon, and 1 tbsp honey (if using). This bright, fiery mixture is the soul of the piri-piri. Taste it — you should feel a good burn balanced by citrus. Add a pinch more cayenne if you like it hotter.
💡 Stella’s Pro Tip: The honey is optional but recommended — it helps the skin caramelize and takes the edge off the heat. If you skip it, add a teaspoon of brown sugar instead.
Step 3: Marinate the Chicken
Place the dry-rubbed chicken in a large zip-top bag or bowl. Pour the wet marinade over it, making sure every piece is coated. Seal the bag, pressing out air, and refrigerate for at least 4 hours — overnight is even better. For the most intense flavor, marinate up to 24 hours. The acid from the lemon will tenderize the meat without making it mushy.
⚠️ Common Mistake to Avoid: Marinating too long? More than 24 hours with this much acid can start to “cook” the chicken, making the texture grainy. Set a timer — 12 to 18 hours is the sweet spot.
Step 4: Grill to Perfection
Preheat your grill to medium-high heat (about 400°F). If using a charcoal grill, create a two-zone fire: pile coals on one side for direct heat, leave the other side empty for indirect. Remove chicken from marinade, letting excess drip off. Place skin-side down on the direct-heat side and grill for 5–6 minutes until the skin is charred and crispy. Flip and cook another 4 minutes. Then move to the indirect side, cover the grill, and cook for 20–25 minutes (depending on thickness) until the internal temperature reaches 165°F. Let rest 5 minutes before serving.
💡 Stella’s Pro Tip: For the best char, don’t move the chicken around too much during the first sear. Let that crust form. If flare-ups happen (they will from the oil), move the pieces to the cooler side immediately. A squirt bottle with water helps tame the flames.
| Step | Action | Duration | Key Visual Cue |
|---|---|---|---|
| 1 | Dry rub and rest | 10 min | Chicken should look evenly coated, not wet |
| 2 | Wet marinade | 5 min | Mixture should be thick, not watery |
| 3 | Marinate | 4–24 hrs | Color deepens; aromas penetrate |
| 4a | Sear on direct heat | 5–6 min per side | Deep char marks, skin pulling away from bone |
| 4b | Finish on indirect heat | 20–25 min | Internal temp 165°F; juices run clear |
Serving & Presentation
This fiery piri-piri chicken begs to be the centerpiece of a vibrant meal. I love to serve it family-style on a large platter, garnished with fresh cilantro and lemon wedges. The bright green herbs against the charred red-gold chicken is a showstopper. In my NYC kitchen, I often pair it with a simple corn salad (charred corn, avocado, lime) and a cold glass of Vinho Verde or a crisp lager. For a truly Portuguese experience, add a side of piri-piri sauce (extra marinade simmered with a splash of vinegar) and crusty bread to soak up the juices.
Growing up, my mother would serve something similar with couscous and a sprinkle of cinnamon — a Moroccan touch that I sometimes bring in here. But this version stays true to its Portuguese roots. For a complete meal that feels like a summer feast, try the pairings below. Trust me, you’ll want to lick the plate.
| Pairing Type | Suggestions | Why It Works |
|---|---|---|
| Side Dish | Grilled corn salad, roasted potatoes, garlic green beans | Hearty starches and veggies balance the heat |
| Sauce / Dip | Extra piri-piri sauce, tzatziki, yogurt-mint dip | Cool dairy cuts the spice; extra sauce for heat lovers |
| Beverage | Vinho Verde, crisp lager, lemonade | Acidic, bubbly drinks refresh the palate |
| Garnish | Fresh cilantro, lime wedges, thinly sliced red onion | Adds freshness, color, and a pop of acidity |
Make-Ahead, Storage & Reheating
Living in New York means I’m often meal-prepping for a busy week, and this piri-piri chicken is a dream for that. You can marinate the chicken up to 24 hours ahead (time-saving tip: do it on Sunday for Monday’s dinner). Cooked chicken keeps beautifully in the fridge, and the flavors actually deepen overnight. Here’s exactly how to store and reheat it so it stays just as juicy as day one.
| Method | Container | Duration | Reheating Tip |
|---|---|---|---|
| Refrigerator | Airtight container (leave skin exposed to stay crisp) | Up to 4 days | Oven at 350°F for 10 min, then broil 2 min |
| Freezer | Freezer-safe bag or container, remove as much air as possible | Up to 3 months | Thaw in fridge overnight, then reheat in a 375°F oven for 15 min |
| Make-Ahead | Marinate in a zip-top bag in fridge | Marinate up to 24 hrs ahead | Bring to room temp 20 min before cooking |
My favorite reheating method: if you have leftover grilled chicken, crisp it up in a cast-iron skillet over medium-high heat for 2–3 minutes per side. The skin gets almost as good as fresh. Avoid the microwave — it turns the skin rubbery and dries out the meat. A splash of lemon juice before serving brightens everything back up.
Variations & Easy Swaps
Over the years, I’ve played with this recipe in countless ways — from swapping out the protein to adjusting the heat level. These variations keep the soul of the dish alive while making it your own. Below is a quick comparison, followed by three of my favorite twists.
| Variation | Key Change | Best For | Difficulty Impact |
|---|---|---|---|
| Oven-Baked Version | Bake at 425°F, broil at the end | No grill, easy cleanup | Same — just watch the time |
| Boneless Thighs | Use 1.5 lbs boneless, skinless chicken thighs | Quick weeknight dinner | Easier — shorter cook time |
| Smoky-Sweet Glaze | Add 2 tbsp pomegranate molasses to marinade | Unique twist on tradition | Same — just stir in |
Oven-Baked Version
When the NYC weather doesn’t cooperate, I turn to my oven. Preheat to 425°F. Place chicken on a wire rack over a baking sheet (this keeps the skin from sitting in fat). Bake for 30 minutes, then switch to broil for 3–5 minutes until the skin is blistered and charred in spots. The result is nearly identical to grilled, with even easier cleanup. This is also the method I use when cooking for a crowd — it scales beautifully.
Boneless Chicken Thighs (Quick Weeknight)
If you’re short on time, swap in 1.5 pounds of boneless, skinless chicken thighs. They only need 2–3 hours of marinating and cook in about 12–15 minutes on the grill or in a skillet. You lose that crackling skin, but the flavor is still fantastic. I often do this for a quick dinner with a side of rice and a simple salad. The cooking time drops, but don’t skip the rest step — pat the thighs dry before the dry rub for better color.
Smoky-Sweet Glaze (My Moroccan Twist)
For a nod to my Moroccan roots, I sometimes add 2 tablespoons of pomegranate molasses to the wet marinade. It adds a tangy-sweet depth that plays beautifully with the smoky paprika and chilies. I discovered this combo while experimenting with a leftover bottle from my mother’s pantry — now it’s my secret weapon. Brush it on during the last 5 minutes of grilling to avoid burning. The result is a sticky, glossy finish that’s pure magic.
What is the best way to achieve an authentic char-grilled finish for piri-piri chicken?
The best way is to use a two-zone fire on your grill: high direct heat for searing, then indirect heat to cook through. Start by patting the chicken completely dry — moisture is the enemy of char. Place skin-side down on the hot side and don’t move it for 5–6 minutes; you need to let the crust form. Once you get deep char marks and the skin is crispy, flip and sear the other side for 4 minutes. Then move to the cooler side, cover, and cook until the internal temperature hits 165°F. For extra smokiness, add soaked wood chips (hickory or applewood) to the coals or smoker box. The key is patience: don’t overcrowd the grill, and resist the urge to flip early.
Can I use boneless chicken thighs instead of a whole chicken for this piri-piri recipe?
Absolutely, and I often do it myself for weeknight dinners. Boneless, skinless chicken thighs work wonderfully — they’re forgiving and stay juicy. Use about 1.5 pounds (4–6 thighs) and reduce the marinating time to 2–3 hours (the acid penetrates faster without bone). Cook them over direct high heat for 4–5 minutes per side, then check for 165°F. You won’t get that crackling skin, but the flavor is still beautifully intense. If you want a bit of crispness, sear them in a hot cast-iron skillet with a little oil after grilling. Boneless thighs are also perfect for wraps, salads, or slicing over rice bowls.
How long should I marinate the chicken for the most intense piri-piri flavor?
For the deepest flavor, marinate for 12 to 18 hours. This gives the garlic, chilies, lemon, and spices enough time to penetrate the meat without the acid starting to break down the texture. I recommend at least 4 hours, but overnight in the fridge is ideal. If you’re in a rush, you can still get good flavor with 2 hours — just be sure to massage the marinade into the chicken well, and even poke a few holes in the pieces (especially the thicker parts) to help absorption. Anything beyond 24 hours can make the chicken mushy, so set a timer.
What side dishes go best with fiery piri-piri Portuguese chilli chicken?
I love to serve this chicken with sides that cool and contrast the heat. A grilled corn salad with avocado and lime is a top pick — the sweetness of corn and creaminess of avocado balance the spice. Classic Portuguese accompaniments include roasted potatoes (tossed with garlic and olive oil) and a simple green salad with a tangy vinaigrette. For something more substantial, try coconut rice or a creamy coleslaw. Don’t forget crusty bread to soak up the juices! And for drinks, Vinho Verde or a crisp lager are perfect. If you want a Moroccan touch, serve with couscous and a sprinkle of cinnamon.
What is the difference between piri-piri and other hot pepper sauces?
Piri-piri (also spelled peri-peri) is specifically made from the African bird’s eye chili, a small but fiery pepper. This chili has a fruity, slightly smoky heat that’s distinct from the vinegary punch of Tabasco or the earthy warmth of sriracha. Traditional Portuguese piri-piri sauce includes oil, lemon, garlic, and herbs, giving it a bright, emulsified texture. The chili itself has a medium heat level (around 100,000–175,000 Scoville units) with a unique floral note. My recipe uses fresh red chilies as a stand-in, along with smoked paprika to mimic that depth. For true authenticity, you can find piri-piri peppers online or in specialty markets.
Can I make this piri-piri chicken in an air fryer?
Yes, the air fryer can produce surprisingly good results, though you’ll miss the open-flame char. Preheat your air fryer to 400°F. Place marinated chicken thighs (boneless work best) in a single layer — don’t overcrowd. Cook for 12–15 minutes, flipping halfway, until the internal temperature reaches 165°F and the skin is golden and crispy. For a more charred look, brush with a little oil before cooking. The air fryer won’t give you that authentic grill flavor, but it’s a fantastic quick option for a weeknight. I recommend using a small amount of liquid smoke in the marinade to compensate.
Is this recipe gluten-free?
Yes, as written! The ingredients are all naturally gluten-free: chicken, olive oil, fresh garlic, fresh chilies, spices, lemon, and honey. There’s no soy sauce, flour, or wheat-based thickeners. However, always double-check your spice blends — some smoked paprika brands may contain anti-caking agents that include wheat. I recommend using single-ingredient spices from trusted brands. If you’re serving with sides, ensure any bread, sauces, or marinades (if you use store-bought piri-piri sauce) are certified gluten-free. This recipe is a safe bet for gluten-free diets, and it’s also dairy-free as written.
How can I reduce the spiciness without losing flavor?
To dial back the heat while keeping the dish delicious, start by removing the seeds and membranes from the fresh chilies — that’s where most of the capsaicin lives. You can also reduce the cayenne to ½ teaspoon or swap it for ancho chile powder, which is much milder and adds a fruity note. Increase the smoked paprika to compensate for the lost heat and add depth. Finally, serve with a cooling condiment like yogurt sauce or tzatziki. A drizzle of honey in the marinade also helps tame the fire. The key is not to reduce the garlic or lemon — they provide the backbone of the flavor.
Share Your Version!
I hope you love making this Fiery Piri-Piri Portuguese Chilli Chicken as much as I do. It’s one of those recipes that brings people together — the sizzle, the aroma, the first bite that makes everyone reach for a napkin (and another piece). I’d love to hear how it turns out for you. Did you go full volcano with the chilies? Did you try the oven-baked version? Tag me in your photos on Instagram or Pinterest — I’m @stellarecipeblog — and let me know which variation you made. Your feedback helps me keep creating recipes that work in real home kitchens.
If you have a question I didn’t cover, drop it in the comments below. I personally read every comment and try to respond within 48 hours. And if you loved this recipe, please leave a star rating — it helps other home cooks find it. From my NYC kitchen to yours — I hope this recipe brings as much warmth to your table as it does to mine. — Stella 🧡
Love This Recipe? Save It to Pinterest!
If you enjoyed this Fiery Piri-Piri Portuguese Chilli Chicken with Garlic and Lemon recipe, don’t let it get lost in your browser tabs! 😄 Pin it now so you can find it again anytime — and explore hundreds more tried-and-tested recipes waiting for you on my Pinterest boards.
👉 Follow Stella on Pinterest @stellarecipeblog
📌 Pin this recipe · 🔁 Re-pin your favorites · 💬 Tag me when you make it — I love seeing your creations!
💬 What’s your heat level? Did you keep the cayenne at 1 tsp or dial it up? Drop a comment below and tell me how you made this piri-piri chicken your own!
Fiery Piri-Piri Portuguese Chilli Chicken with Garlic and Lemon
Ingredients
- 2 lbs bone-in, skin-on chicken thighs and drumsticks
- 3 tbsp olive oil
- 5 garlic cloves, minced
- 2 fresh red chilies, chopped
- 2 tsp smoked paprika
- 1 tsp cayenne pepper
Instructions
Tried This Recipe? Leave a Comment!
Did you make this recipe? I’d love to hear how it turned out! Please leave a comment and a rating below. Your feedback helps other home cooks and supports cheerychop.com!
For more delicious inspiration, follow me on Pinterest!