Best Vanilla Ice Cream Mirror Domes with Crunch Core
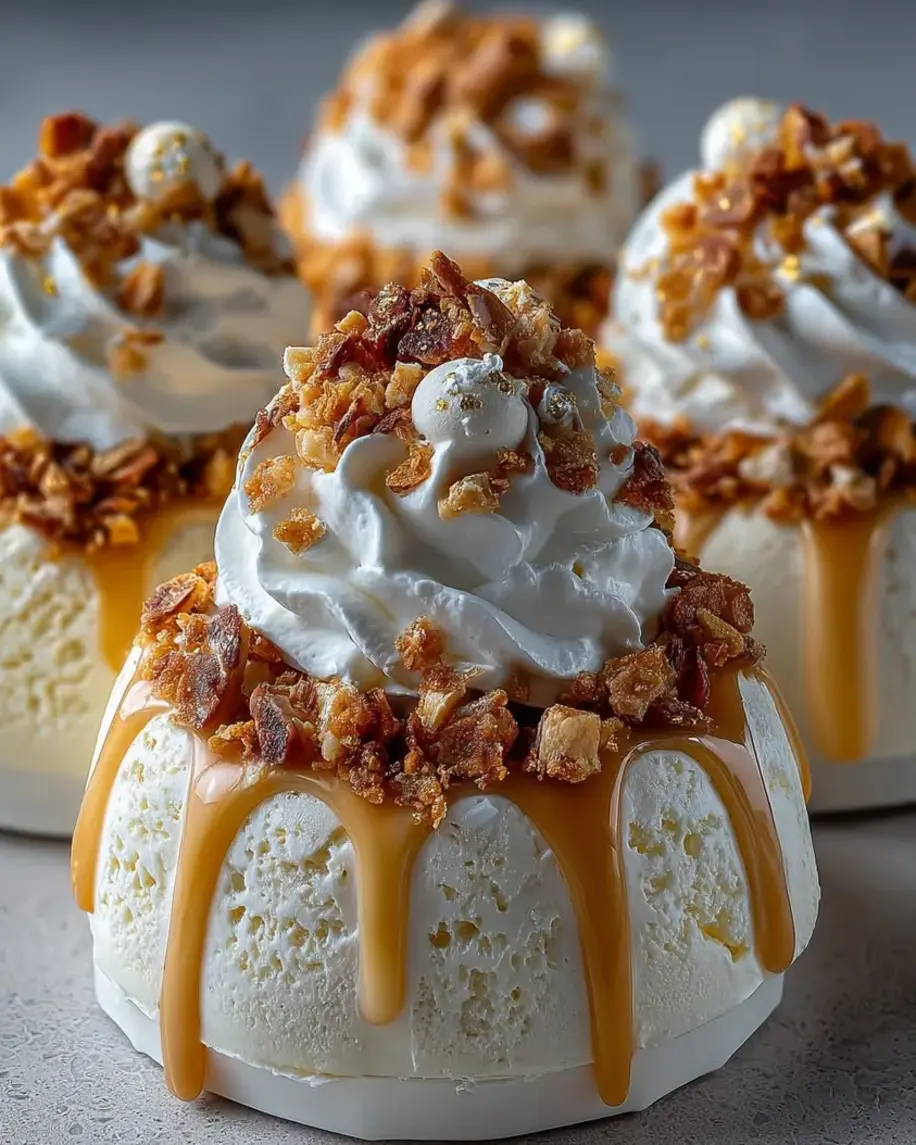
Table of Contents
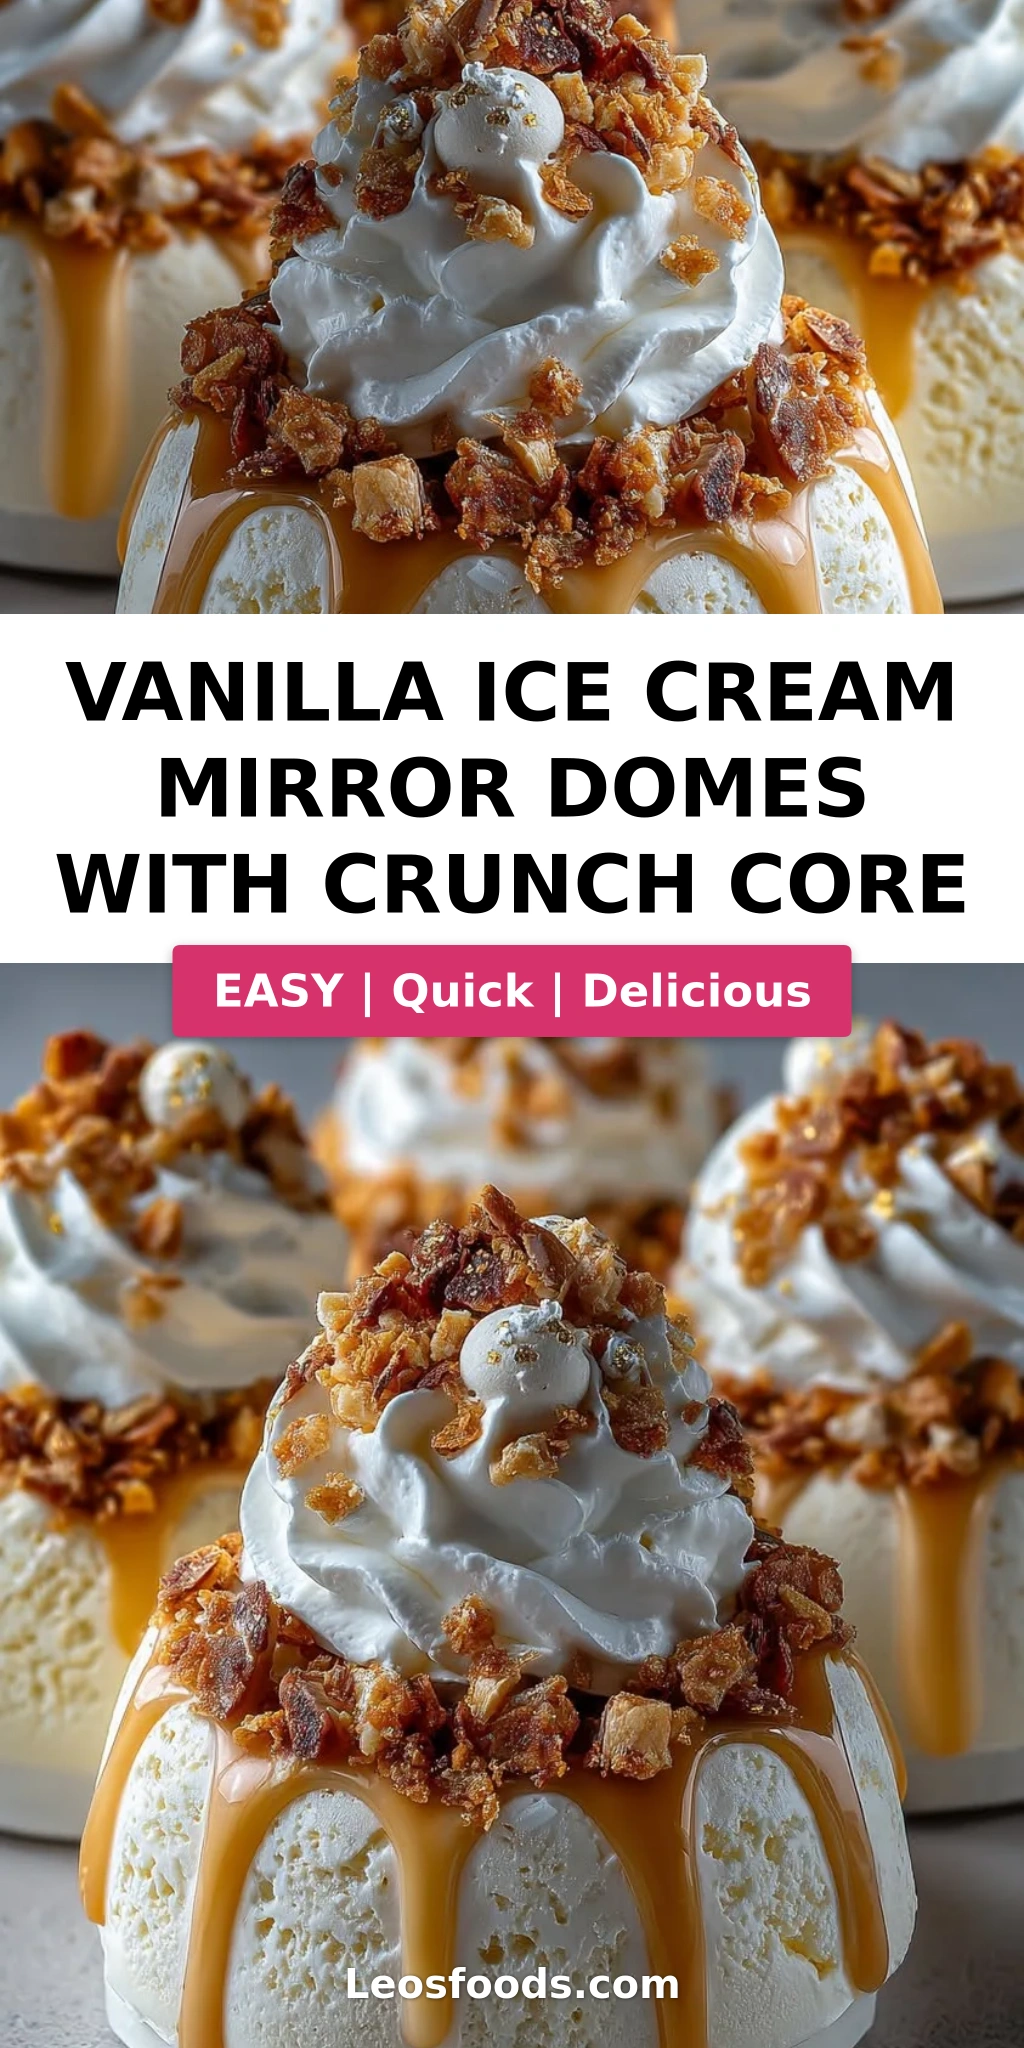
Vanilla Ice Cream Mirror Domes with Crunch Core – A Stunning Dessert with a Delicious Surprise Inside
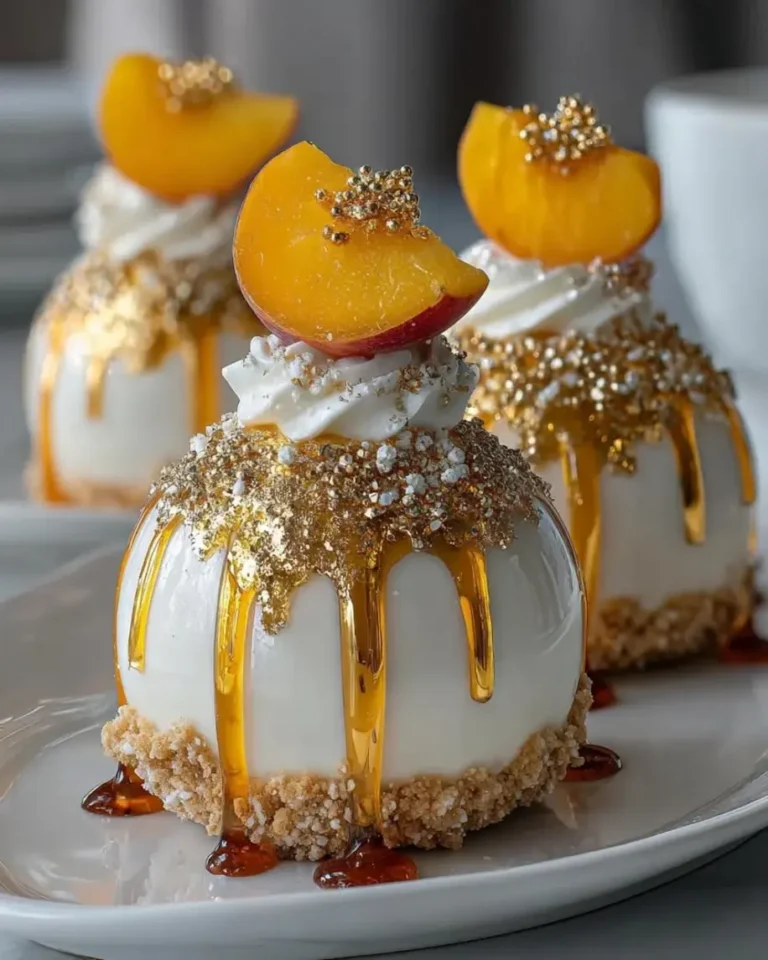
I remember the first time I saw a mirror glaze dome in a Parisian pâtisserie window — it stopped me mid-stride. The flawless, reflective surface caught the afternoon light like a polished gem, and I knew I had to learn the technique behind it. These vanilla ice cream mirror domes with crunch core are my love letter to that moment: a creamy vanilla center hiding a delightfully crunchy surprise, all wrapped in a glossy white mirror glaze. The contrast between the silky ice cream and the crispy, caramelized core is what makes this dessert truly unforgettable.
Born and raised in Morocco, I grew up with the contrast of textures — crispy fried pastries filled with creamy almond paste, flaky msemen drizzled with warm honey. That same philosophy carries into this recipe. The crunch core, made from crushed vanilla wafer cookies, toasted rice cereal, and a touch of white chocolate, provides a satisfying crackle against the velvety vanilla ice cream. And the mirror glaze? It’s pure theater: a smooth, shimmering coat that makes every dome look like edible art. A dusting of pearl dust and a whisper of gold leaf elevate it to celebration status.
What sets my version apart is the balance between approachable technique and show-stopping results. I’ve tested this recipe countless times in my tiny NYC kitchen, tweaking the glaze temperature and the crunch core ratio so that anyone — from a confident home cook to a baking novice — can pull it off. The secret lies in a well-chilled dome and a properly cooled glaze. One common mistake is pouring the mirror glaze over a too-warm dome, which melts the surface and ruins that mirror finish. I’ll walk you through every detail, from choosing the right silicone mold to achieving that perfect glossy coat. Let’s make something beautiful together.
Why This Vanilla Ice Cream Mirror Domes Recipe Is the Best
The Flavor Secret. The vanilla ice cream base is anything but ordinary. I use premium vanilla ice cream, whipped topping for lightness, and a generous splash of vanilla bean paste for those tiny, aromatic black specks that signal real vanilla. The crunch core brings a caramelized, toasty note from the wafer cookies and rice cereal, bound together with white chocolate and a touch of caramel sauce. It’s a flavor combination that feels both nostalgic and refined — like a grown-up version of a childhood ice cream sundae.
Perfected Texture. Texture is everything in this dessert, and I’ve dialed in each layer. The ice cream is aerated with whipped topping so it stays scoopably soft even after hours in the freezer. The crunch core is frozen solid before being embedded, so it stays distinct and crispy rather than dissolving into the ice cream. And the mirror glaze — made with condensed milk, white chocolate, and honey — sets to a smooth, jelly-like finish that bends light like a polished surface. No lumpy glazes here.
Foolproof & Fast. Despite the elegant result, this recipe uses store-bought vanilla ice cream as a shortcut, saving you from churning and custard-making. The active prep time is just 30 minutes; the rest is freezer time. I’ve streamlined every step, from the no-fuss crunch core mixture to the one-bowl mirror glaze that comes together in under 10 minutes. If you can scoop ice cream and pour a glaze, you can make these domes. I promise.
Vanilla Ice Cream Mirror Domes Ingredients
One of my favorite parts of developing this recipe was sourcing the perfect ingredients. I pick up my vanilla ice cream from the local Brooklyn creamery down the street, and I always keep a stash of vanilla bean paste from my Paris days. Let me walk you through what you’ll need — and what you can swap if you’re in a pinch.
Ingredients List
- For the Vanilla Ice Cream Domes:
- 2 cups premium vanilla ice cream, slightly softened
- 1 cup whipped topping or stabilized whipped cream
- 1 tsp vanilla bean paste
- For the Crunch Core:
- 1/2 cup crushed vanilla wafer cookies
- 1/4 cup toasted rice cereal
- 2 tbsp melted white chocolate
- 1 tbsp caramel sauce
- For the White Mirror Glaze:
- 1/2 cup sweetened condensed milk
- 1/3 cup white chocolate, finely chopped
- 2 tbsp heavy cream
- 1 tbsp honey
- 1 tsp vanilla extract
- For Garnish (optional):
- White chocolate curls
- Crushed vanilla cookies
- Edible pearl dust
- Gold leaf flakes
Ingredient Spotlight
Vanilla Bean Paste. This is my secret weapon for deep, authentic vanilla flavor with those beautiful black specks. You can substitute with an equal amount of vanilla extract, though you’ll lose the visual flecks. In a pinch, scrape a whole vanilla bean into the mixture — about one bean per teaspoon of paste.
White Chocolate for the Glaze. The quality of your white chocolate matters enormously here. Use a high-quality brand like Valrhona or Guittard, chopped finely so it melts evenly. Never use white baking chips or candy melts — they contain stabilizers that prevent smooth melting and can leave your glaze grainy. If you need a dairy-free option, look for a premium oat-milk white chocolate.
Sweetened Condensed Milk. This is the backbone of the mirror glaze, giving it that glossy, pourable consistency. It’s not interchangeable with evaporated milk — condensed milk is sweetened and thick, which sets the glaze properly. One can is more than enough for this recipe, and you can refrigerate any leftover for up to two weeks.
Toasted Rice Cereal. I love using Rice Krispies or any puffed rice cereal for the crunch core. Toasting them in a dry skillet for 2–3 minutes brings out a nutty depth that plain cereal lacks. This step is optional but highly recommended — it makes a noticeable difference in the final flavor.
| Original Ingredient | Best Substitution | Flavor / Texture Impact |
|---|---|---|
| Vanilla bean paste | Vanilla extract (1 tsp) | Less visual specks, still rich flavor |
| White chocolate (glaze) | Dairy-free oat milk white chocolate | Slightly less creamy, still glossy |
| Vanilla wafer cookies | Graham crackers (crushed) | Honey note, slightly denser crunch |
| Toasted rice cereal | Crushed cornflakes | More corn flavor, extra crispy |
| Whipped topping | Heavy cream (whipped to stiff peaks) | Richer, less stable; use gelatin |
How to Make Vanilla Ice Cream Mirror Domes — Step-by-Step
Trust me — if you follow these steps, you’ll be amazed at how easily these beautiful domes come together. I’ve broken everything down so you can work through it without any surprises.
Step 1: Make the Crunch Core
In a medium bowl, combine 1/2 cup crushed vanilla wafer cookies, 1/4 cup toasted rice cereal, 2 tablespoons melted white chocolate, and 1 tablespoon caramel sauce. Stir until everything is evenly coated and the mixture holds together in clumps when pressed. Using a small scoop or your hands, form 6 small balls — about 1 inch in diameter — and place them on a parchment-lined tray. Freeze for 20 minutes until solid. The mixture should feel slightly sticky but hold its shape; if it crumbles, add another teaspoon of melted white chocolate.
💡 Stella’s Pro Tip: Chill your hands with cold water before rolling the crunch cores — the white chocolate will melt less, and you’ll get cleaner, rounder balls. I learned this trick during a pastry stage in Paris, and it’s saved me countless sticky situations.
Step 2: Prepare the Vanilla Ice Cream Base
In a large bowl, stir together 2 cups slightly softened premium vanilla ice cream, 1 cup whipped topping, and 1 teaspoon vanilla bean paste. Mix until smooth and creamy — you want a uniform color and consistency. Don’t overmix or the ice cream will become too soft. If you’re using store-bought ice cream, let it sit at room temperature for about 8–10 minutes for the perfect scoopable texture.
⚠️ Common Mistake to Avoid: Using ice cream that’s too soft will make the domes hard to unmold cleanly. It should be thick but spreadable — like a thick milkshake. If it’s soupy, pop it back in the freezer for 10 minutes before proceeding.
Step 3: Assemble the Domes
Fill dome-shaped silicone molds (about 3 inches in diameter) halfway with the ice cream mixture. Press a frozen crunch core into the center of each dome, making sure it’s fully surrounded by the ice cream. Cover with the remaining ice cream mixture, smoothing the tops with a spatula. Tap the mold gently on the counter to release air bubbles. Freeze for at least 6 hours or overnight until completely solid. A silicone mold is essential here — it flexes for easy unmolding without disturbing the shape.
💡 Stella’s Pro Tip: If you don’t have dome molds, use a standard muffin tin lined with plastic wrap. Press the wrap into each cup, fill with the ice cream mixture, and freeze. The plastic wrap makes unmolding a breeze, though the shape will be more rounded than a true dome.
Step 4: Prepare the White Mirror Glaze
In a small saucepan over low heat, combine 1/2 cup sweetened condensed milk, 1/3 cup finely chopped white chocolate, 2 tablespoons heavy cream, 1 tablespoon honey, and 1 teaspoon vanilla extract. Stir constantly until the white chocolate is fully melted and the mixture is smooth and glossy. Do not let it boil — bubbles in the glaze will create an uneven finish. Remove from heat and let it cool to about 90–95°F (32–35°C). It should feel just slightly warm to the touch but still fluid enough to pour. If it thickens too much, gently reheat with a teaspoon of warm cream.
⚠️ Common Mistake to Avoid: Pouring the glaze over the domes while it’s too hot will melt the ice cream surface and ruin the mirror effect. Always test on the back of your hand — it should feel warm, not hot. I keep an instant-read thermometer handy for this step.
Step 5: Unmold and Mirror Glaze the Domes
Carefully unmold the frozen domes by gently flexing the silicone mold. Place each dome on a wire rack set over a baking tray to catch the drips. Working quickly, pour the mirror glaze evenly over each dome, starting from the top and letting it cascade down the sides. Use a small offset spatula to gently nudge the glaze if needed, but avoid touching the surface too much. Return the glazed domes to the freezer for 10–15 minutes to set the glaze. The glaze should be smooth and reflective like a mirror — if it looks streaky, your glaze was either too thick or too hot.
💡 Stella’s Pro Tip: For the cleanest pour, hold the glaze pitcher about 6 inches above the dome and pour in a steady, circular stream. This technique, which I picked up at Le Cordon Bleu, distributes the glaze evenly in one smooth motion and minimizes drips.
Step 6: Garnish and Serve
Just before serving, garnish the glazed domes with white chocolate curls, crushed vanilla cookies, a light dusting of edible pearl dust, and delicate gold leaf flakes. The garnishes adhere best to the set glaze — if you add them too early, they may slide off. Serve immediately for the perfect texture contrast: a creamy, dreamy vanilla ice cream center with that satisfying crunchy surprise inside.
⚠️ Common Mistake to Avoid: Adding garnishes before the glaze has fully set can cause them to sink or smear. Wait until the glaze is tacky but not wet — about 5 minutes out of the freezer — then sprinkle or press them on gently.
| Step | Action | Duration | Key Visual Cue |
|---|---|---|---|
| 1 | Make crunch cores | 20 mins freeze | Firm, hold shape when squeezed |
| 2 | Prepare ice cream base | 5 mins | Smooth, creamy, no ice crystals |
| 3 | Assemble domes | 10 mins + 6 hrs freeze | Firm to the touch, no give |
| 4 | Make mirror glaze | 8 mins + cooling | Glossy, smooth, coats spoon |
| 5 | Unmold and glaze | 5 mins + 15 mins set | Reflective, no bubbles or streaks |
| 6 | Garnish and serve | 5 mins | Decorations adhere, dome intact |
Serving & Presentation
These vanilla ice cream mirror domes are made for celebration. I love serving them on a chilled white plate to let the glossy glaze take center stage. Place one dome in the center, then add a few extra crunch cookie crumbs around the plate for texture and color. A tiny pinch of edible pearl dust on the plate catches the light beautifully — my mother always said presentation is the first bite, and she was right.
For a truly stunning dessert table, arrange a platter of these domes with a mix of garnishes: some with gold leaf, others with white chocolate curls, and a few dusted with crushed cookies. The variety makes for a gorgeous display, and guests love choosing their favorite. In my NYC dinner parties, I pair these with a small glass of dessert wine or a strong espresso — the contrast of warm coffee and frozen dome is pure magic.
| Pairing Type | Suggestions | Why It Works |
|---|---|---|
| Side Dish | Fresh berries, mini madeleines, sesame tuile | Adds brightness and contrasting texture |
| Sauce / Dip | Warm chocolate sauce, raspberry coulis, salted caramel | Complements the vanilla and crunch core |
| Beverage | Espresso, sweet dessert wine, vanilla latte | Warmth contrasts frozen dome, cuts sweetness |
| Garnish | Gold leaf, pearl dust, crushed cookies, white chocolate curls | Elevates visual appeal, adds texture |
Make-Ahead, Storage & Reheating
The beauty of this recipe is that almost all the work happens in advance. I often prepare the domes up to the freezing step on a Friday night, then glaze and garnish them just before serving on Saturday. It’s a lifesaver for busy NYC weekends when I’m juggling errands and hosting dinner. The crunch cores can also be made a week ahead and stored in a freezer bag.
| Method | Container | Duration | Reheating Tip |
|---|---|---|---|
| Refrigerator | Not recommended | N/A | Domes will melt and lose shape |
| Freezer | Airtight container, parchment between layers | Up to 2 weeks | Serve straight from freezer; no reheating needed |
| Make-Ahead | Silicone mold in freezer | Up to 2 days before glazing | Glaze and garnish day of serving for best shine |
If you’re storing glazed domes, place them in a single layer in an airtight container with a piece of parchment between each dome. The glaze may soften slightly after 24 hours, but the flavor and texture remain wonderful. I’ve even kept them for up to a week, though the mirror finish loses a bit of its initial brilliance. For the absolute best presentation, glaze and garnish within 4 hours of serving.
Variations & Easy Swaps
One of the things I love most about this recipe is how adaptable it is. Whether you’re catering to dietary needs or just craving a flavor twist, these variations have all been tested in my NYC kitchen.
| Variation | Key Change | Best For | Difficulty Impact |
|---|---|---|---|
| Chocolate Crunch Core | Use dark chocolate + cocoa cereal | Chocolate lovers | Same difficulty |
| Dairy-Free Version | Use coconut ice cream + oat milk white chocolate | Dairy-free diets | Slightly trickier |
| Strawberry Mirror Domes | Use strawberry ice cream + pink coloring | Summer entertaining | Same difficulty |
Chocolate Crunch Core Variation
For a deeper, more decadent flavor, swap the white chocolate in the crunch core with dark chocolate (60–70% cacao) and use chocolate rice cereal or crushed cocoa cookies. The dark chocolate balances the sweetness of the vanilla ice cream beautifully. I love adding a pinch of sea salt to the core mixture — it’s a trick my pastry chef mentor in Paris taught me, and it makes the chocolate flavor sing.
Dairy-Free Version
This variation works beautifully for anyone avoiding dairy. Use a high-quality coconut-based vanilla ice cream (I like the one from a local NYC brand called “Cool Haus”), and substitute the whipped topping with chilled full-fat coconut cream whipped to soft peaks. For the glaze, use oat milk white chocolate and the same condensed milk alternative made from coconut milk. The texture is slightly less creamy but still luxurious, and the coconut adds a lovely tropical note.
Strawberry Mirror Domes
When summer hits and the farmers’ markets near Union Square are bursting with berries, I make a strawberry version of these domes. Swap the vanilla ice cream for premium strawberry ice cream, and fold in finely chopped fresh strawberries. Tint the white mirror glaze with a drop of pink gel food coloring for a rosy hue. The crunch core stays the same, but the overall effect is bright, fruity, and utterly charming for summer parties.
What is a crunch core in vanilla ice cream mirror domes and how is it made?
A crunch core is a small, frozen ball of crushed cookies, toasted cereal, and white chocolate that sits at the center of each vanilla ice cream mirror dome. It provides a crisp, textural surprise inside the otherwise smooth and creamy dome. To make it, you simply combine crushed vanilla wafer cookies, toasted rice cereal, melted white chocolate, and caramel sauce, then form the mixture into small balls and freeze them until firm. The contrast between the crunchy core and the silky ice cream is what makes this dessert so memorable. You can prepare the crunch cores up to a week in advance and store them in the freezer.
Can I use a different type of ice cream instead of vanilla for mirror dome desserts?
Absolutely — vanilla is a classic choice because its mild flavor lets the crunch core and mirror glaze shine, but you can absolutely experiment. Strawberry, chocolate, coffee, or even a fruity sorbet all work beautifully as long as the ice cream is premium quality and not too soft. Keep in mind that different flavors will change the overall sweetness and color of the dome. If you’re using a water-based sorbet, it will melt faster than a dairy-based ice cream, so work quickly during the glazing step. I’ve also made a lovely pistachio version with a white chocolate glaze that was a hit at a recent dinner party.
How do you get a perfectly smooth and shiny mirror glaze on these domes?
The key to a flawless mirror glaze is temperature control. The glaze should be cooled to about 90–95°F (32–35°C) — warm enough to flow freely but not so hot that it melts the frozen dome. Always strain the glaze through a fine-mesh sieve before pouring to remove any lumps or air bubbles. The dome itself must be frozen solid, and the glaze should be poured in one steady, circular motion from a height of about 6 inches. Work quickly and pour generously, letting the excess drip off the sides. A wire rack over a tray is essential for catching drips and keeping the dome elevated.
How far in advance can I prepare vanilla ice cream mirror domes with crunch core?
You can prepare the unglazed domes up to 2 days in advance and keep them in the freezer in their silicone molds. The crunch cores can be made up to a week ahead and stored in a freezer bag. For the best mirror finish, I recommend glazing and garnishing the domes on the same day you plan to serve them — ideally within 4 hours of serving. The glaze remains glossy and smooth for about 24 hours in the freezer, but it may lose a bit of its initial shine after that. If you’re hosting a party, you can freeze the glazed domes overnight, but expect a slightly softer sheen.
Why did my mirror glaze turn out streaky or cloudy?
A streaky or cloudy mirror glaze is usually caused by one of three issues: temperature, lumps, or pouring technique. If the glaze was too thick when poured, it won’t flow smoothly — gently reheat it with a teaspoon of warm cream. If it was too hot, it may have melted the frozen dome surface, creating a cloudy effect. Always thermometers-check the glaze at 90–95°F. Lumps form when the white chocolate isn’t finely chopped or the mixture isn’t stirred enough — a fine-mesh strainer fixes this. Finally, pour in a steady, uninterrupted stream from height, and avoid touching the glaze once it lands on the dome.
Can I make these vanilla ice cream mirror domes without a silicone mold?
Yes, you can. If you don’t have a dome-shaped silicone mold, a standard 12-cup muffin tin lined with plastic wrap works as an excellent substitute. Press the plastic wrap firmly into each cup, leaving enough overhang to lift the domes out after freezing. Fill with the ice cream mixture and crunch core, then freeze as directed. The shape will be more of a rounded muffin top than a perfect hemisphere, but it still looks beautiful and tastes exactly the same. You can also use small oven-safe glass bowls lined with plastic wrap for a more rounded shape.
What is the best way to crush cookies for the crunch core?
I find the best method is to place the vanilla wafer cookies in a sealed zip-top bag and gently crush them with a rolling pin or the bottom of a heavy skillet. You want a mix of fine crumbs and slightly larger pieces — about the texture of coarse breadcrumbs. If you pulse them in a food processor, be careful not to overdo it, or you’ll end up with dust. The uneven texture gives the crunch core a more interesting mouthfeel, with some bits dissolving and others staying crispy. For the toasted rice cereal, I gently crush it with my hands so it still has some airy crunch.
Can I tint the white mirror glaze different colors for special occasions?
Yes, and it’s one of my favorite ways to customize this recipe! Use oil-based gel food coloring — not water-based liquid coloring, which can cause the glaze to seize or separate. Add a tiny amount of gel color to the finished glaze and whisk until evenly distributed. For pastel shades, use a toothpick tip amount. For deeper colors, add more gradually. Pink for Valentine’s Day, mint green for spring, or a deep blue ombré effect for a gender reveal are all beautiful options. Just keep in mind that the glaze should remain a uniform color after pouring, so stir thoroughly before glazing each dome.
Share Your Version!
I absolutely love seeing how these vanilla ice cream mirror domes turn out in your kitchen! Whether you stick with the classic vanilla and gold leaf or put your own spin on it with a chocolate crunch core or a strawberry twist, I want to hear all about it. Drop a star rating and a comment below — your feedback helps other home cooks discover and master this recipe too.
Snap a photo of your beautifully glazed domes and share it on Instagram or Pinterest with the hashtag #LeosFoods. Tag me @leosfoods so I can see your creation and possibly feature it on my page! And if you have a question about the mirror glaze temperature or the crunch core texture, ask away in the comments — I read every single one and I’m here to help you nail this dessert.
From my NYC kitchen to yours — I hope this recipe brings as much warmth to your table as it does to mine. — Stella 🧡
Love This Recipe? Save It to Pinterest!
If you enjoyed this Vanilla Ice Cream Mirror Domes with Crunch Core recipe, don’t let it get lost in your browser tabs! 😄 Pin it now so you can find it again anytime — and explore hundreds more tried-and-tested recipes waiting for you on my Pinterest boards.
👉 Follow Stella on Pinterest @stellarecipeblog
📌 Pin this recipe · 🔁 Re-pin your favorites · 💬 Tag me when you make it — I love seeing your creations!
👩🍳 Tried this recipe? I’d love to hear from you! 💬
Rate it, leave a comment, or tag me @leosfoods — your feedback makes my day and helps other home cooks discover it too!
Vanilla Ice Cream Mirror Domes with Crunch Core
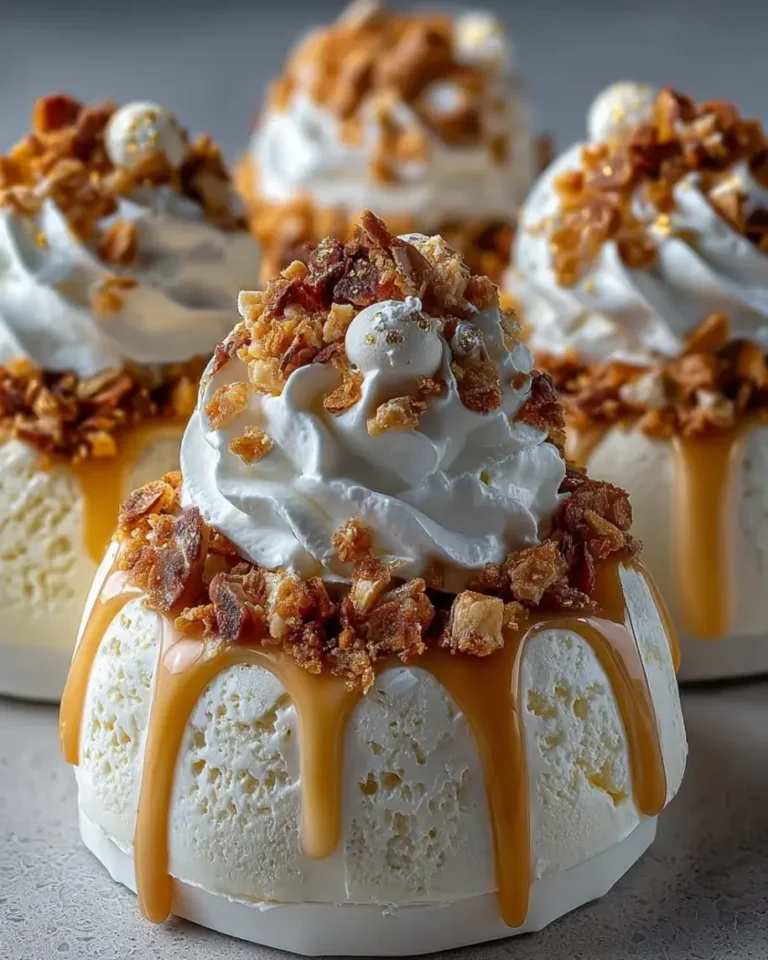
A creamy vanilla ice cream center with a satisfying crunchy surprise inside, coated in a glossy white mirror glaze and garnished with white chocolate curls, crushed cookies, pearl dust, and gold leaf.
- Yield: 6 1x
Ingredients
- For the Vanilla Ice Cream Domes:
- 2 cups premium vanilla ice cream, slightly softened
- 1 cup whipped topping or stabilized whipped cream
- 1 tsp vanilla bean paste
- For the Crunch Core:
- 1/2 cup crushed vanilla wafer cookies
- 1/4 cup toasted rice cereal
- 2 tbsp melted white chocolate
- 1 tbsp caramel sauce
- For the White Mirror Glaze:
- 1/2 cup sweetened condensed milk
- 1/3 cup white chocolate, finely chopped
- 2 tbsp heavy cream
- 1 tbsp honey
- 1 tsp vanilla extract
- For Garnish (optional):
- White chocolate curls
- Crushed vanilla cookies
- Edible pearl dust
- Gold leaf flakes
Instructions
- Combine crushed vanilla wafer cookies, toasted rice cereal, melted white chocolate, and caramel sauce in a bowl. Mix until evenly coated and slightly clumpy. Form small balls and freeze for 20 minutes until firm.
- Stir together softened vanilla ice cream, whipped topping, and vanilla bean paste until smooth and creamy.
- Fill dome-shaped silicone molds halfway with the ice cream mixture. Place a frozen crunch core in the center of each dome. Cover with the remaining ice cream mixture and smooth the tops. Freeze for at least 6 hours or until completely solid.
- For the mirror glaze, gently warm sweetened condensed milk, white chocolate, heavy cream, honey, and vanilla extract until smooth and glossy. Allow the glaze to cool until just slightly warm but still pourable.
- Carefully unmold the frozen domes and place them on a wire rack over a tray. Pour the mirror glaze evenly over each dome, creating a smooth reflective finish. Return to the freezer for 10–15 minutes to set the glaze.
- Garnish with white chocolate curls, crushed vanilla cookies, edible pearl dust, and delicate gold leaf flakes.
- Serve immediately for a creamy vanilla ice cream center with a satisfying crunchy surprise inside.
Nutrition
- Calories: 355
- Sugar: 32g
- Fat: 20g
- Carbohydrates: 40g
- Protein: 5g
Tried This Recipe? Leave a Comment!
Did you make this recipe? I’d love to hear how it turned out! Please leave a comment and a rating below. Your feedback helps other home cooks and supports cheerychop.com!
For more delicious inspiration, follow me on Pinterest!