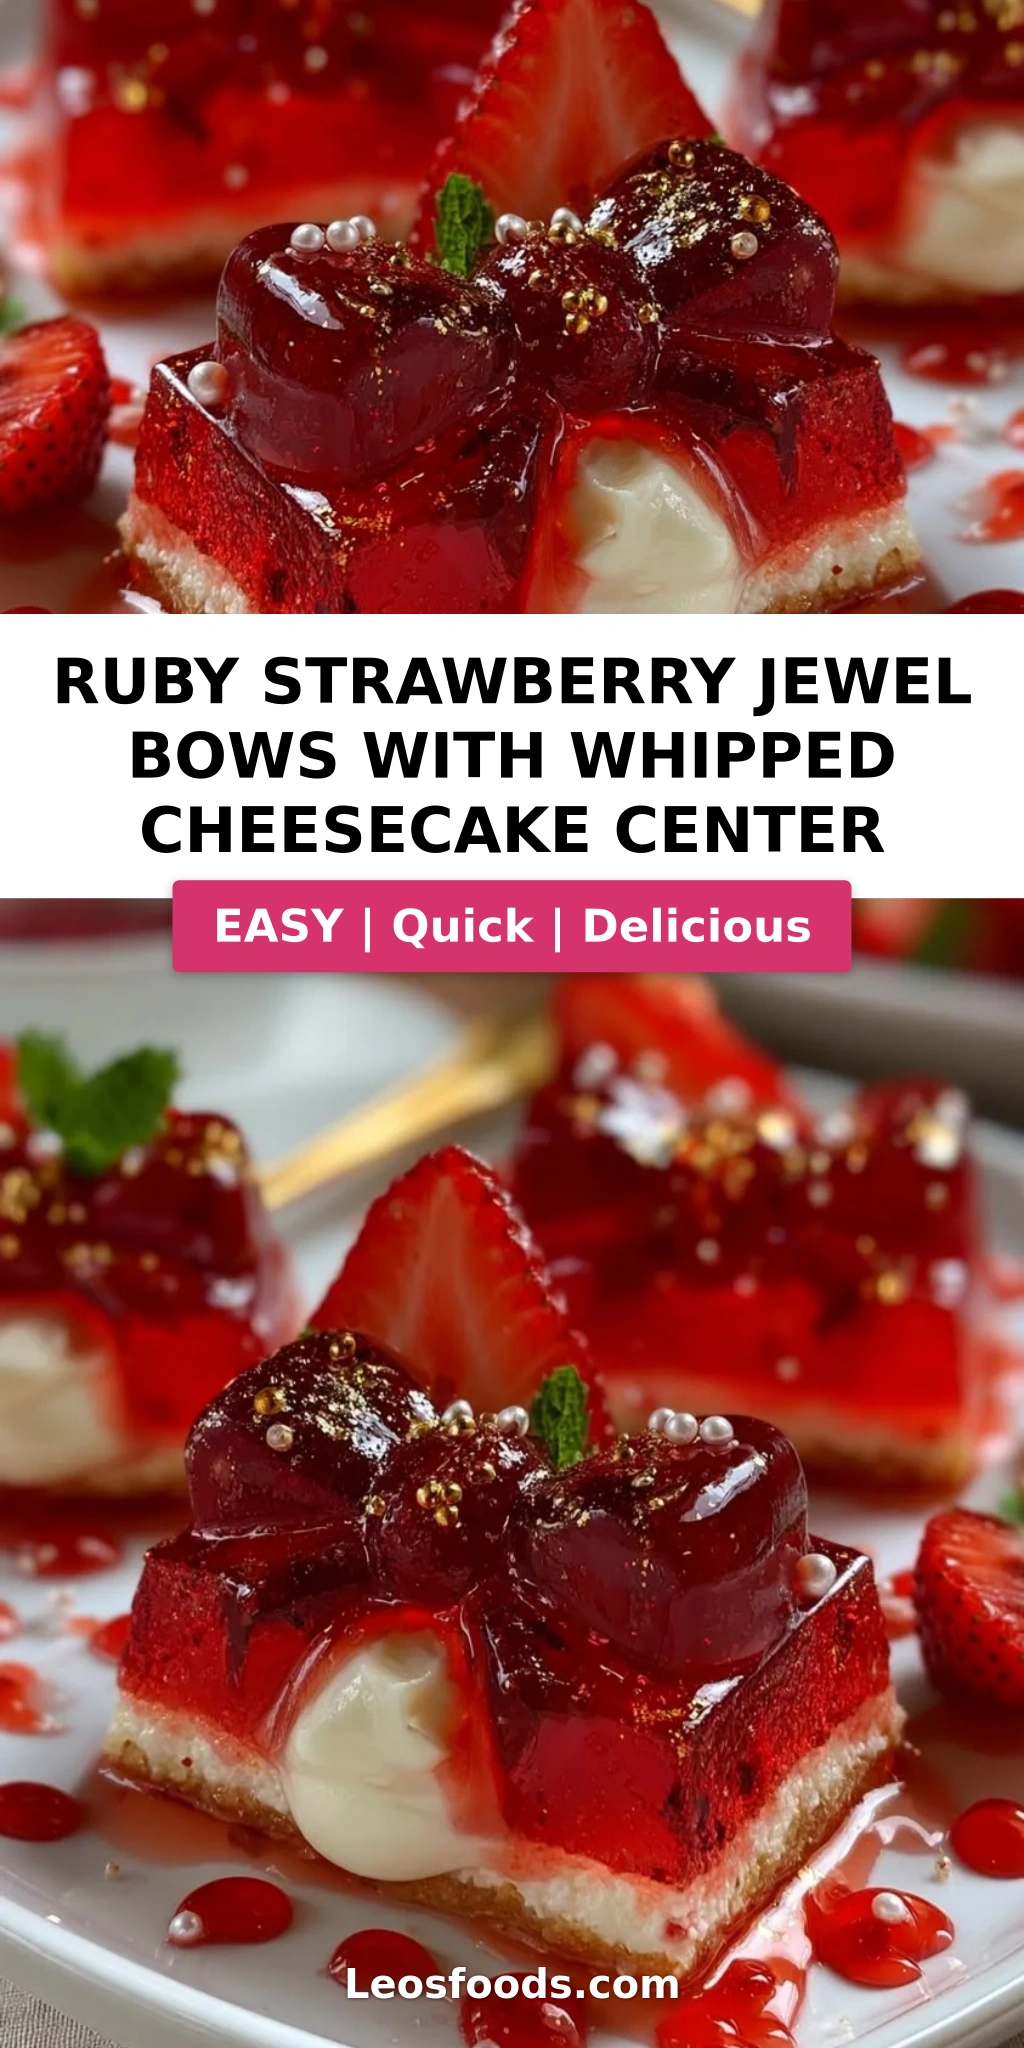
Ruby Strawberry Jewel Bows with Whipped Cheesecake Center

Table of Contents
Ruby Strawberry Jewel Bows with Whipped Cheesecake Center – A Gemstone Dessert
I still remember the first time I saw a bowl of fresh ruby strawberries at the Union Square Greenmarket in early June — their deep crimson skins glistening under the morning light, almost like gemstones scattered across a wooden crate. That moment stayed with me, and when I later trained in Paris and learned to work with agar-agar for shimmering, jewel-like desserts, I knew I had to create something that captured that same luminous beauty. This Ruby Strawberry Jewel Bows recipe is the result: elegant gelatin bows with a whipped cheesecake center that taste as spectacular as they look. Every time I make this no-bake strawberry dessert, I think of my mother’s kitchen in Morocco, where she’d weave fruit into every celebration — and of the patisseries in Paris where desserts are crafted like precious stones.
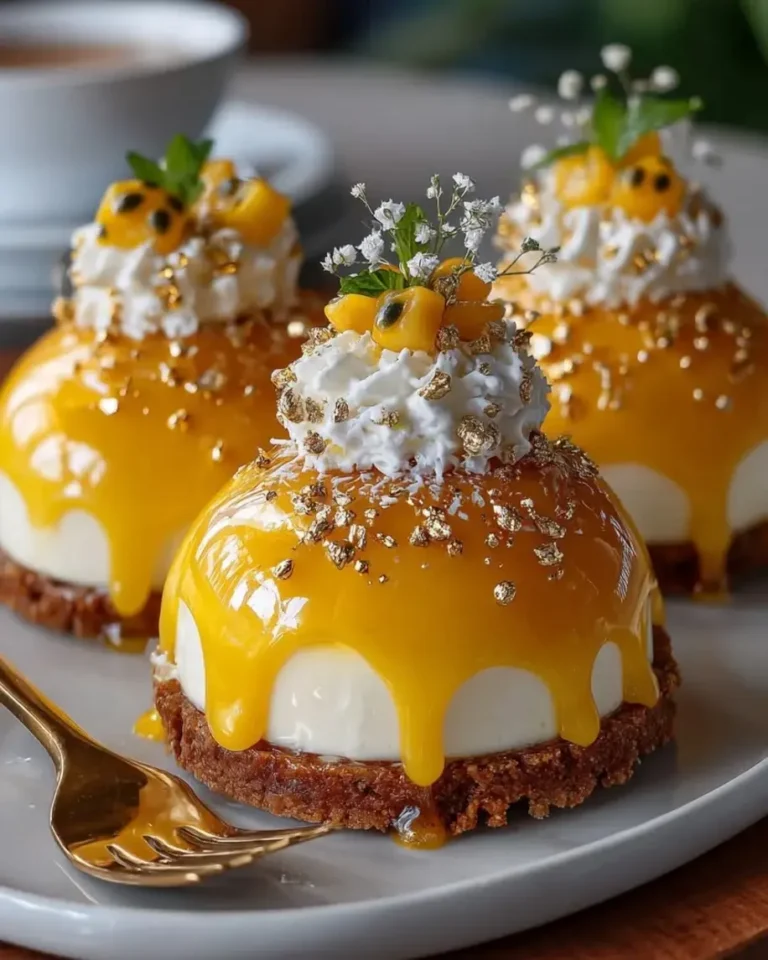
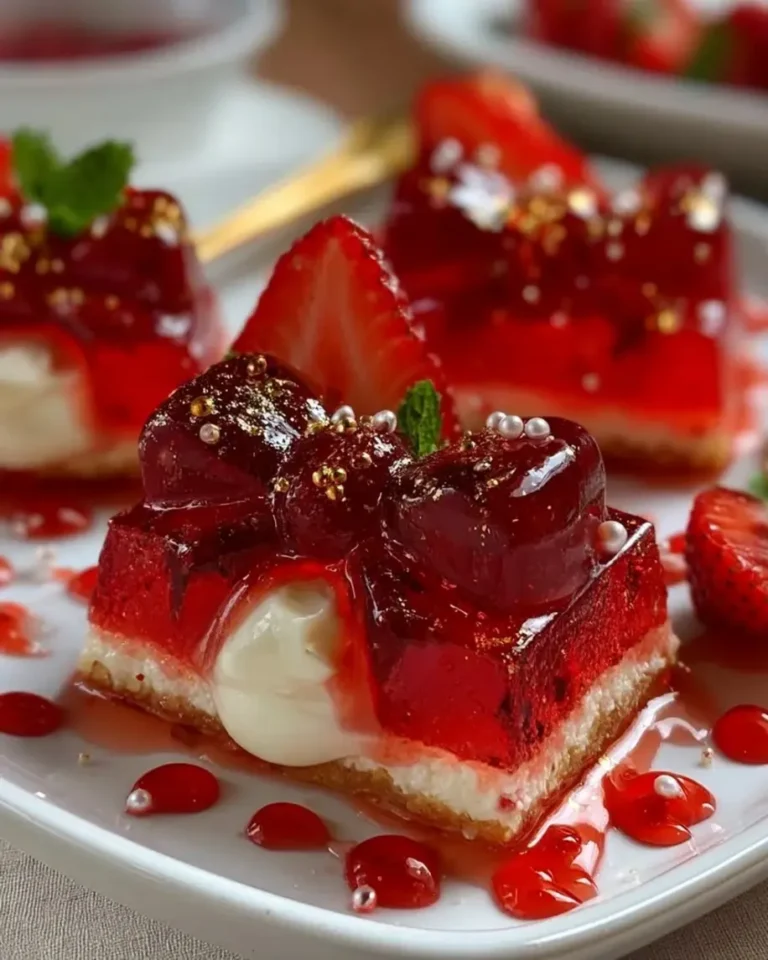
The first bite is pure magic: the ruby-clear strawberry jelly casing gives way to a cloud-like whipped cheesecake center that’s simultaneously tangy, creamy, and impossibly light. I brush each bow with a warm strawberry glaze that catches the light like a faceted gem, then finish with a dusting of edible pearl dust that makes them actually sparkle. The texture is what really sets this strawberry gelatin dessert apart — the agar-agar creates a firm but delicate gel that holds its shape beautifully at room temperature, while the whipped cheesecake filling stays luscious and airy. It’s the kind of dessert that makes people stop and stare before they even pick up their fork, and the flavor is every bit as stunning as the presentation promises.
What I love most about this whipped cheesecake filled jelly recipe is that it’s entirely no-bake — perfect for warm weather when you want something impressive without turning on the oven. Over years of testing in my NYC kitchen, I’ve perfected the agar-agar ratio so the bows unmold flawlessly every time, and I’ve dialed in the cheesecake filling to be just light enough to contrast the firm jelly without being runny. 💡 Stella’s Pro Tip: The key to crystal-clear jewel bows is straining your strawberry puree through a fine-mesh sieve twice — this removes all the seeds and pulp so the gel sets brilliantly transparent. And here’s a common mistake to avoid: do not boil the agar-agar mixture vigorously — a gentle simmer is all it needs, because aggressive boiling can weaken the gelling power and leave you with cloudy, soft bows.
Why This Ruby Strawberry Jewel Bows Recipe Is the Best
The Flavor Secret. Most strawberry jelly desserts rely on artificial flavoring or diluted juices, but I use a double hit of real strawberries: a concentrated strained puree for deep, jammy fruit flavor and a separate strawberry juice for clarity and brightness. This technique comes directly from my French pastry training, where we learned that the best fruit desserts taste intensely of the fruit itself. The lemon juice in the jelly mixture doesn’t just add acidity — it brightens the strawberry color to that deep ruby red and balances the sweetness so the dessert tastes fresh, not cloying.
Perfected Texture. The contrast between the firm, bouncy agar-agar gel and the airy whipped cheesecake filling is what makes this dessert so memorable. I spent weeks testing different ratios of agar-agar to liquid to get a jelly that’s firm enough to hold its bow shape and support the filling, but tender enough to yield easily to a spoon. The cheesecake filling uses sour cream alongside cream cheese — a trick I picked up in Paris that adds a subtle tang and makes the filling taste lighter and more complex than standard cream cheese frosting.
Foolproof & Fast. Despite its sophisticated appearance, this strawberry agar jelly dessert is surprisingly beginner-friendly. The agar-agar sets at room temperature (no gelatin’s finicky blooming required), and the silicone molds do all the shaping work for you. I’ve designed the process so you can spread it across two days — make the jelly bows one evening, fill and glaze them the next — which makes it perfect for home cooks who want to bring a showstopper to a dinner party without last-minute stress. Plus, the entire recipe uses just one saucepan and a mixing bowl, so cleanup is minimal.
Ruby Strawberry Jewel Bows Recipe Ingredients
When I shop for these ingredients in New York, I head straight to the farmers market for peak-season strawberries — the flavor is incomparable. But I’ve also tested this recipe with good-quality frozen strawberries (thawed and drained) and it works beautifully. The key is to taste your strawberries first: if they’re not deeply sweet, you may need to adjust the sugar slightly. Here’s everything you’ll need to create these edible jewels.
Ingredients List
- For the Ruby Strawberry Jewel Bows:
- 2 cups strawberry puree, strained
- 1 cup strawberry juice
- 2 cups water
- 3/4 cup sugar
- 2 1/2 tsp agar-agar powder
- 1 tbsp lemon juice
- 1/4 tsp salt
- For the Whipped Cheesecake Center:
- 8 oz cream cheese, softened
- 1/2 cup heavy whipping cream
- 1/4 cup powdered sugar
- 1 tsp vanilla extract
- 1 tbsp sour cream
- For the Strawberry Glaze:
- 1/4 cup strawberry preserves
- 1 tbsp honey
- 1 tsp lemon juice
- For Garnish (optional):
- Fresh strawberry slices
- Edible pearl dust
- Fresh mint leaves
Ingredient Spotlight
Agar-Agar Powder. This plant-based gelling agent (derived from seaweed) is the backbone of this no-bake strawberry dessert. Unlike gelatin, agar-agar sets at room temperature and can hold its shape even in warm environments — perfect for jewel bows that need to look pristine. Look for it in the baking aisle of well-stocked grocery stores or at Asian markets. I use the Now brand or Red Stick brand from my local NYC market. The powder dissolves smoothly into hot liquid and sets firmly after about 2 hours in the fridge. One note: agar-agar cannot be substituted with gelatin 1:1 — gelatin requires different ratios and doesn’t set as firmly at room temperature.
Strawberry Puree & Juice. For the most intense strawberry flavor, I make my own puree by blending fresh or frozen strawberries and then straining them through a fine-mesh sieve to remove seeds and pulp. The strained puree goes into the gelatin mixture for deep color and flavor, while the strawberry juice (which you can buy or make by juicing extra berries) adds clarity. If you’re short on time, use a high-quality bottled strawberry juice like Lakewood or R.W. Knudsen — just make sure it’s 100% juice with no added sugar, so you control the sweetness.
Cream Cheese. Full-fat block cream cheese (like Philadelphia) is non-negotiable for the whipped cheesecake center. The fat content is what gives the filling its luxurious texture and stability when piped. Low-fat or spreadable cream cheese contains too much water and will make the filling runny — I learned this the hard way in my Paris training! Let it soften at room temperature for at least 30 minutes before beating so it blends smoothly without lumps.
| Original Ingredient | Best Substitution | Flavor / Texture Impact |
|---|---|---|
| Agar-agar powder | Powdered gelatin (use 3 tbsp) | Softer set, melts at room temp; not ideal for jewel bows |
| Strawberry puree | Raspberry or cherry puree | Darker color, similar tartness; equally jewel-like |
| Heavy whipping cream | Coconut cream (chilled, whipped) | Lighter texture, coconut flavor; dairy-free option |
| Cream cheese | Mascarpone cheese | Richer, less tangy; even creamier center |
How to Make Ruby Strawberry Jewel Bows — Step-by-Step
This strawberry gelatin bows recipe comes together in a few simple stages, and I’ll walk you through each one with the exact visual cues to look for. Take your time with the first step — getting the agar-agar fully dissolved is the most important part of the whole process.
Step 1: Prepare the Jelly Base
Combine the strained strawberry puree, strawberry juice, water, sugar, agar-agar powder, lemon juice, and salt in a medium saucepan. Whisk vigorously to dissolve the agar-agar powder completely — you should feel no grittiness at the bottom of the pan. Place the saucepan over medium heat and continue stirring constantly. Bring the mixture to a gentle simmer (small bubbles around the edge, not a rolling boil) and let it simmer for 2 minutes while stirring. The agar-agar needs to reach 185°F to activate fully, but do not let it boil hard — that can cloud the mixture.
💡 Stella’s Pro Tip: Test the gel strength before pouring! Dip a cold spoon into the simmering liquid, then chill the spoon in the freezer for 30 seconds. If the liquid on the spoon firms up to a soft gel, your agar-agar is fully activated and ready to pour.
Step 2: Pour and Set the Bows
Carefully pour the hot liquid into bow-shaped silicone molds, filling each cavity to the top. Tap the mold gently on the counter a few times to release any air bubbles. Place the mold on a flat tray and refrigerate for at least 3-4 hours, or until the gelatin is completely firm and feels set to the touch. The bows should be crystal clear — you should be able to see through them like stained glass. Do not rush this step: if the bows are not fully set, they will tear when you unmold them.
⚠️ Common Mistake to Avoid: Do not move or jostle the molds while they’re setting. Any disturbance during the first hour of chilling can cause the agar-agar molecules to break their bonds, resulting in cloudy or weak spots in the jelly.
Step 3: Make the Whipped Cheesecake Filling
In a large mixing bowl, beat the softened cream cheese with an electric mixer on medium speed until smooth and creamy, about 2 minutes. Add the powdered sugar and vanilla extract and beat until well combined. In a separate bowl, whip the heavy whipping cream and sour cream together until soft peaks form — the mixture should be light and airy but still hold its shape when you lift the whisk. Gently fold the whipped cream mixture into the cream cheese mixture in two additions, using a rubber spatula and cutting through the center until no white streaks remain. Transfer the filling to a piping bag fitted with a round tip and refrigerate for at least 30 minutes to firm up.
💡 Stella’s Pro Tip: For the lightest possible filling, chill your mixing bowl and beaters in the freezer for 10 minutes before whipping the cream. This extra chill helps the cream whip faster and hold its structure better, especially on warm summer days in my NYC kitchen.
Step 4: Unmold and Fill
Once the jelly bows are fully set, carefully unmold them by gently flexing the silicone mold at the edges. If they resist, dip the bottom of the mold in warm water for 5 seconds. Place each bow on a parchment-lined tray. Using a small melon baller or the tip of a small knife, create a cavity in the center knot area of each bow — about 1/2 inch deep and wide enough to hold a generous dollop of filling. Be gentle and precise so you don’t crack the jelly. Pipe the whipped cheesecake filling into each cavity, letting it mound slightly above the surface for a beautiful presentation.
⚠️ Common Mistake to Avoid: Don’t overfill the cavity! If the filling spreads over the edges of the bow, it will obscure the beautiful ruby clarity. Pipe just enough to create a neat dome in the center, then smooth it with a damp fingertip.
Step 5: Glaze and Garnish
Combine the strawberry preserves, honey, and lemon juice in a small saucepan. Warm over low heat, stirring constantly, until the mixture is smooth, glossy, and thin enough to brush — about 2-3 minutes. Remove from heat and let cool for 5 minutes so it’s warm but not hot (hot glaze will melt the jelly). Using a soft pastry brush, gently brush each filled bow with a thin, even layer of glaze. The glaze will add a brilliant, gemstone-like shine. Immediately sprinkle with edible pearl dust if using, and top each bow with a thin slice of fresh strawberry and a small mint leaf. Return to the refrigerator for at least 30 minutes to set the glaze before serving.
💡 Stella’s Pro Tip: For the most dramatic sparkle, apply the edible pearl dust with a clean, dry eyeshadow brush. Tap off the excess and then lightly dust the tops of the bows — the light will catch every tiny particle, making them truly look like rubies.
| Step | Action | Duration | Key Visual Cue |
|---|---|---|---|
| 1 | Dissolve agar-agar in strawberry liquid | 5 mins | Liquid is clear, no grittiness |
| 2 | Pour into molds and chill | 3-4 hrs | Bows are firm, clear, and release easily |
| 3 | Whip cheesecake filling | 10 mins + 30 mins chill | Soft peaks, no lumps, spoonable |
| 4 | Unmold, create cavity, pipe filling | 15 mins | Clean cavities, neat filling dome |
| 5 | Glaze, garnish, and final chill | 10 mins + 30 mins chill | Glossy shine, sparkles from pearl dust |
Serving & Presentation
These whipped cheesecake filled jelly bows are meant to be the centerpiece of your dessert table — a true conversation starter. I like to arrange them on a large white platter or a mirrored cake stand so the ruby color really pops. For a dramatic effect, place a few fresh strawberry slices and mint leaves around the base of each bow, almost like they’re resting on a bed of jewels. The edible pearl dust catches the light from every angle, so make sure your serving area has good lighting — whether it’s a dinner party in my NYC apartment or a garden gathering inspired by the fragrant gardens of Morocco.
These strawberry gelatin bows are stunning on their own, but they also pair beautifully with a light strawberry coulis or a dollop of extra whipped cream on the side. If you’re serving them at a brunch, consider a sparkling strawberry lemonade or a chilled glass of Prosecco to echo the bright, fruity flavors. For a touch of Moroccan flair, I sometimes add a tiny pinch of rose water to the glaze — it’s a subtle floral note that my mother would have loved. Serve the bows thoroughly chilled, straight from the refrigerator, as they soften slightly at room temperature after about 45 minutes.
| Pairing Type | Suggestions | Why It Works |
|---|---|---|
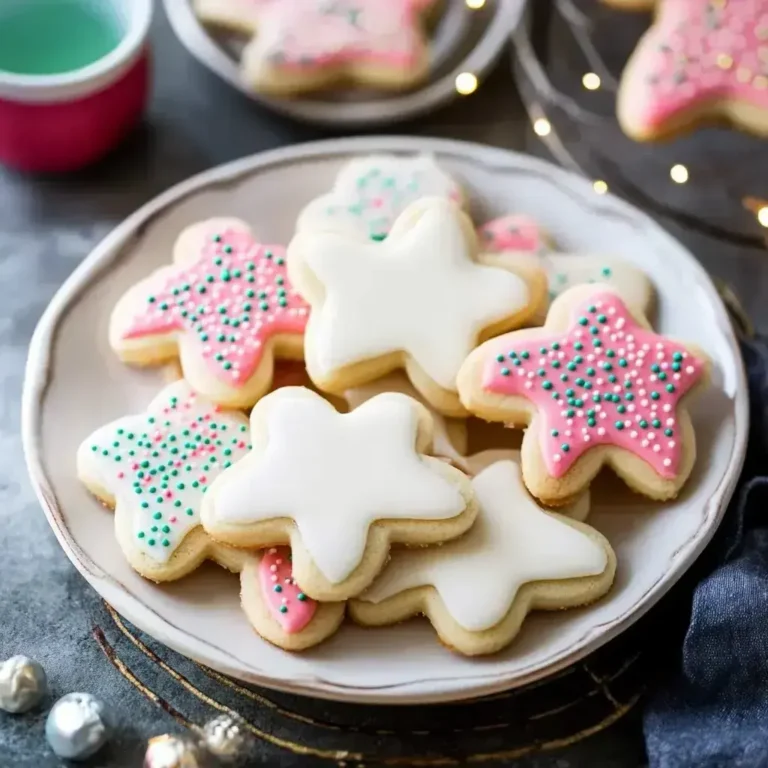
| Side Dessert | Shortbread cookies, madeleines, fresh berries | Buttery crunch contrasts the soft jelly and creamy filling |
| Sauce / Dip | Strawberry coulis, warm chocolate sauce, whipped cream | Adds richness or extra fruit intensity |
| Beverage | Prosecco, strawberry lemonade, mint tea | Bright bubbles or herbal notes complement strawberry flavor |
| Garnish | Fresh mint, edible flowers, gold leaf | Adds elegance and color contrast |
Make-Ahead, Storage & Reheating
One of the best things about this no-bake strawberry dessert is how well it adapts to a busy schedule. I often make the jelly bows two days ahead and keep them in the molds, then fill and glaze them the morning of my dinner party. The whipped cheesecake filling can also be made a day in advance and stored in the piping bag in the fridge — just give it a few gentle squeezes to re-emulsify before piping. Here’s exactly how to store each component for best results.
| Method | Container | Duration | Reheating Tip |
|---|---|---|---|
| Refrigerator | Airtight container, layered with parchment | Up to 4 days | Serve cold; no reheating needed |
| Freezer | Freezer-safe container, wax paper between layers | Up to 1 month | Thaw in fridge overnight; texture softens slightly |
| Make-Ahead | Keep bows in molds; filling in piping bag | Assemble up to 1 day in advance | Glaze just before serving for maximum shine |
A word of caution from my NYC kitchen: once assembled and glazed, these strawberry gelatin bows are best served within 24 hours. The glaze can make the surface of the jelly slightly tacky if stored too long, and the whipped cheesecake filling will begin to absorb moisture from the jelly after about 36 hours, losing its airy texture. If you’re making them for a party, I recommend assembling them no more than 8 hours before serving — the presentation will be at its absolute peak, and your guests will be wowed by those brilliant ruby bows. Leftovers (if you have any!) keep beautifully in the fridge for up to 2 days, though the pearl dust may dull slightly — just add a fresh dusting before serving again.
Variations & Easy Swaps
Over the years, I’ve experimented with many versions of this whipped cheesecake filled jelly recipe, and these are my favorite variations. Each one keeps the stunning jewel-bow presentation but changes the flavor profile or dietary profile to suit different needs. I’ve tested them all in my kitchen so you can swap with confidence.
| Variation | Key Change | Best For | Difficulty Impact |
|---|---|---|---|
| Rose & Raspberry Twist | Replace strawberry juice with raspberry; add rose water | Floral, elegant dinner parties | Same difficulty |
| Dairy-Free / Vegan Version | Use coconut cream + vegan cream cheese | Dairy-free diets | Medium — filling needs extra chill time |
| Citrus & Ginger Sparkle | Replace strawberry with blood orange; add ginger to glaze | Winter holidays, bright flavors | Same difficulty |
Rose & Raspberry Twist
This variation is my love letter to the rose gardens of Morocco, where my mother would pick fresh petals to infuse into syrups and desserts. Replace the strawberry juice with an equal amount of raspberry juice (strained to remove seeds) and add 1 teaspoon of rose water to the jelly mixture just before pouring. The raspberry gives a slightly deeper magenta color, while the rose water adds an unmistakable floral elegance that pairs beautifully with the creamy cheesecake center. I often serve these at bridal showers and baby showers — they’re absolutely showstopping.
Dairy-Free / Vegan Version
For a plant-based take on this no-bake strawberry dessert, substitute the cream cheese with a high-quality vegan cream cheese (I like Miyoko’s or Kite Hill) and replace the heavy whipping cream with full-fat coconut cream that has been chilled overnight and whipped until fluffy. The sour cream can be swapped with a vegan sour cream or simply omitted — add an extra tablespoon of lemon juice to maintain the tang. The coconut whipped cream is lighter than dairy cream, so the filling will be slightly less firm; chill the filled bows for a full 2 hours before glazing to ensure the filling sets properly. The coconut flavor is subtle and pairs wonderfully with strawberry.
Citrus & Ginger Sparkle
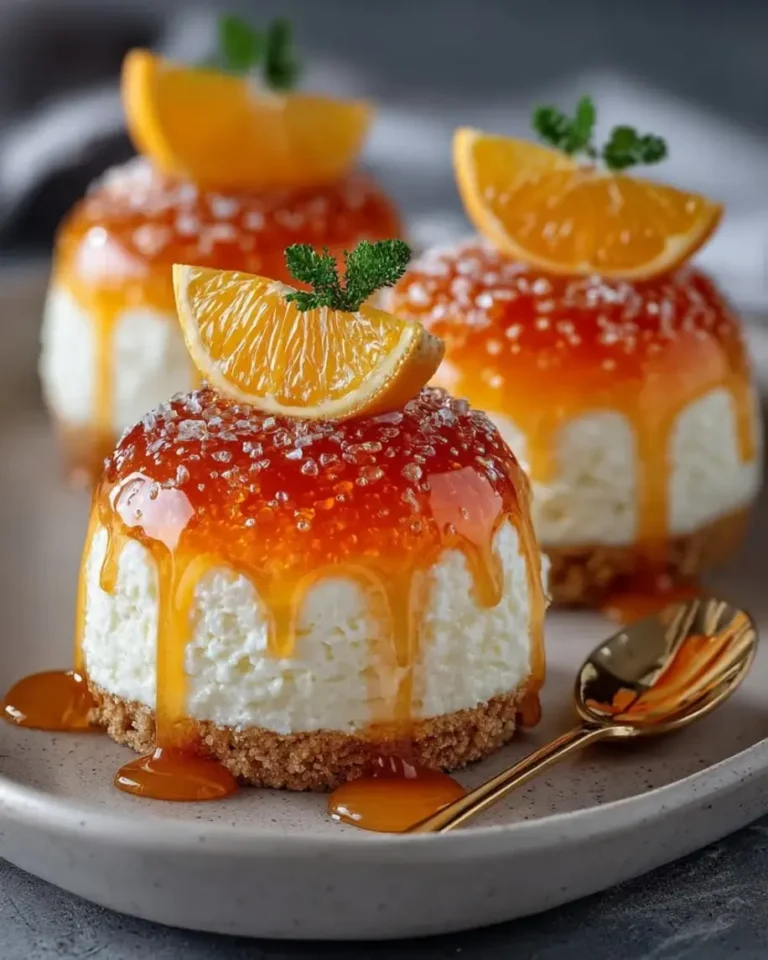
When winter comes and strawberries aren’t at their peak, I turn to blood oranges for this gorgeous variation. Replace the strawberry puree and juice with fresh blood orange juice (strained) and add 1 teaspoon of finely grated fresh ginger to the jelly mixture. The glaze becomes a brilliant ruby-orange, and the ginger adds a warm, spicy note that cuts through the creamy cheesecake filling beautifully. I discovered this combination at the Union Square Greenmarket during a particularly cold February, and it’s become a staple for my winter holiday entertaining. The ginger also adds a gentle warmth that pairs wonderfully with a cup of mint tea — a classic Moroccan finish to any meal.
What is the best way to keep the strawberry bows from getting soggy before serving?
The key to keeping your strawberry gelatin bows from getting soggy is all about timing and glazing technique. First, make sure you let the jelly bows set fully in the molds — at least 4 hours — so the agar-agar structure is completely firm. When you add the glaze, apply it in a thin, even layer and allow it to set for 30 minutes in the refrigerator before serving. The glaze actually acts as a protective barrier that seals the surface and prevents moisture from the air or the filling from softening the jelly. If you’re serving the Ruby Strawberry Jewel Bows at a party, assemble and glaze them no more than 8 hours in advance, and keep them refrigerated until just before serving. Avoid covering them with plastic wrap directly — use a dome lid or a tented parchment paper so condensation doesn’t form on the surface.
Can I use frozen strawberries for the jewel topping, or do they need to be fresh?
Absolutely, frozen strawberries work beautifully for the strawberry puree and juice in this recipe — and I often use them myself when fresh berries are out of season. The key is to thaw the frozen strawberries completely in a colander set over a bowl, and reserve the liquid that drains off. Use that liquid as part of your strawberry juice measurement, as it’s packed with flavor. For the puree, blend the thawed berries and strain them through a fine-mesh sieve to remove the seeds. The color may be slightly less bright than with fresh peak-season berries, so I recommend adding an extra teaspoon of lemon juice to help the ruby color pop. For the fresh strawberry garnish on top, however, I do recommend fresh strawberries — frozen ones will be too soft to slice neatly and will release moisture onto the glaze.
How far in advance can I assemble Ruby Strawberry Jewel Bows with the whipped cheesecake center?
You can assemble the Ruby Strawberry Jewel Bows up to 24 hours in advance, but for the best texture and appearance, I recommend assembling them no more than 8 hours before serving. The jelly bows themselves can be made and kept in the molds for up to 3 days ahead. The whipped cheesecake filling can also be prepared 1 day ahead and stored in a piping bag in the refrigerator. However, once you pipe the filling into the cavities, the moisture from the cheesecake will gradually be absorbed by the agar-agar jelly. After about 36 hours, the jelly around the filling may soften slightly and lose its crystal clarity. If you need to prepare further ahead, keep the components separate — bows unfilled and glazed, and filling in the piping bag — then fill and glaze the morning of your event for the most stunning presentation.
What can I substitute for the whipped cheesecake filling to make this recipe lighter?
If you’d like a lighter filling for these strawberry gelatin bows, my favorite substitution is a Greek yogurt and honey mousse. Replace the cream cheese with 1 cup of full-fat Greek yogurt (strained overnight in cheesecloth for extra thickness) and swap the heavy whipping cream for 1/2 cup of whipped egg whites (pasteurized for safety) or aquafaba for a vegan option. Sweeten with 3 tablespoons of honey instead of powdered sugar. The result is a tangy, airy filling that’s significantly lower in fat and calories but still light and creamy. Another option is a coconut cream-based filling — chill a can of full-fat coconut milk overnight, scoop the solid cream, and whip it with a tablespoon of maple syrup and a pinch of salt. Both options are delicious and pair beautifully with the strawberry jelly.
Why did my agar-agar jelly turn cloudy instead of crystal clear?
Cloudy agar-agar jelly is usually caused by one of three things, and the fix is simple once you know what to look for. First, make sure you’re straining your strawberry puree through a fine-mesh sieve at least twice — any remaining pulp or seeds will create cloudiness. Second, do not boil the mixture vigorously; a gentle simmer is all you need. Aggressive boiling incorporates air bubbles and can cause the agar-agar to clump, both of which create opacity. Third, make sure your saucepan is clean and free of any grease residue, which can disperse light and make the gel look hazy. If you’re using tap water with high mineral content, switch to filtered or distilled water. In my NYC kitchen, I use a simple Brita filter and it makes a noticeable difference in clarity. If your jelly has already set and is cloudy, unfortunately it cannot be fixed — but it will still taste delicious!
Can I make this recipe without a silicone bow-shaped mold?
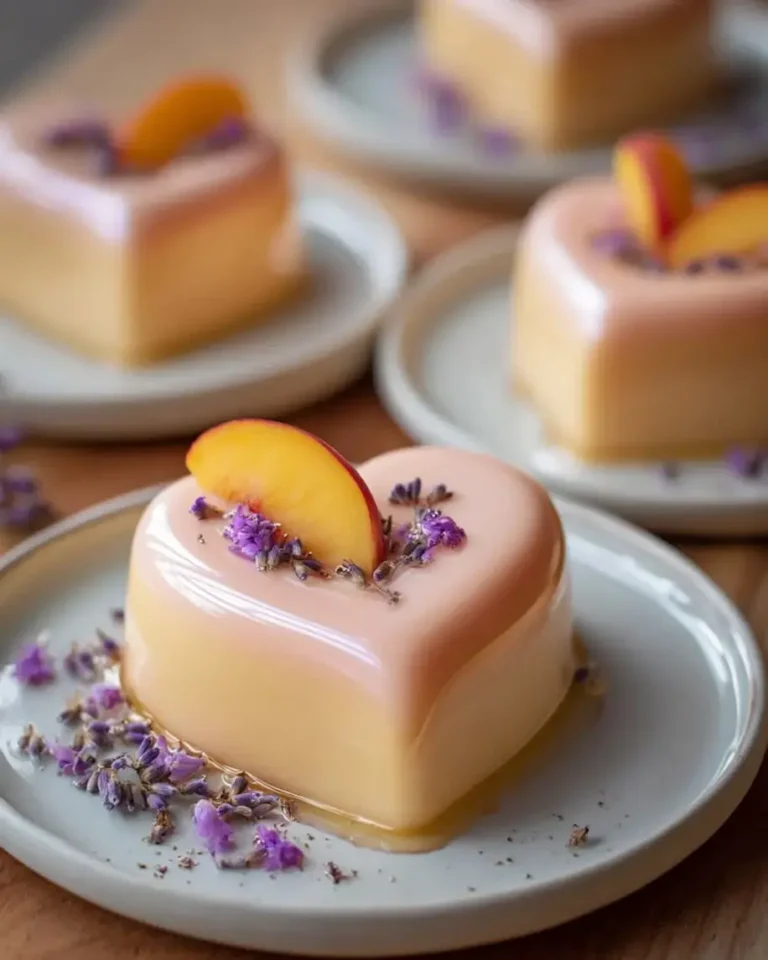
Yes, you can absolutely make this recipe without a bow-shaped mold! If you don’t have a silicone bow mold, there are several creative alternatives. Pour the strawberry jelly mixture into a standard 8×8-inch baking dish (lined with plastic wrap for easy removal) and let it set. Once firm, use small cookie cutters in any shape — hearts, stars, flowers, or diamonds — to cut out individual pieces. Then use a small spoon or melon baller to create a shallow indentation in the center of each piece for the filling. You can also pour the jelly into small individual silicone cupcake molds or even small glasses for a parfait-style presentation. The visual effect will be different from the bows, but the flavors and textures will be exactly the same. I’ve made heart-shaped versions for Valentine’s Day parties and they were a huge hit!
Is this Ruby Strawberry Jewel Bows recipe suitable for children’s parties?
Absolutely — this no-bake strawberry dessert is a fantastic choice for children’s parties! The bright ruby color and fun bow shape are incredibly appealing to kids, and the flavors are universally loved: sweet strawberry jelly and creamy cheesecake filling. Plus, since it’s made with agar-agar instead of gelatin, it’s suitable for vegetarian families. The recipe is also naturally free of nuts and eggs (the filling uses dairy but can be adapted), so it works for many allergy-friendly celebrations. For younger children, you can skip the edible pearl dust (it’s purely decorative) and use colorful sprinkles instead for extra fun. The individual serving size is perfect for party platters, and the make-ahead nature of the recipe means you can prepare them the day before and focus on other party preparations. To make them even more kid-friendly, consider using heart or star-shaped molds instead of bows.
What is the nutritional information for this whipped cheesecake filled jelly dessert?
Each serving of this Ruby Strawberry Jewel Bows recipe (one filled bow) contains approximately 270 calories, 34g carbohydrates, 14g fat, 4g protein, and 29g sugar. Please note that these values are estimates and can vary based on the specific brands of ingredients you use, especially the strawberry puree and preserves. If you’re looking to reduce the sugar content, you can use a sugar-free strawberry preserves for the glaze and reduce the sugar in the jelly mixture to 1/2 cup — the strawberry flavor will still be prominent. For a lower-fat version, you can use reduced-fat cream cheese and replace half the heavy cream with whole milk, though the filling will be slightly less airy. As a professional cook, I always recommend viewing nutritional information as a guideline rather than a strict prescription — this dessert is meant to be a special treat, and I believe in enjoying it fully!
How do I prevent the whipped cheesecake filling from breaking or separating?
Whipped cheesecake filling can separate if the cream cheese and cream are at different temperatures or if they’re over-whipped. Here’s my tested method for a perfectly stable filling every time. First, make sure your cream cheese is fully softened to room temperature — this takes about 30-45 minutes on the counter. Beat it alone until completely smooth before adding any other ingredients. Second, whip the heavy cream and sour cream separately until soft peaks form, then gently fold them into the cream cheese mixture using a rubber spatula. Folding (not stirring) is crucial — use a cut-and-fold motion that keeps the air bubbles intact. Third, do not over-whip the cream cheese mixture after combining; stop as soon as it’s homogenous. If your filling does start to look curdled or separated, it’s usually because one component was too cold. Try warming the bowl slightly by placing it in a bowl of warm water for 30 seconds, then whisk gently to bring it back together.
Can I use a different fruit flavor for the jelly instead of strawberry?
Yes, this recipe is wonderfully versatile and works beautifully with many different fruits! The key is to maintain the same ratio of puree to liquid to agar-agar. My favorite variations include raspberry (for a deeper red color), mango (for a sunny yellow jewel tone), and passion fruit (for a tropical, tangy flavor). If using a fruit with lower natural sugar, like tart cherries or cranberries, you may need to increase the sugar by 2-3 tablespoons to balance the acidity. For stone fruits like peaches or nectarines, blanch and peel them first, then puree and strain as you would with strawberries. Each fruit will produce a different jewel color — the visual effect is always stunning. I’ve even made a rainbow platter using three different fruit colors for special events. The whipped cheesecake filling pairs beautifully with any fruit, so feel free to experiment with what’s in season at your local market.
Share Your Version!
I absolutely love seeing how you make this Ruby Strawberry Jewel Bows recipe your own! Every time a reader shares a photo of their jewel bows — whether they’re ruby-clear strawberry, vibrant raspberry, or sunny mango — I feel like I’m getting a little gift from their kitchen. The way the light catches your glaze, the creative garnishes you choose, even the plates you serve them on — it all tells a story, and I’d be honored to be part of it. If you try this recipe, please leave a star rating and a comment below telling me how it went. Did you make the rose and raspberry twist? Did your kids help pipe the filling? I read every single comment and I answer as many as I can — your questions and stories make this community so special.
And if you’re on Instagram or Pinterest, tag @leosfoods and use #RubyJewelBows so I can see your stunning creations. I love to share my favorites in my stories! One question I’d love to hear from you: what fruit combination would you use to make your own jewel-toned bows? I’m always looking for new flavor ideas to test in my NYC kitchen, and your suggestions have inspired some of my best recipes. From my NYC kitchen to yours — I hope this recipe brings as much warmth to your table as it does to mine. — Stella 🧡
⭐ Loved This Recipe? Please Leave a Star Rating Below! ⭐
Your feedback helps other home cooks find this Ruby Strawberry Jewel Bows recipe and makes my day every single time. If you have a question or a variation you tried, drop it in the comments — I’d love to hear from you! 💬
Love This Recipe? Save It to Pinterest!
If you enjoyed this Ruby Strawberry Jewel Bows with Whipped Cheesecake Center recipe, don’t let it get lost in your browser tabs! 😄 Pin it now so you can find it again anytime — and explore hundreds more tried-and-tested recipes waiting for you on my Pinterest boards.
👉 Follow Stella on Pinterest @stellarecipeblog
📌 Pin this recipe · 🔁 Re-pin your favorites · 💬 Tag me when you make it — I love seeing your creations!
Ruby Strawberry Jewel Bows with Whipped Cheesecake Center
Elegant, jewel-toned gelatin bows filled with a light and fluffy whipped cheesecake center, glazed for a sparkling gemstone finish. A stunning chilled dessert.
- Yield: 6 1x
Ingredients
- For the Ruby Strawberry Jewel Bows:
- 2 cups strawberry puree, strained
- 1 cup strawberry juice
- 2 cups water
- 3/4 cup sugar
- 2 1/2 tsp agar-agar powder
- 1 tbsp lemon juice
- 1/4 tsp salt
- For the Whipped Cheesecake Center:
- 8 oz cream cheese, softened
- 1/2 cup heavy whipping cream
- 1/4 cup powdered sugar
- 1 tsp vanilla extract
- 1 tbsp sour cream
- For the Strawberry Glaze:
- 1/4 cup strawberry preserves
- 1 tbsp honey
- 1 tsp lemon juice
- For Garnish (optional):
- Fresh strawberry slices
- Edible pearl dust
- Fresh mint leaves
Instructions
- Combine strawberry puree, strawberry juice, water, sugar, agar-agar powder, lemon juice, and salt in a saucepan. Heat while stirring until fully dissolved and bring to a gentle simmer.
- Pour the mixture into bow-shaped silicone molds and refrigerate until fully set and crystal clear.
- Beat cream cheese, heavy whipping cream, powdered sugar, vanilla extract, and sour cream until light and fluffy. Transfer to a piping bag and chill.
- Carefully unmold the ruby jewel bows and create a small cavity in the center knot area of each bow.
- Pipe the whipped cheesecake filling into the center, creating a soft creamy core.
- Warm strawberry preserves, honey, and lemon juice until smooth and glossy. Allow to cool slightly.
- Brush the bows with the glaze for a sparkling gemstone finish.
- Garnish with fresh strawberry slices, edible pearl dust, and mint leaves. Serve thoroughly chilled.
- Method: Dessert
Nutrition
- Calories: 270
- Sugar: 29g
- Fat: 14g
- Carbohydrates: 34g
- Protein: 4g
Tried This Recipe? Leave a Comment!
Did you make this recipe? I’d love to hear how it turned out! Please leave a comment and a rating below. Your feedback helps other home cooks and supports cheerychop.com!
For more delicious inspiration, follow me on Pinterest!